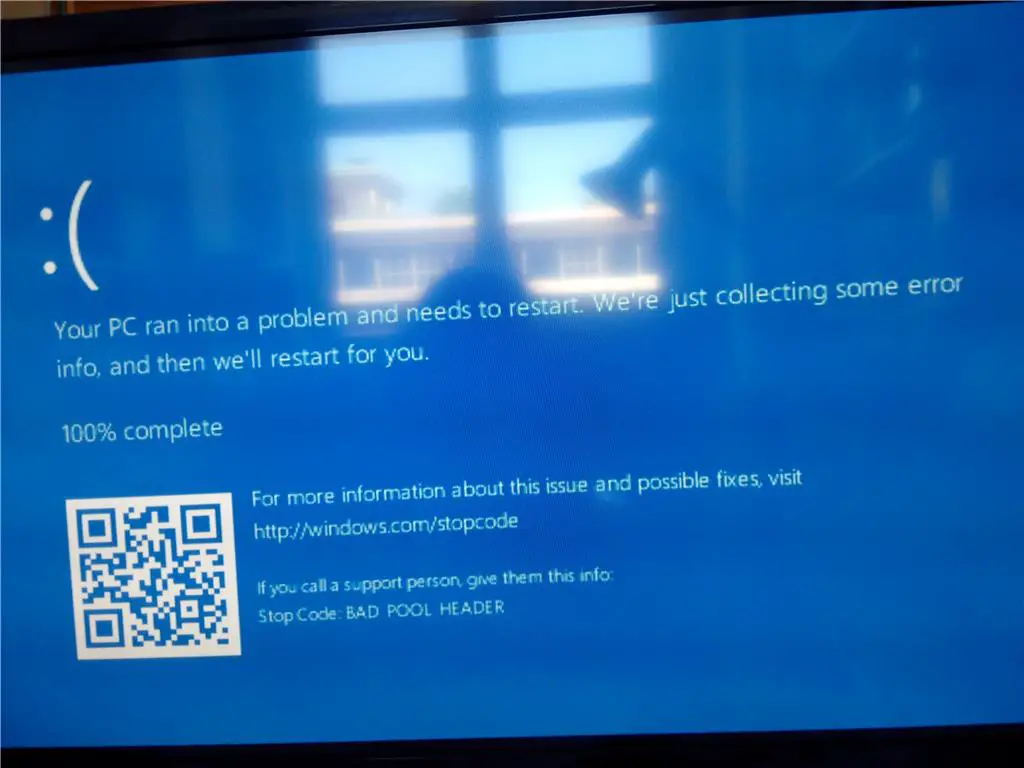
Laptop Displays BSOD with BAD_POOL_HEADER error, after windows 10 update? Due to bad pool header windows 10 Restarts frequently, don’t allow to perform any troubleshooting steps? Windows 10 BAD_POOL_HEADER bug check value 0x00000019, indicates that a pool header is corrupt. And this will usually occur after you’ve installed new hardware, apps that don’t computable with your current windows version. Also, System files are corrupted or your machine is having trouble allocating enough memory to properly run an application, typically because the memory pool is corrupt. If you are struggling with this Bug Check 0x19 BAD_POOL_HEADER here are some effective solutions to apply.
bad pool header windows 10 won’t boot
Disconnect all the external devices (printers, scanners, USB (universal serial bus) drives, etc…) Except for the mouse and the keyboard and then boot up. If this corrects the issue then add the devices back one at a time until you discover the piece of hardware causing the issue. Then install the updated driver software for that device.
Perform Startup repair and rebuild BCD
Apply steps below if Windows 10 frequently restart with BAD_POOL_HEADER or won’t boot normally to perform any troubleshooting steps.
First, try to repair your computer using Windows 10 Bootable media, If don’t have one then, use some other PC connected to the Internet for creating Bootable media (Windows 10 ISO image file). Once you’re ready with Bootable Media, follow the steps below.
- Insert the Windows installation disc in the disc drive or connect USB media, and then start the computer.
- Press a key when the message Press any key to boot from CD or DVD appears.
If your PC does not detect the media automatically
- During the restart process, read the screen for any instructions that explain how to interrupt normal startup and enter the basic input/output system (BIOS) setup utility. Most PCs use the F2, F10, ESC, or DEL key to begin the BIOS Setup.
- Look for a tab in the BIOS Setup Utility that is labeled Boot Order, Boot Options, or Boot. Following the directions on the screen, use the arrow keys to go to the Boot Order, then press Enter.
- Locate the CD, DVD, or USB flash drive (this might be called Removable Device) in the Boot list. Following the directions on the screen, use the arrow keys to move the drive up so that it appears first in the Boot list. Press Enter. The boot order sequence is now changed to boot from the CD, DVD, or USB flash drive.
- Press F10 to save your changes and to exit the BIOS Setup Utility. Select Yes in the confirmation window. The PC will restart. Allow the PC to restart normally.
- Select a language, a time, a currency, a keyboard or another input method, and then click Next.
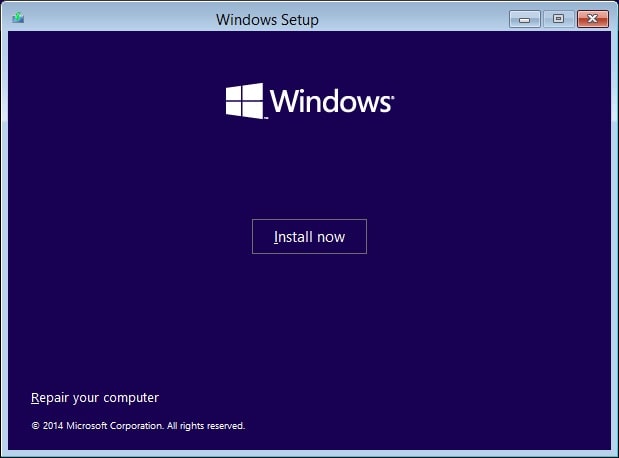
- Click Repair your computer.
- Click the operating system that you want to repair, and then click Next.
- On the Choose an option screen, select Troubleshoot.
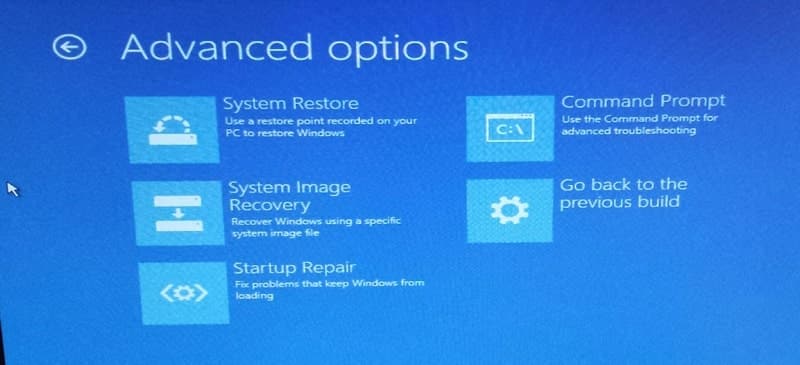
- Select Advanced Options >Startup Repair
- Let startup repair check and fix the problems prevent windows boot normally.
- If it doesn’t fix the issue then again go to Advanced options.
- select Command Prompt under Advanced Options.
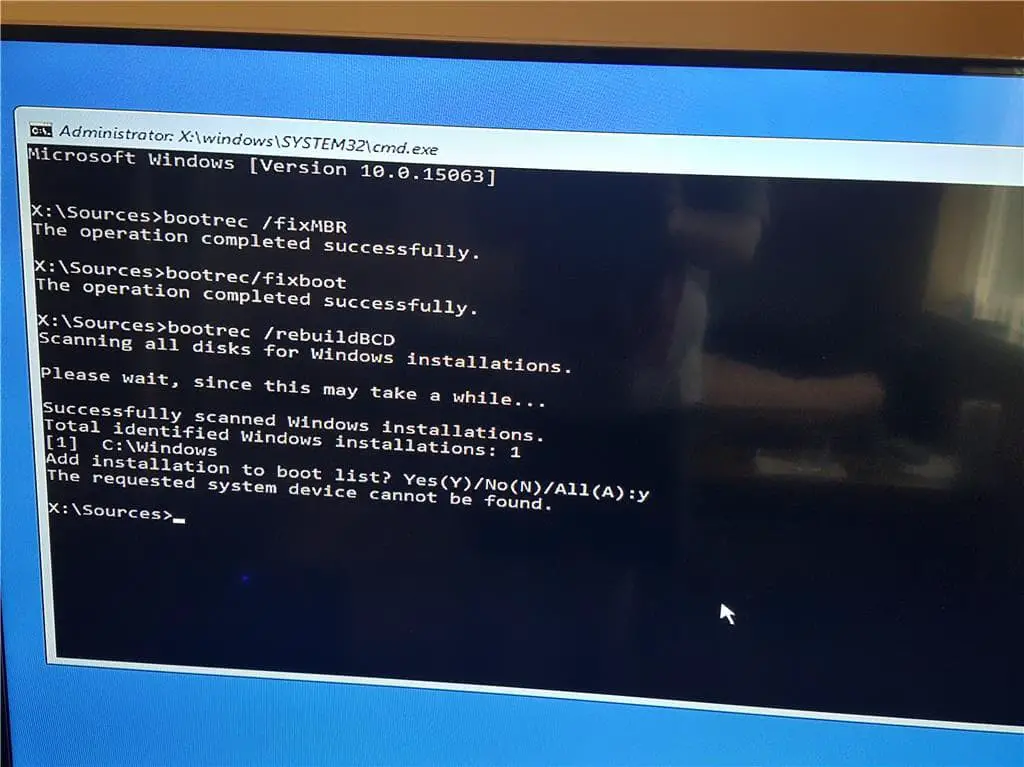
- Type Bootrec /RebuildBcd, and then press ENTER. This command will rebuild boot configuration data if in case any issue with Boot files causes this issue.
- Next type the command bootrect /fixmbr and press enter to fix master boot record errors.
- Now exit the command prompt and restart windows check this helps.
Boot into safe mode
If the above solutions fail to fix the problem, windows still restart frequently then Boot the system in Safe Mode to check if the automatic reboot stops.
- As windows won’t start normally, access advanced options again,
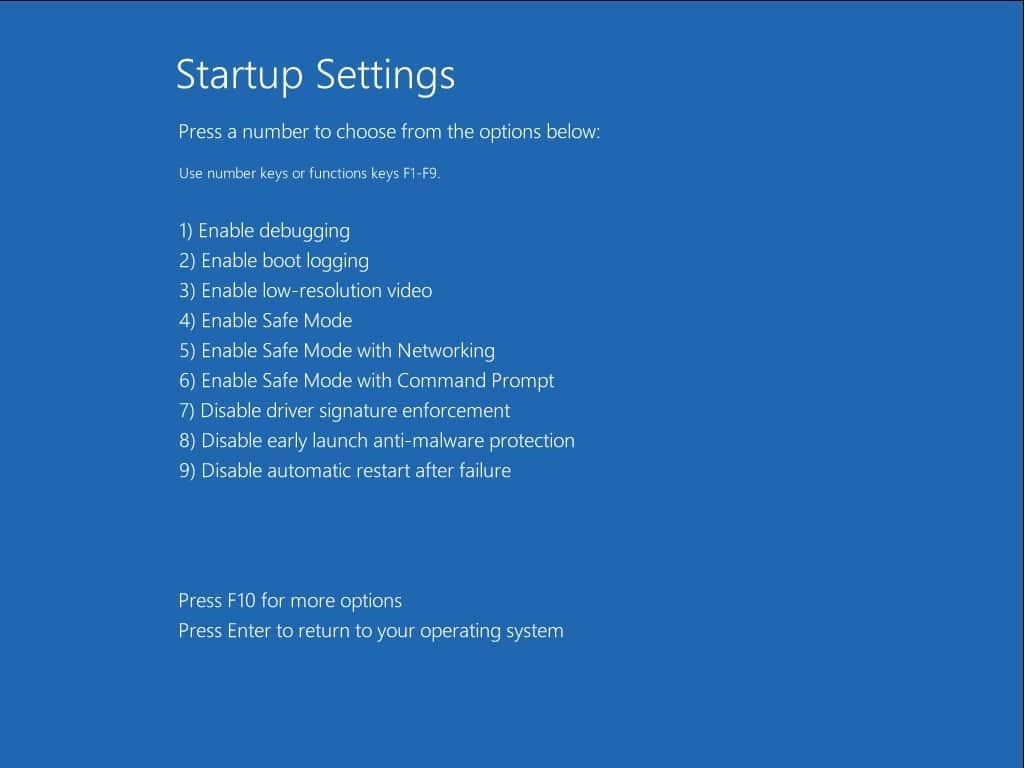
- This time select Startup Settings.
- Click Restart and press F8 to boot into Safe Mode
- This will start windows with minimum system requirements and allows to perform troubleshooting steps below.
Disable Fast Startup
- On keyboard press Windows + X and select power options,
- Click on the Additional power settings link,
- Click Choose what the power button does:
- Then Change settings that are currently unavailable:
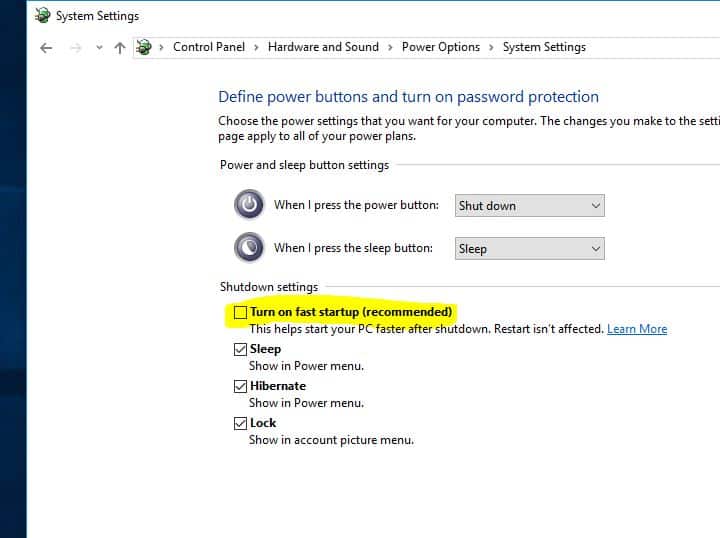
- Now Uncheck Turn on fast startup (recommended), then click Save changes:
- Reboot your PC normally and see if the error persists.
Update Drivers and Windows
As we discuss before corrupted outdated device drivers cause different windows errors and BSOD Error is the must one. We recommend to update your drivers to the latest version and also make sure your windows have installed the latest updates too. If you are using the latest drivers, then find which drivers are incompatible with your version of windows. After that, remove these incompatible drivers.
- Press Windows + X select device manager,
- This will display all installed device driver list,
- Here check if any driver marked with a yellow exclamation mark
- If there try to update or reinstall the driver software.
Also, we recommend to update the display driver, to do this
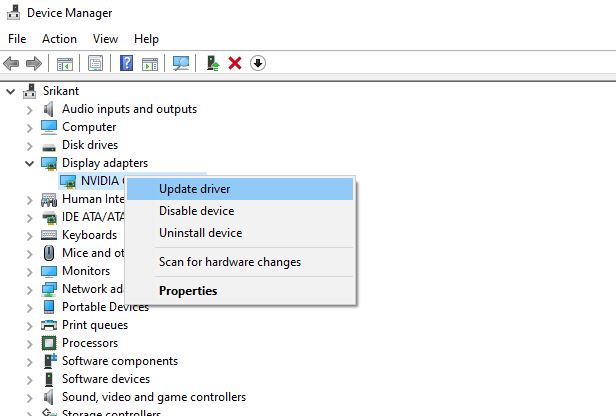
- Expand Display adapters,
- right-click installed driver and select update driver software.
- Select Search automatically for driver software and let windows install the best compatible driver for your pc.
- Also, you can uninstall the driver, and visit the driver manufacturer’s website.
- Download and save the latest available driver
- Install the same on the problematic pc, Restart windows and check there is no more bad_pool_header blue screen errors.
Run Memory Diagnostic Tool
Sometimes, This error may be caused by a memory problem. So you should run the built-in Windows Memory Diagnostic Tool to find out memory problems to fix the bad pool header. To Run Memory Diagnostic Tool Fallow bellow.
- At first click on the start button search and type memory.
- You will see Windows Memory Diagnostic on the start menu search
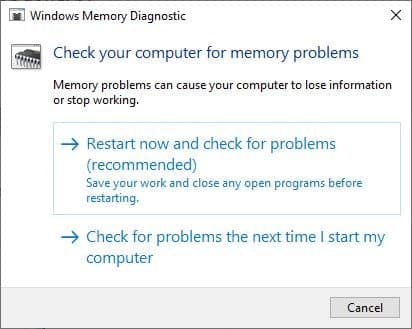
- Click on it. This will open the memory diagnostic tool here you will see Two options.
- select “Restart now and check for problems (Recommended)“. This will restart windows and check for memory Errors
- Windows will automatically detect any memory related problems. wait until 100% complete the scanning process then after the system will restart automatically Hope this time windows will start normally.
The error would also occur due to faulty RAM. The RAM may be stuck with dust. Take it out and do some cleaning. If the error still can’t be resolved, you might need to replace it with a new one. Take your PC to the repair store near you if you are not comfortable fixing RAM issue.
Repair Corrupted Windows System Files
A damaged Windows system file can also lead to a Bad Pool Header BSOD. Perform the SFC command to scan for corrupted files on your computer and repair them automatically.
- Open the command prompt as administrator,
- Type command sfc /scannow and press the enter key.
- This will scan for corrupt missing system files if found any the SFC utility automatically restores them with the correct ones.
- Restart windows 100% complete the scanning process.
- And check there is no more Windows 10 bad_pool_header BSOD
Tips To Avoid Bad Pool Header on Windows 10
You might get this error again even if you managed to fix this issue once. But there are a few Precautions and Steps that you can take to avoid these errors again in the Future.
- Avoid Using Cracked/Nulled Software
- Avoid More than one Anti-virus/Anti-Malware program if not needed.
- Always Keep your Device Drivers Up to Date.
- Create Restore Points when your PC is in top form.
Did these solutions help to fix Windows 10 bad_pool_header stop 0x00000019? Let us know on the comments below, also read:
