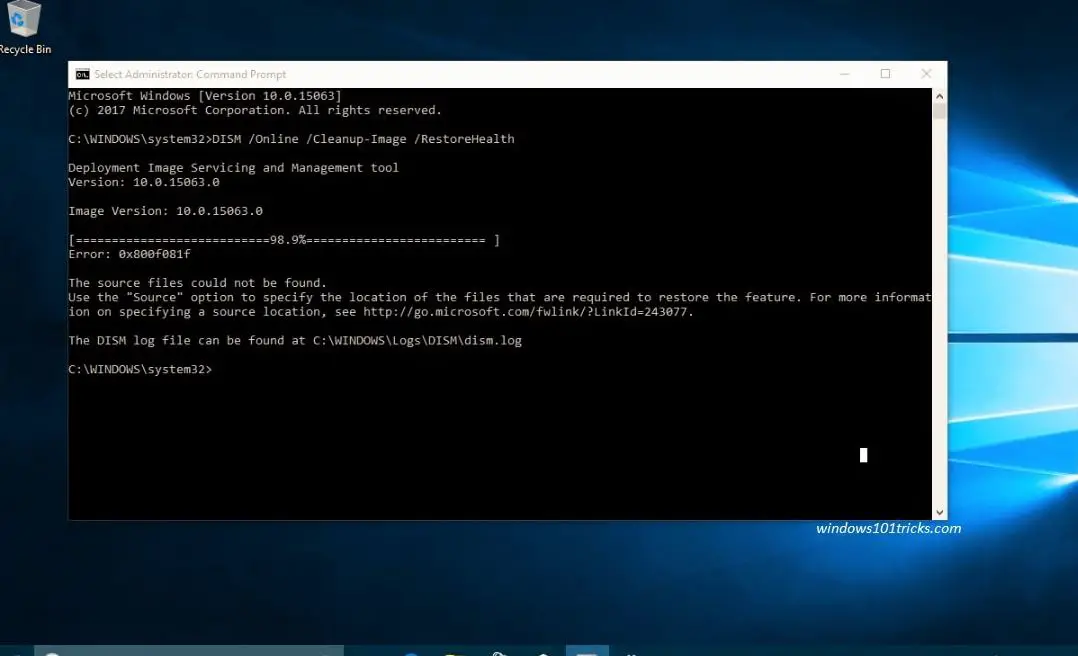
The Deployment Image Servicing and Management (DISM) tool is a command-line tool that can be used to service and repair Windows images, including the Windows Recovery Environment, Windows Setup, and Windows PE. It can also be used to scan and restore corrupted system files. However, sometimes when you run the DISM command, you may encounter an error message that says “error 0x800f081f, source files could not be found“. This error usually means DISM cannot find the source files required to repair the corrupted system files. This article explores the reason behind it and how to fix DISM error 0x800f081f on Windows 11 or 10.
What is the DISM command?
DISM stands for Deployment Image Servicing and Management. It is a command-line tool that can be used to service and repair Windows images, including the ones used for Windows Update, Windows Recovery Environment, and Windows Setup. DISM can also scan and restore the health of the system files.
You can perform various DISM commands to Check, Scan or restore Windows image like :
- dism /online /cleanup-image /scanhealth (To scan the system image health )
- dism /online /cleanup-image /checkhealth (To Check the system image health )
- dism /online /cleanup-image /restorehealth (To fix and restore corrupt system image )
Here /RestoreHealth part of this command primarily instructs DISM to repair the online Windows image. And also opens the gate for the user to specify additional repair source locations so that DISM can search for the files required to repair the online Windows image.
Error 0x800f081f The source files could not be found
One of the common reasons for DISM error 0x800f081f is that the Windows image is corrupted or missing some components. This can happen due to various factors, such as malware infection, disk errors, power outage, or interrupted update process. Another possible reason is that the Windows Update service is not running properly or has some configuration issues.
- The Windows image is corrupted or damaged
- The Windows Update service is not running or is configured incorrectly
- The Windows component store is corrupted or missing files
- The specified source is invalid or inaccessible
There are several possible ways to fix this error, depending on the cause, here are some of the most common solutions that have worked for other users to fix DISM Error: 0x800f081f (The source files could not be found.)
Run a component cleanup and an SFC scan
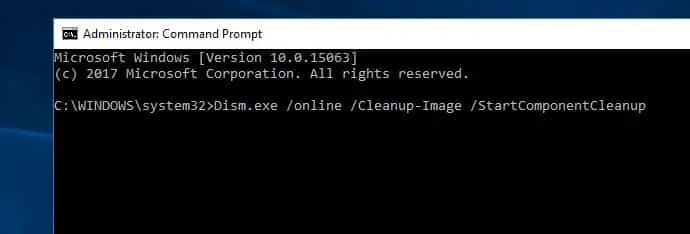
One of the quickest methods to fix the DISM error 0x800f081f is to run a component cleanup and then an SFC scan. This will remove any unnecessary or outdated components from the system image and then scan for any corrupted or missing files.
- Open an elevated Command Prompt by typing cmd in the search box and selecting Run as administrator.
- Type the following command and press Enter:
Dism.exe /online /Cleanup-Image /StartComponentCleanup
- Wait for the process to complete. It may take some time depending on your system configuration.
- Next, run the system file checker command sfc /scannow
- Wait for the scan to finish. It will repair any detected issues automatically.
- Restart your computer and run DISM command dism /online /cleanup-image /restorehealth to check if the error is resolved.
Get Source from Windows Image
The “DISM RestoreHealth” command is used to repair problems by searching in Windows Updates (or WSUS) to replace the damaged files. If for any reason, DISM cannot the files required to repair the Windows image, This will result Error 0x800f081f The source files could not be found.
In order to solve the “DISM /Online /Cleanup-Image /RestoreHealth” error 0x800f081f, you must specify a valid Windows image file (install.wim) that contains all the files needed from the repair process. The install.wim file is contained in any Windows installation Media under the “sources” folder (sources\install.wim).
Note: The install.wim file must be of the same Windows Version, Edition and language as the installed Windows version.
First of all download Windows 10 ISO from here. If you have a Windows 11 device get the windows 11 ISO here.
Mount ISO file
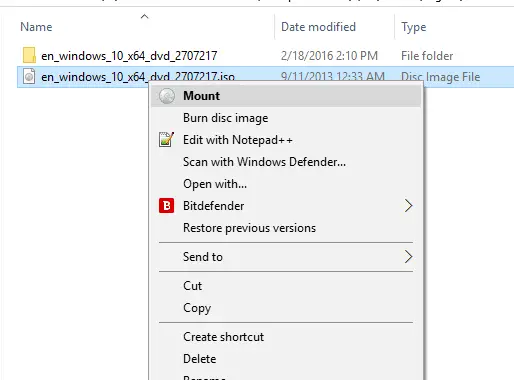
Once the Windows 10 ISO has been downloaded, you need to mount it on your computer in order to have your computer extract it and then be able to access it. To mount an ISO file in Windows, Right click on the ISO file and select Mount.
Now, Go to This PC and see the driver latter where the ISO file has been mounted. Suppose, The driver later is D So, I will use D:\sources as an alternate source.
now open the command prompt as administrator, and perform the command below.
- DISM /Online /Cleanup-Image /StartComponentCleanup
- DISM /Online /Cleanup-Image /AnalyzeComponentStore
- DISM /Online /Cleanup-Image /RestoreHealth /source:WIM:D:\Sources\Install.wim:1 /LimitAccess
Note: Replace D with the directory where the Windows 10 ISO file you downloaded earlier is mounted:
Wait for the command to be executed, and DISM should be successful at repairing your Windows image this time. When the restore health process is complete, on the same command prompt run the SFC utility to fix and repair corrupted system files.
Perform an in-place upgrade repair
If none of the above solutions work, you may need to perform an in-place upgrade repair. This will reinstall Windows 11 without affecting your personal files, settings, and apps. However, it is recommended to back up your data before proceeding.
- Download a fresh copy of Windows 11 ISO from Microsoft.
- Mount the ISO to a drive letter, such as G:.
- Open File Explorer and navigate to G:\.
- Double-click on setup.exe to launch the Windows 11 installation wizard.
- Follow the on-screen instructions and choose to keep your personal files, settings, and apps when prompted.
- Wait for the installation to finish. It may take some time depending on your system configuration.
- Restart your computer and check if the error is resolved.
Also read:


