
Having trouble with your computer network & internet connection after a recent Windows 10 update? The dreaded yellow triangle appears over your internet connection icon, annoyingly proclaiming that you have No Internet Access. WiFi Getting Disconnected Frequently or laptop can’t connect to the internet after the Windows 10 update. All these problems could be related to the cable modem, the network adapter driver, Incorrect network configuration, firewalls or antivirus programs and more. Whatever the reason here in this article, we will walk you through each method with its steps from which you can fix Windows 10 internet problems easily.
Internet not working Windows 10
Well whether you are connected to a WiFi network or LAN connection, If you can’t receive an email, browse the web, or stream music, chances are you’re not connected to your network and can’t get onto the internet. Here we have listed the best solutions to fix the Internet and network connection issues in Windows 10.
- Restart all network devices (Router, modem, switch) include your PC/Laptop which probably help fix the issue if a temporary glitch causes the problem.
- Check the ethernet cable is connected properly between the network device and your PC.
- Temporarily disable the antivirus firewall and disconnect from VPN (if configured)
- If you are having a problem with WiFi connectivity we recommend connect your smartphone to the Wi-Fi network and check if the internet connection working, If not then you need to connect to ISP to resolve that issue.
Disable Proxy Settings
- From the start menu search for internet options and select the first result,
- Move to the Connections tab then click on LAN settings,
- Here make sure “Use a proxy server for your LAN” is unchecked.
- And checkmark on the Automatically detect settings option,
- Click apply and OK to make save the changes.

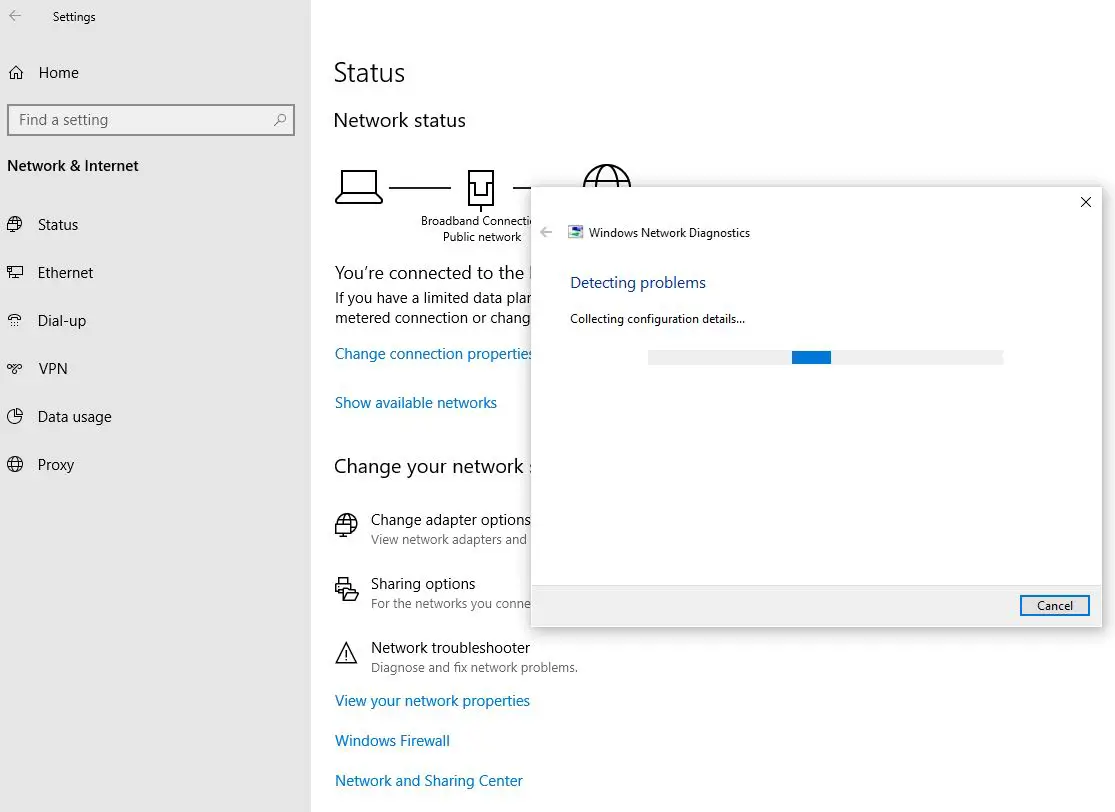
Run Network troubleshooter
Run the built-in network and internet connection troubleshooter that helps diagnose and fix common network and internet connectivity problems.
- Open the Start menu by clicking on the Window icon, in the start menu, and click on the Setting icon as highlighted above.
- Here from the Windows Settings pane, click on the Network & Internet options then click on the Status option.
- Now From Status windows click on the Network troubleshooter option.
- This will open up Windows Network Diagnostics which will automatically detect and fix the problem of the network connection.
- Once done restart your PC to take effect the change and on the next start check if the internet connection working normally.
Check IP address configuration
- Press the keyboard shortcut Windows + R, type ncpa.cpl and click ok,
- This will open the network connection window,
- Right-click on the active network adapter (either Wireless or LAN) select properties,
- A new popup window opens, here locate and select Internet protocol version 4 then click on properties,
- Here check and make sure it’s set to obtain the IP address and DNS address automatically (as shown image below). If not change it accordingly.

Reset network stack using Command Prompt
Still need help lets to try to reset the Windows 10 TCP/IP stack and clear any DNS information on your computer that probably helps fix Windows 10 network and internet problems.
From the start, menu search for cmd, Right-click on the command prompt and select run as administrator. A black command prompt window opens with administrative privileges, let’s perform commands below one by one.
- netsh winsock reset
- netsh int ip reset
- ipconfig /release
- ipconfig /renew
- ipconfig /flushdns
That’s all close the command prompt and restart Windows to take effect the changes. Let’s open the web browser and visit any web pages to check if the internet connectivity problem is solved or not.

Switch to public DNS
Still need help, Here is another trick that helps most users to fix network and internet connectivity problems on Windows 10.
- From the start menu search for view network connections and hit the enter key,
- This will open the network connections window,
- locate your active network adapter Right-click on it and select properties,
- Next double click on Internet protocol version 4 (TCP/IPv4) to get its properties
- Select Use the following DNS server addresses radio button and update Preferred DNS server 8.8.8.8 and or Alternate DNS server 8.8.4.4 (refer to the image below).
- Also, checkmark on validate settings upon exit, click apply and OK to make save the change. Now open any webpage and check if this helps.

Reset network adapter (Windows 10 only)
Here is another effective solution applicable to Windows 10 users only, reset and reinstall the network adapter to its default settings to fix internet connectivity problems after installing an update or at any time that you can’t connect to the network.
- Use the keyboard shortcut Windows + X and select Settings,
- Click on Network & Internet, then Status on left,
- Here Under the “Change your network settings” section, click the Network reset option.

A new window opens with the reset button and a warning message about what network reset does. Click the Reset now button. And click yes when ask for confirmation.

Once done the device will restart automatically, and on reboot, you should now be able to connect to the internet.
Check Network Adapter Driver Issues
Also, there is a chance that the current network adapter driver installed on your device causing compatibility issues with a new recently available update of Windows 10. In such case, you should try to update the network device driver with the latest version. Also, try to roll back or reinstall the network driver to fix the problem.
Update network adapter driver
- Right-click on the Windows 10 start menu select Device Manager,
- This will display all installed device driver lists, let’s Expand the Network adapters branch,
- Now Right-click the adapter with the problem and select the Update driver option.
- Click the Search automatically for the updated driver software option and follow on-screen directions. if an update is available, it’ll download and install it on your computer.

Rollback network adapter driver
Again If the problem is related to a driver update rather than a Windows 10 update, that causes you to follow the instructions below to roll back the old version that helps resolve networking problems.
- Press Windows + R on the keyboard type devmgmt.msc and click ok,
- This will open the device manager and display all installed driver list,
- locate and expand network branch,
- Right-click on the adapter with the problem and select the Properties option.
- Move to the Driver tab and click the rollback option.
Note: The Rollback option is available only if you have recently updated the driver, If the button isn’t available, then it means that the system doesn’t have a backup of the driver.
- Now select the reason why you’re rolling back (you can select any option), and follow the on-screen instructions.
- Once done restart your PC and check if the problem is resolved.
If none above solutions work for you it’s time to utilize the system restore feature that reverts Windows settings to the previous working state.
Also read:
- Solved: This device cannot start (code 10) Error network adapter
- Solved: Windows 10 Won’t Shut Down (stuck) after update
- Screen goes black when playing games on Windows 10? Try these solutions
- Fix This App Has Been Blocked For Your Protection in Windows 10
- Solved: Bluetooth Headset not showing in playback devices Windows 10