
7 Tips to increase internet speed on laptop Windows 11/10
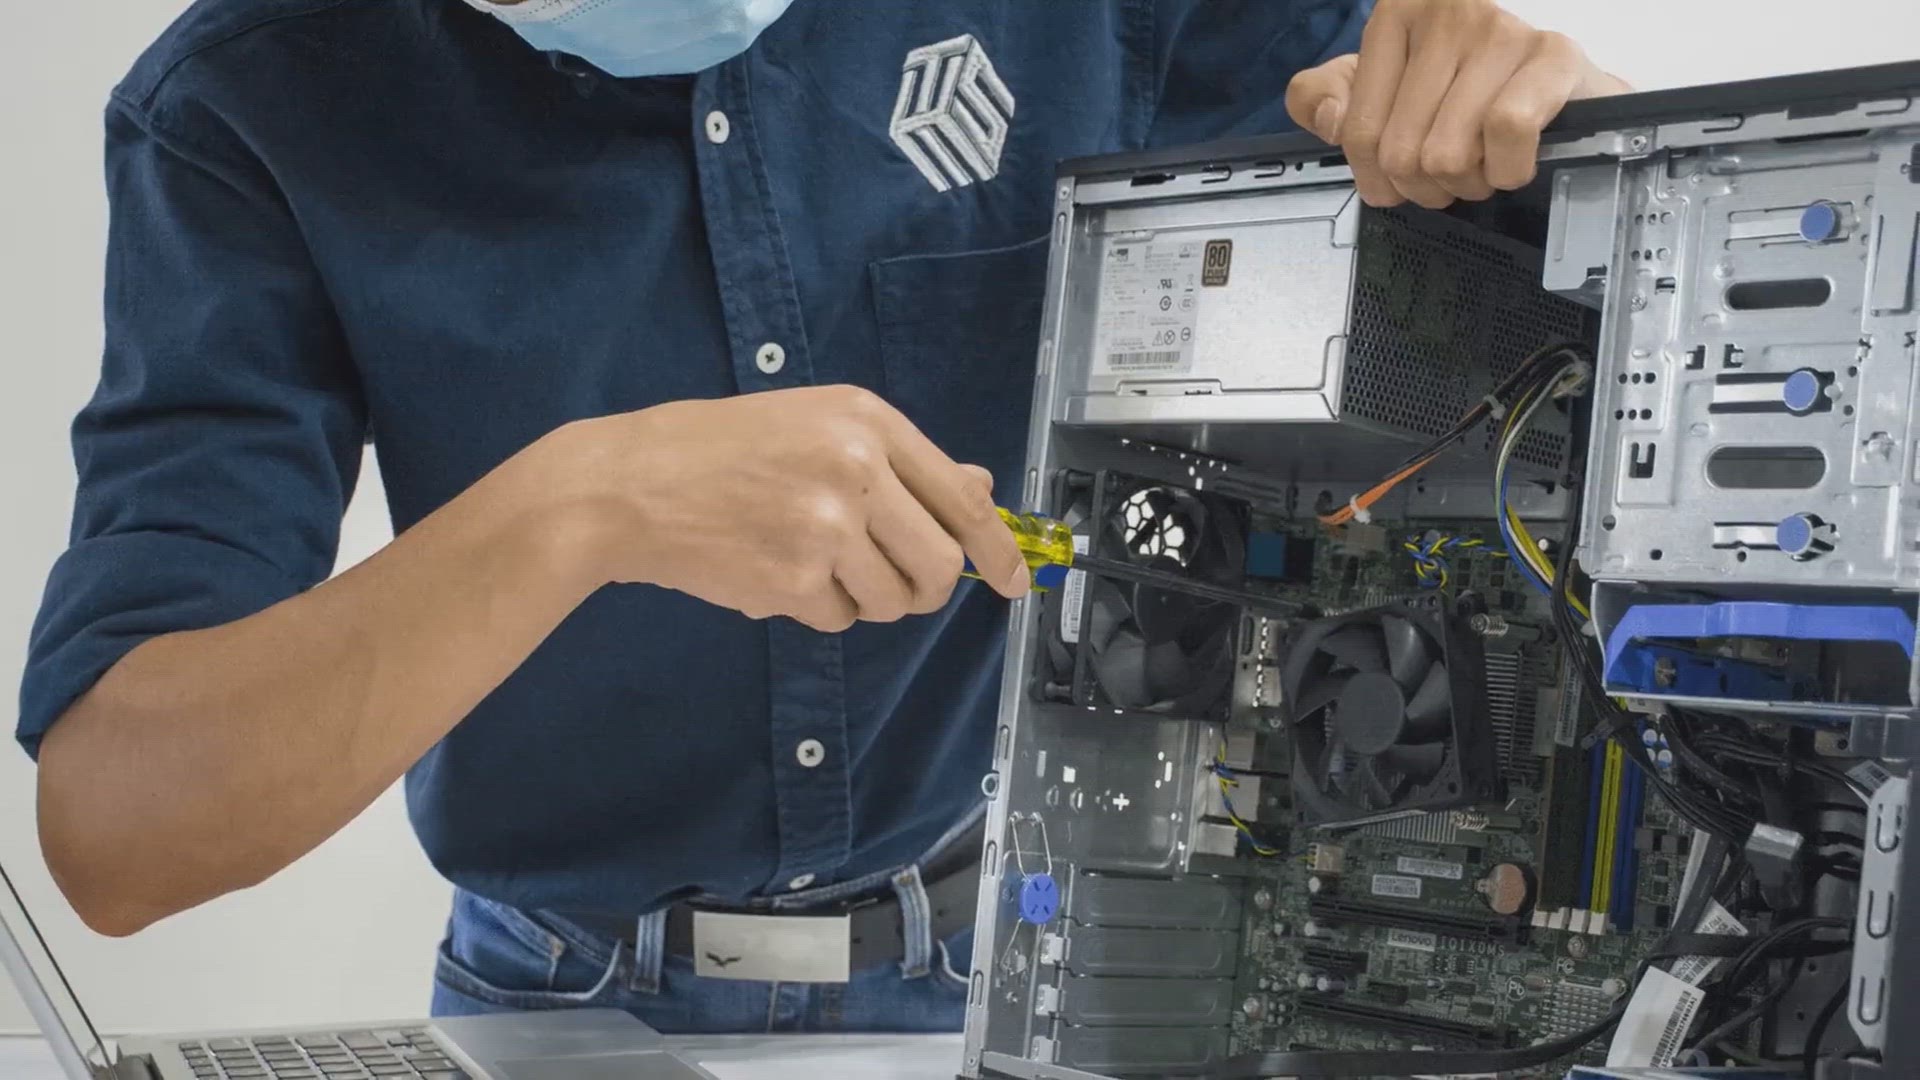
Whether you're streaming, gaming, or simply browsing the web, Here are a few tips to increase your internet speed and enjoy smoother online experiences. Optimize Your Wi-Fi Setup Make sure your router is placed in a central location, away from walls an
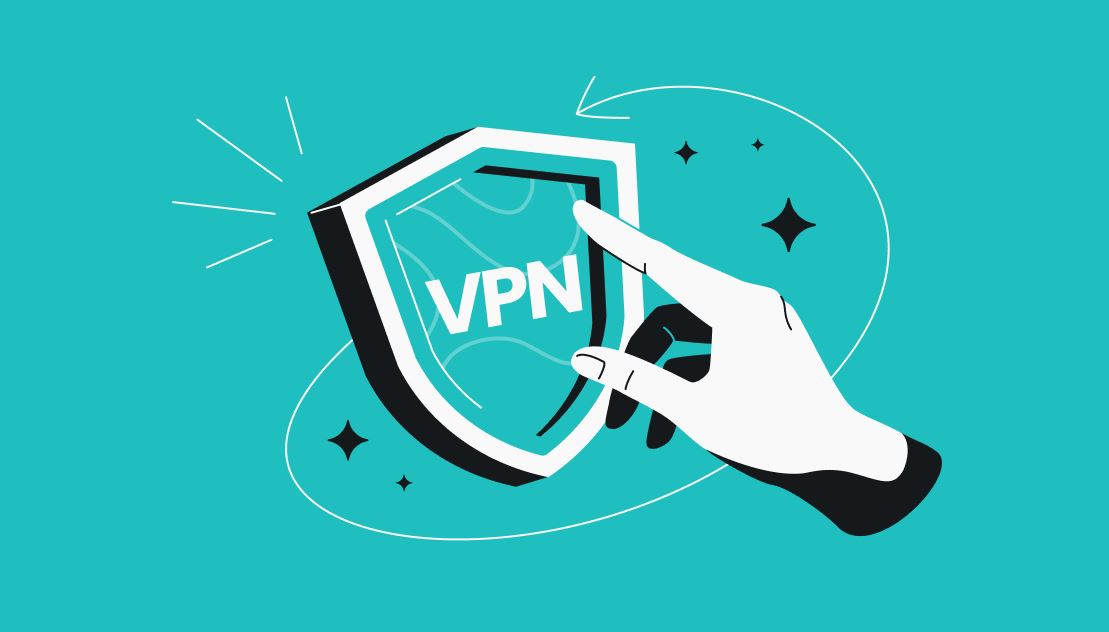
What is VPN: A Comprehensive Guide to How it Works
A VPN, or Virtual Private Network, is a technology that allows you to create a secure and encrypted connection over the internet. It enables you to browse the web anonymously and securely by routing your connection through a server and hiding your IP addr
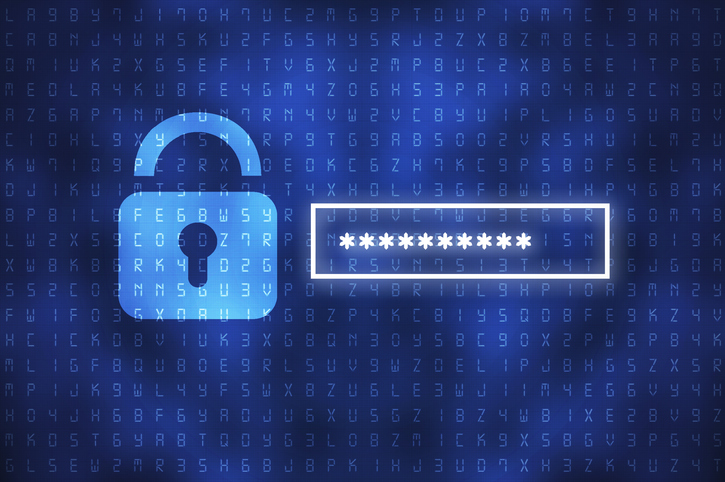
Importance of strong passwords and how to create one
Creating strong passwords is crucial for protecting your sensitive data. Here's why they matter and tips to make them effective: Enhanced Security: Strong passwords act as a robust barrier against unauthorized access, deterring cybercriminals and protect

Microsoft Copilot Free GPT-4 Access and a powerful image generator!
If you haven't tried Microsoft Co-pilot yet, you're missing out. It's even more useful than you might think, offering free access to GPT-4 and a powerful image generator! Here's how to make the most of it: 1. Best AI browsing assistant This is the bes

10 Free Gmail Tricks You (Probably) Didn't Know About
Make the most of your Gmail account with 10 amazing free Gmail tricks. Uncover hidden features & make your Gmail experience better! Whether you're a professional or just someone looking to streamline your inbox, these hacks are sure to come in handy. So,
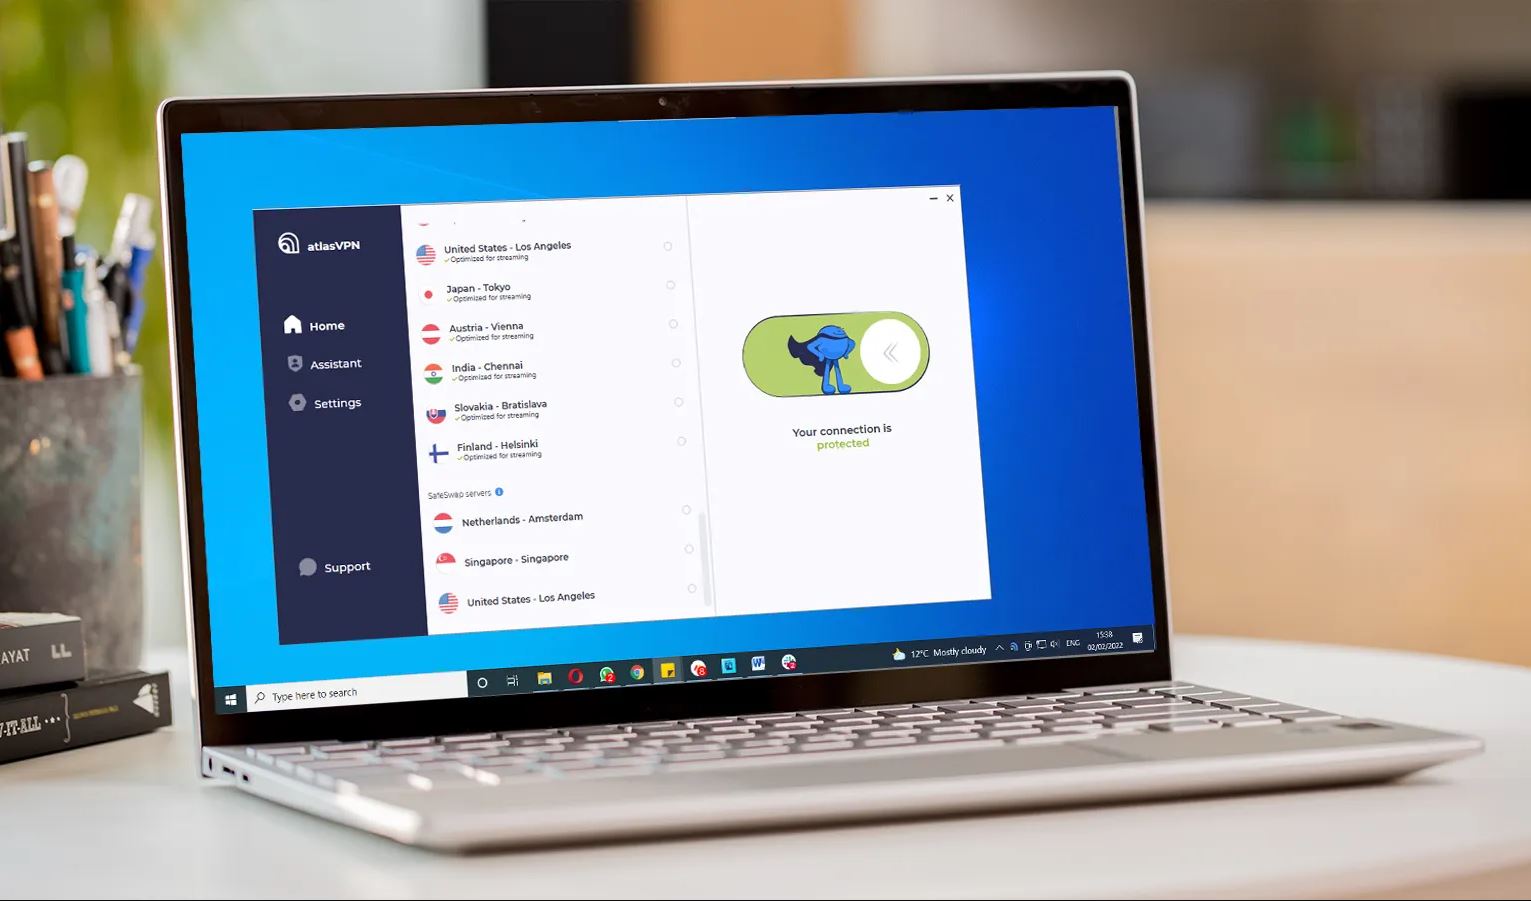
Best free vpn for windows 11 free download 2024
Do you want to protect your online privacy and access blocked websites on Windows 11? If so, you need a reliable and free VPN service! In this video, we will be exploring the best free VPN options available for Windows 11. First up is TunnelBear, a user

5 Warning Signs Of A Computer Virus malware infection (how to secure)
Is your computer infected? Here are 5 virus and malware warning signs to watch for. 1. If your computer is slow or crashes frequently, it could be a sign of malware infection. 2. Unexpected pop-up ads or unwanted toolbars appearing in your browser may
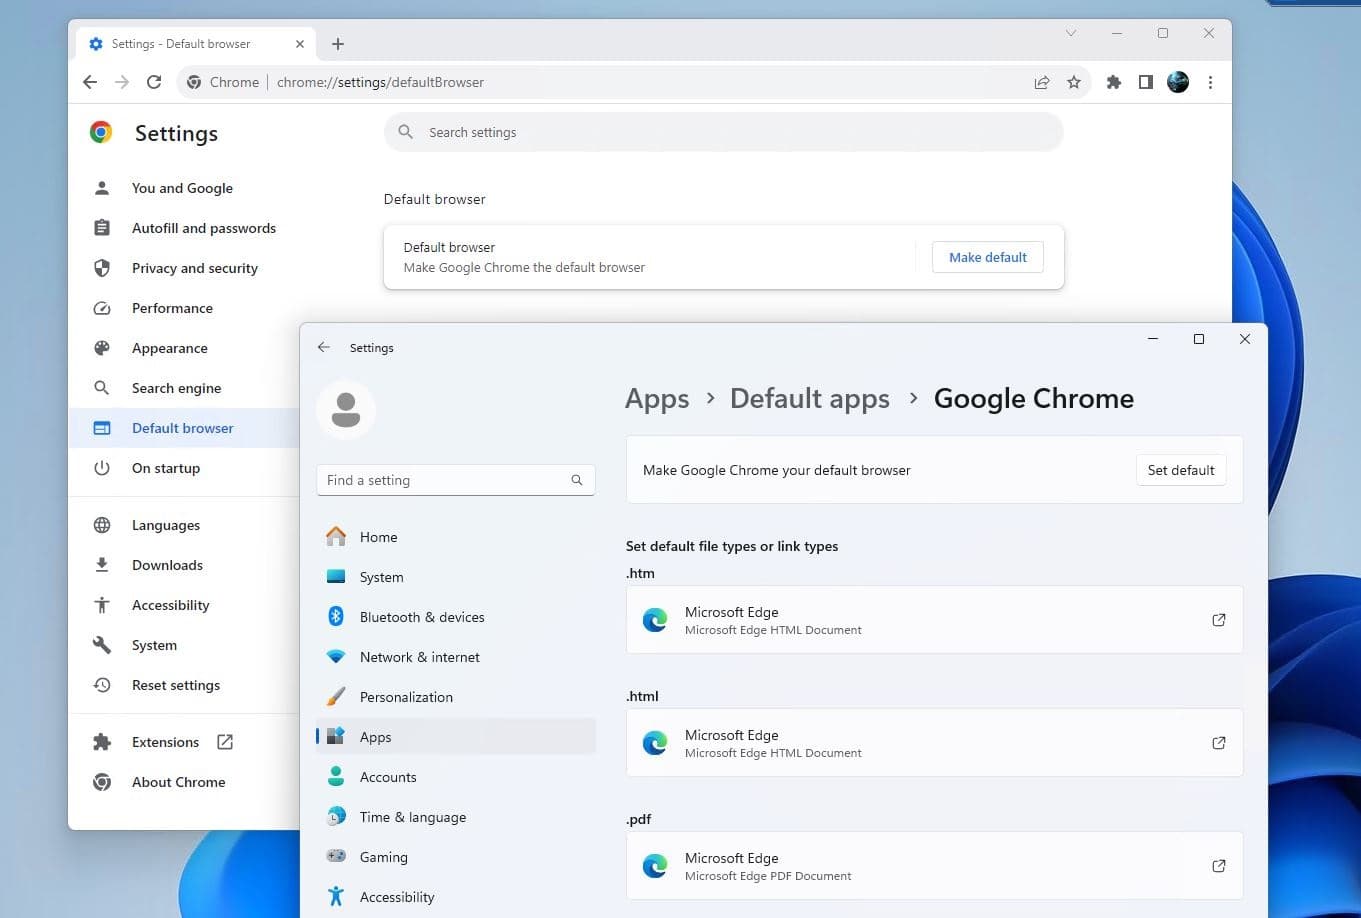
How to Make Chrome Default Browser on Windows 11
Chrome is fast, secure, and easy to use. Here is how to make Chrome your default browser on your Device to enjoy the best browsing experience.

7 Internet safety Tips for kids (Stay safe online)
The internet provides a vast array of opportunities for learning, entertainment, and socialization, but it also comes with potential risks. Internet safety is the practice of protecting children from these risks while they explore the online world. This i
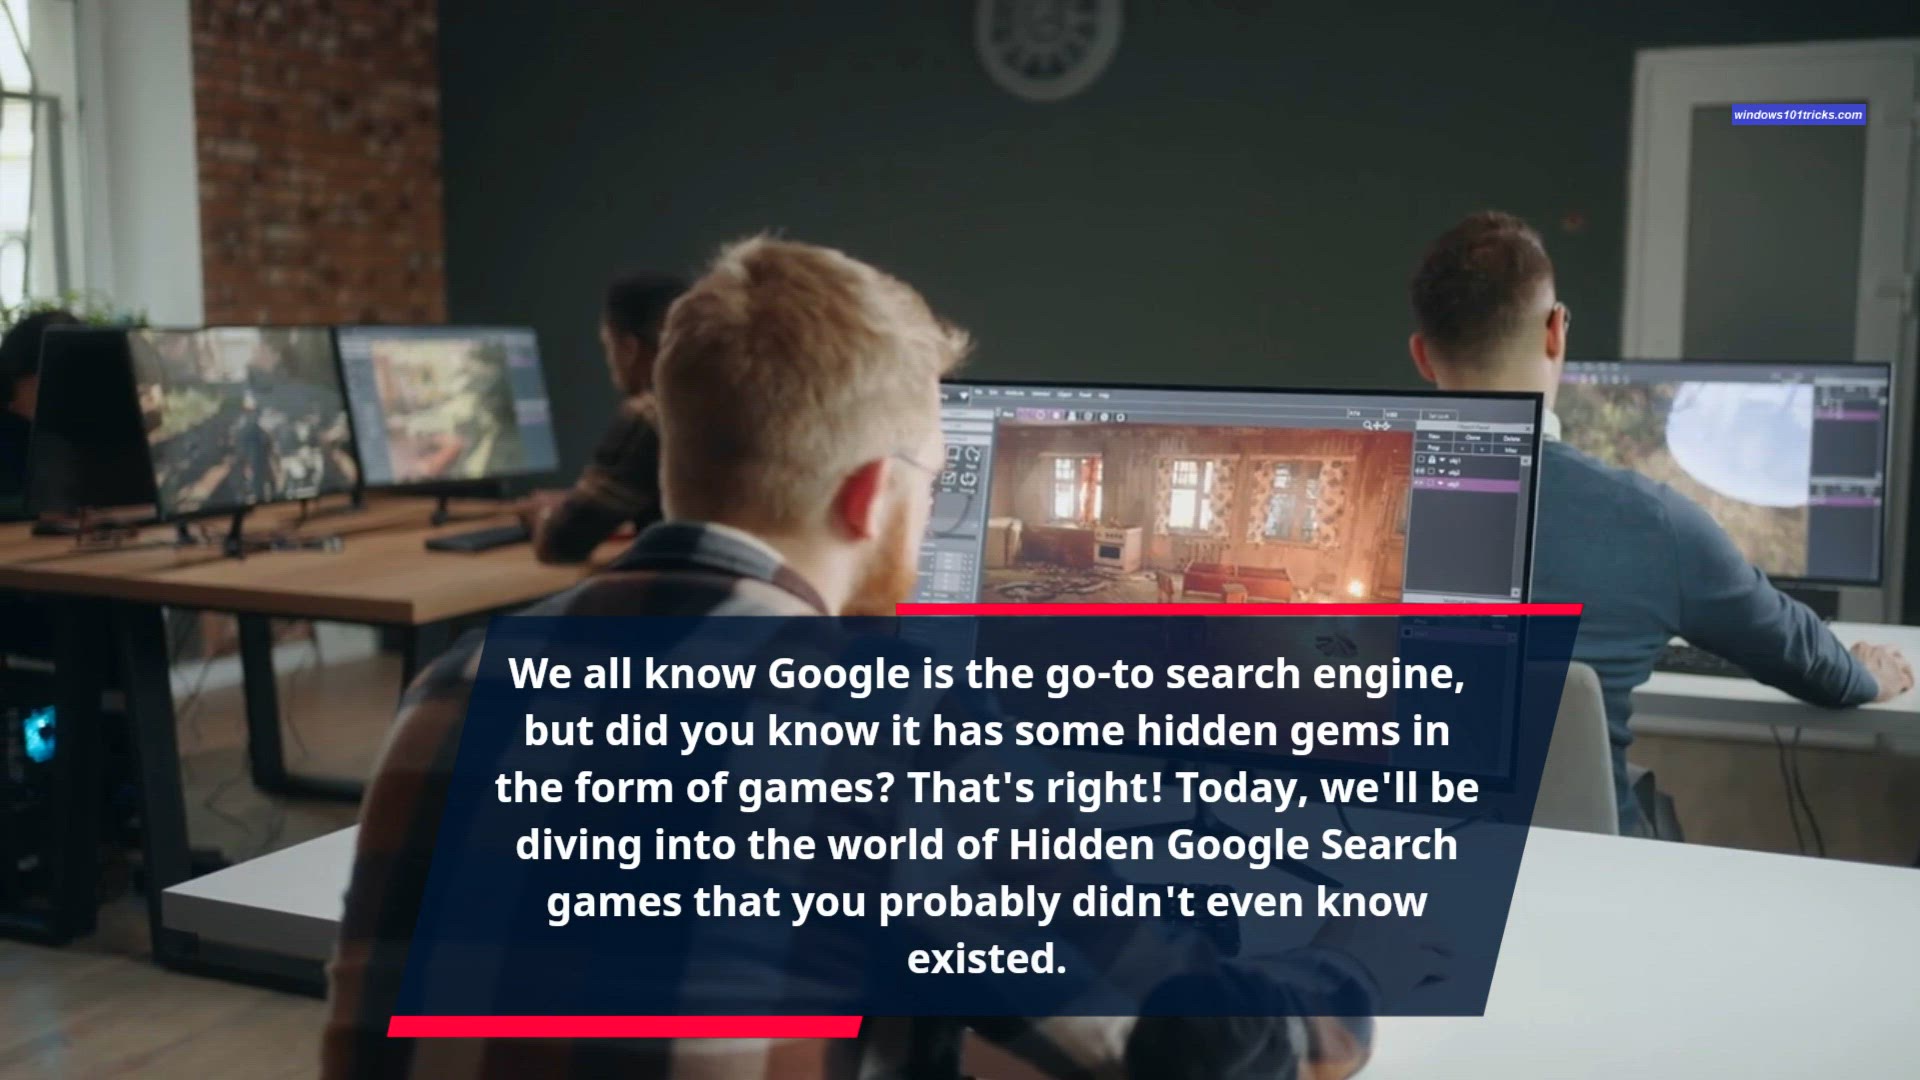
7 Best Hidden Google games to play on chrome 2024
Google has hidden some entertaining games within its various services. Here are a few hidden Google games you can play on Chrome: Dinosaur Game (Chrome's No Internet Game): If you lose your internet connection while using Chrome, you might have encounte
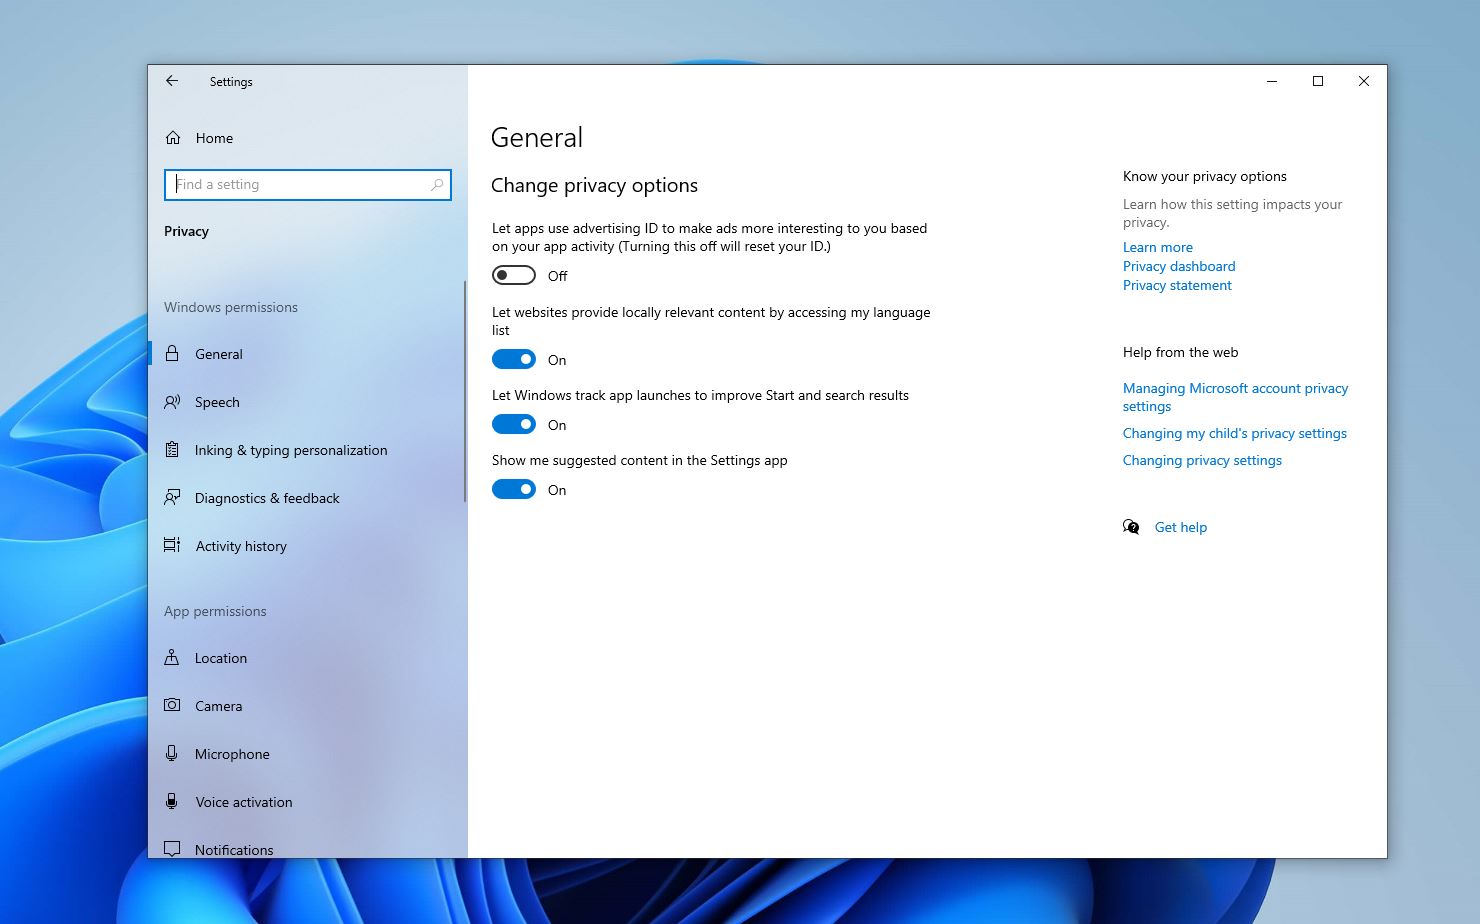
7 Windows 10 Settings to Disable Now : Enhance Your Privacy
In today's digital age, safeguarding your privacy is paramount. Windows 10, while a powerful operating system, comes with default settings that may compromise your privacy. Here are five privacy settings you should consider disabling today: Location Trac

How to Block Ads with Custom DNS Settings in Windows 10/11
Ads are ubiquitous on the internet, often intrusive and disruptive to your browsing experience. Fortunately, you can block ads at the network level by configuring your DNS settings. Here's how to do it on Windows 10: Open Network Settings: Right-click on
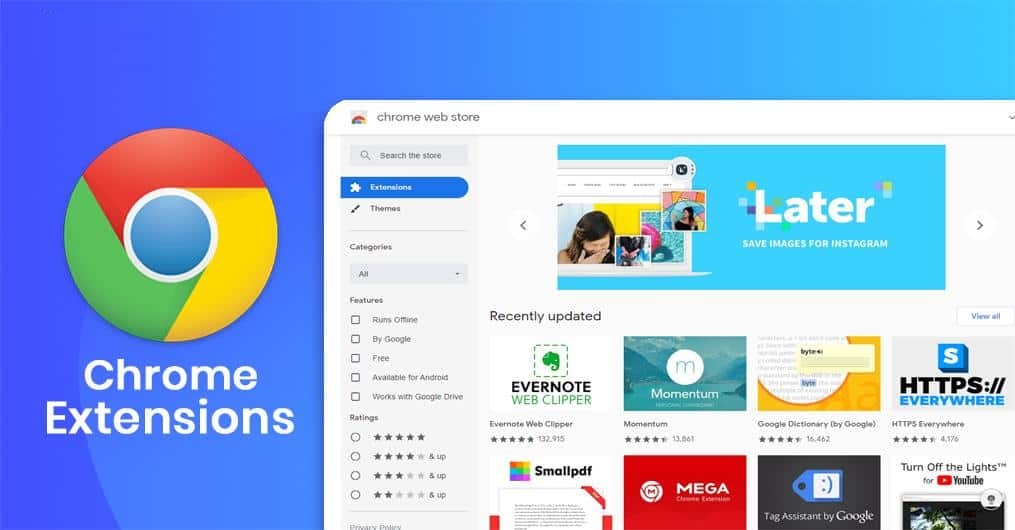
8 Chrome Extensions for Student and Productivity 2024
Chrome extensions can be invaluable tools for students, offering features that enhance productivity, time management, and overall academic performance. Here are some of the best Chrome extensions tailored specifically for students: Grammarly: Grammarly i
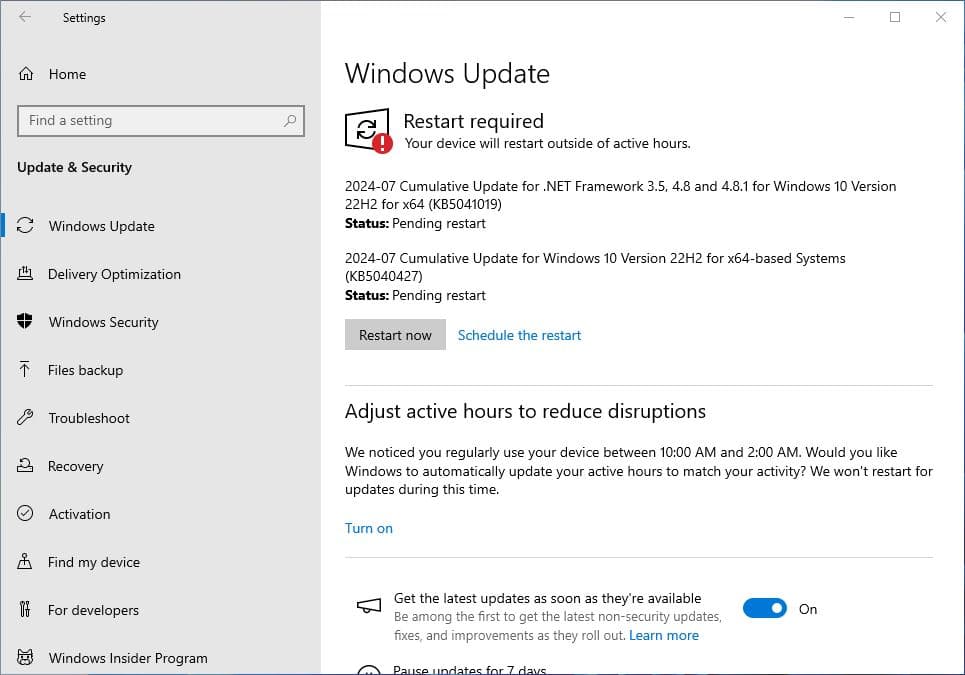
Windows 10 KB5040427 July 2024 Patch Tuesday Update Download
Windows 10 KB5040427 OS Build 19045.4651 is available for download. This is part of the July 2024 patch Tuesday update brings security enhancements and fixes lots of bugs previously reported by users. This is a mandatory security update, download and ins
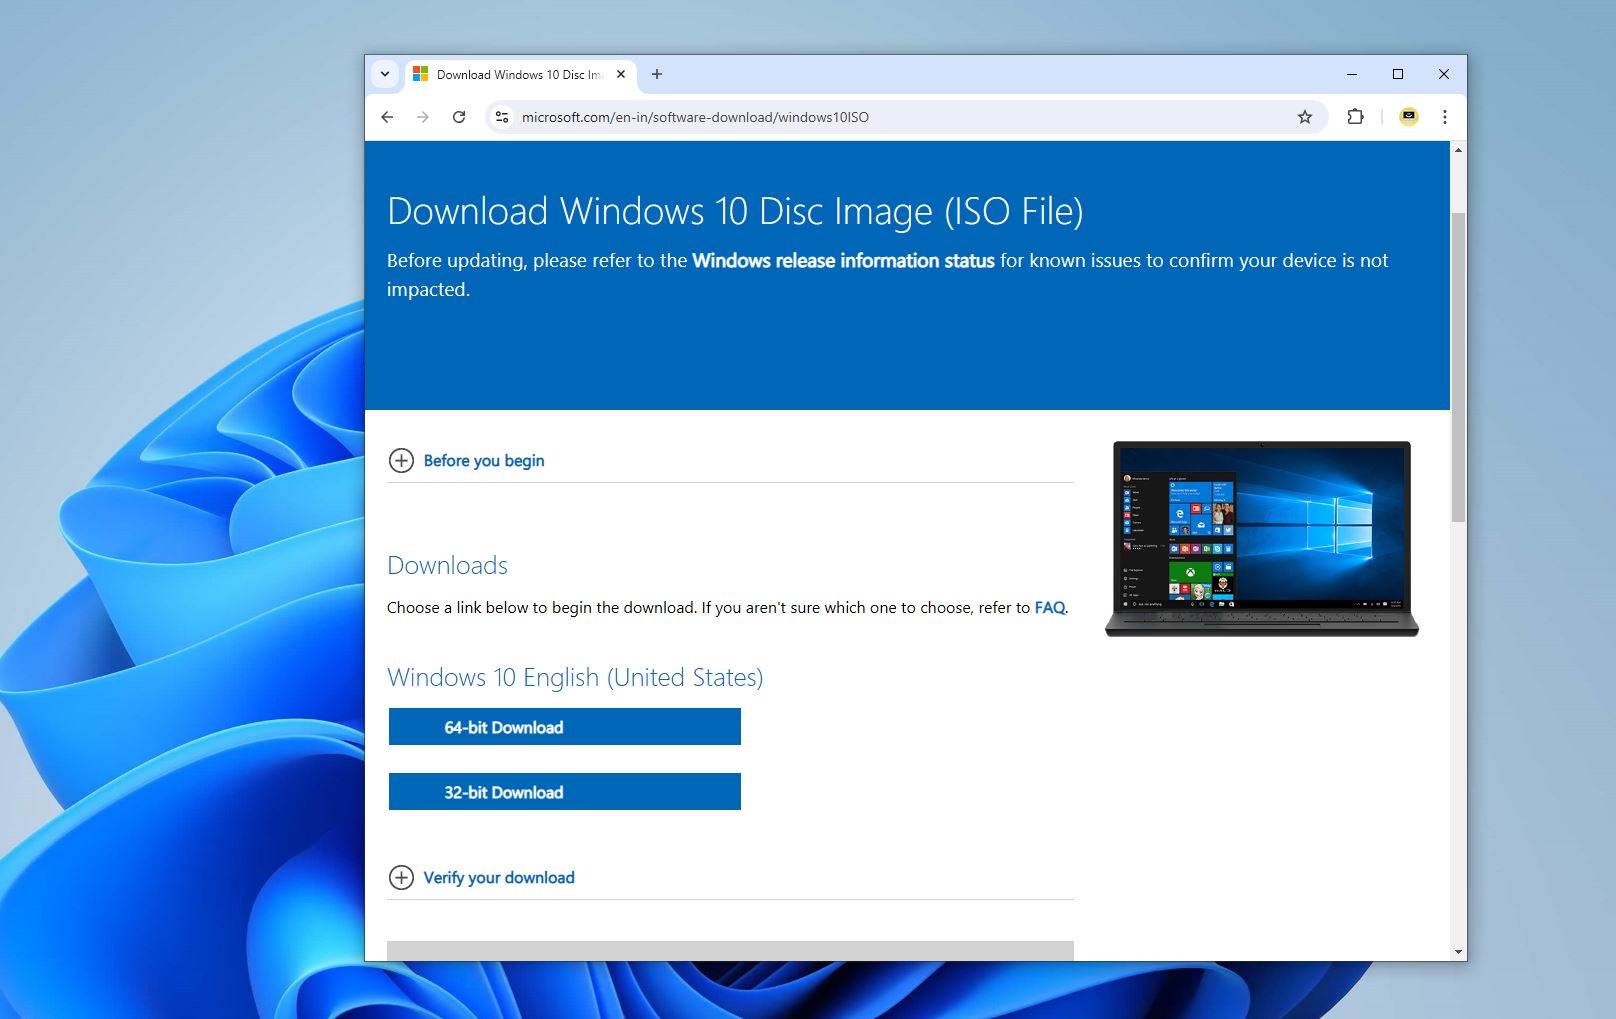
Download Latest Windows 10 or Windows 11 ISO directly from Microsoft server
Whether you're upgrading your current OS, setting up a new PC, or creating a bootable installation media, downloading the official ISO files for Windows 10 or Windows 11 directly from Microsoft's servers is the most reliable way to go. Here is steps by st
Windows Update: Quality vs. Feature Updates Explained
Windows Update is a crucial part of maintaining the security, performance, and overall user experience of Windows operating systems. It delivers two main types of updates: Quality Updates and Feature Updates. Understanding the differences between these tw
High Disk Usage by System and Compressed Memory? Here's How to Fix It!
Is your Windows PC running slow due to high disk usage by 'System and Compressed Memory'? In this video, we dive into the common causes behind this issue and provide effective solutions to optimize your computer's performance. Watch now to get your system
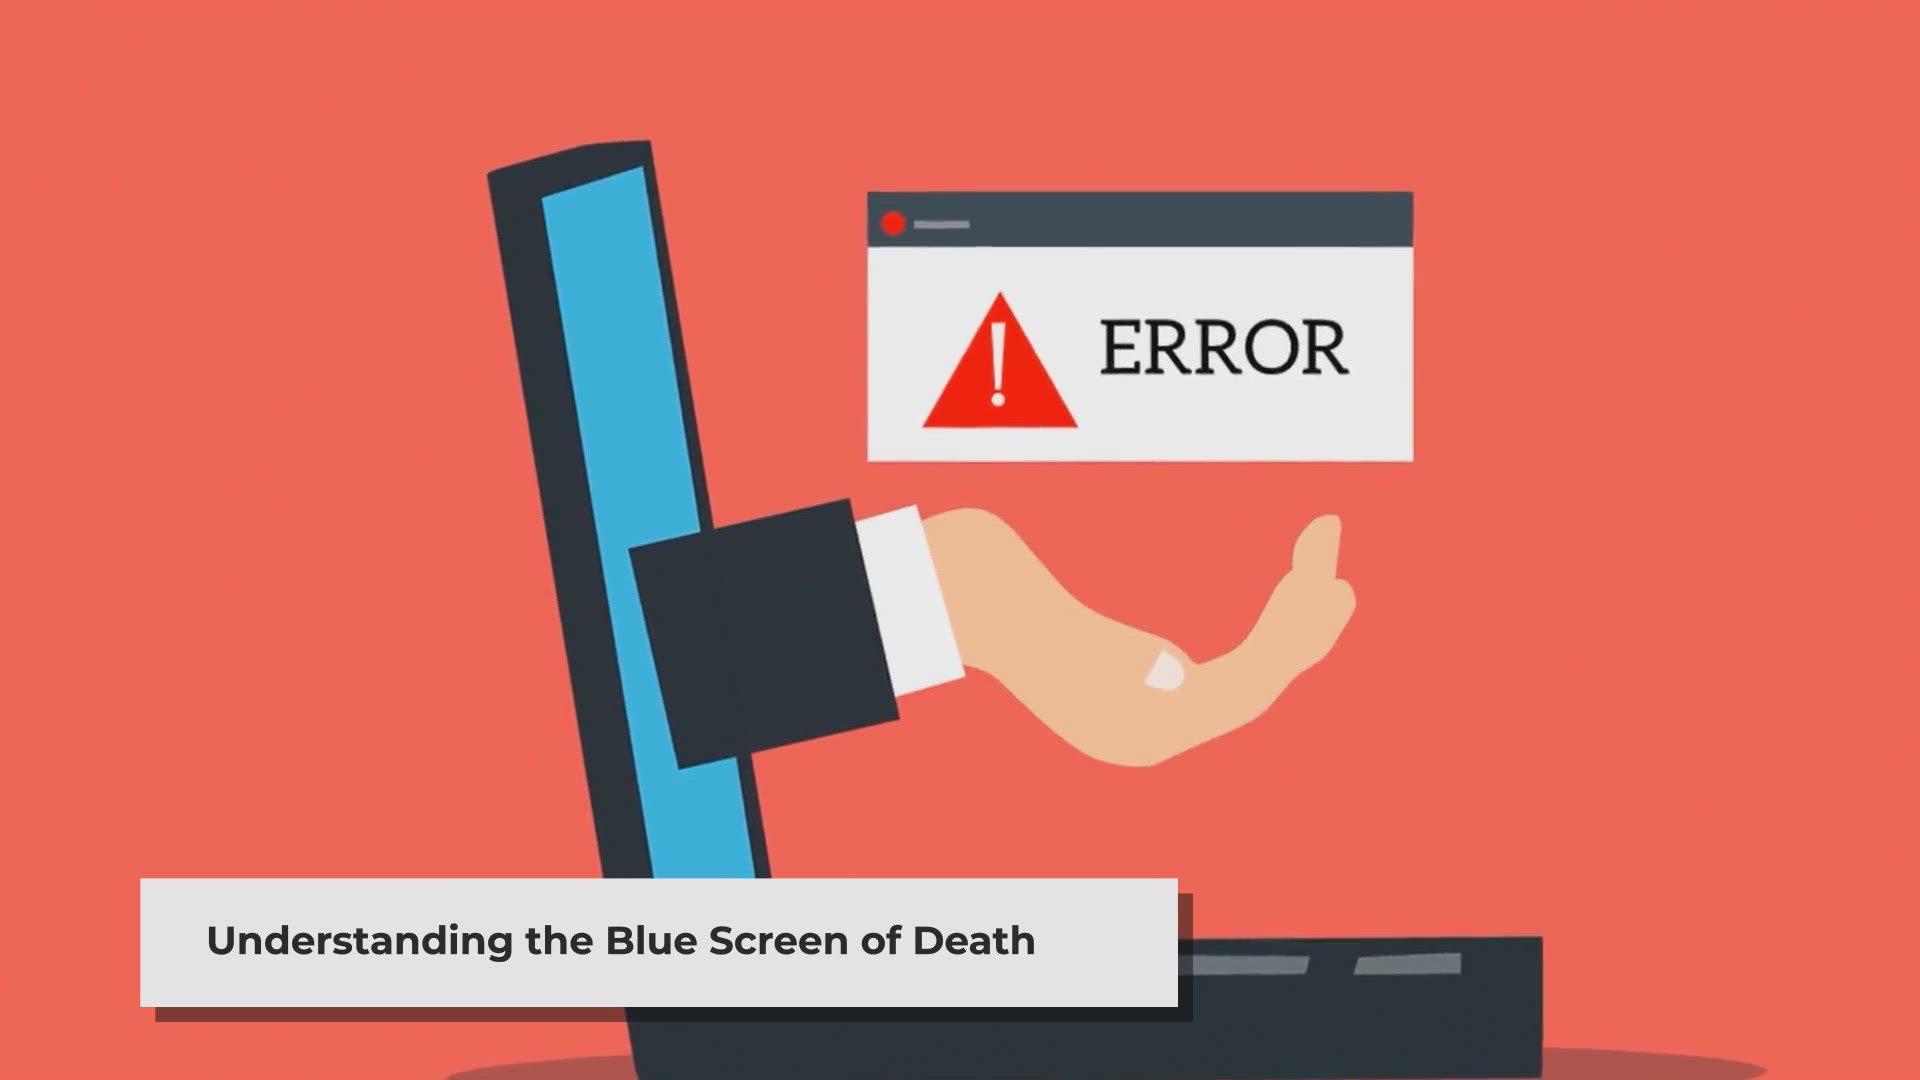
Fixing the Video Scheduler Internal Error | Blue Screen of Death (BSOD)
Encountering the Video Scheduler Internal Error on your Windows PC? This Blue Screen of Death can be frustrating, but don't worry! In this video, we explore the possible causes and walk you through step-by-step fixes to resolve the error and get your syst
How to Fix Windows Modules Installer Worker High CPU Usage
Is Windows Modules Installer Worker causing high CPU usage on your PC? This can slow down your system significantly. In this video, we explain why this happens and guide you through the steps to fix it, so you can restore your computer's performance. Win
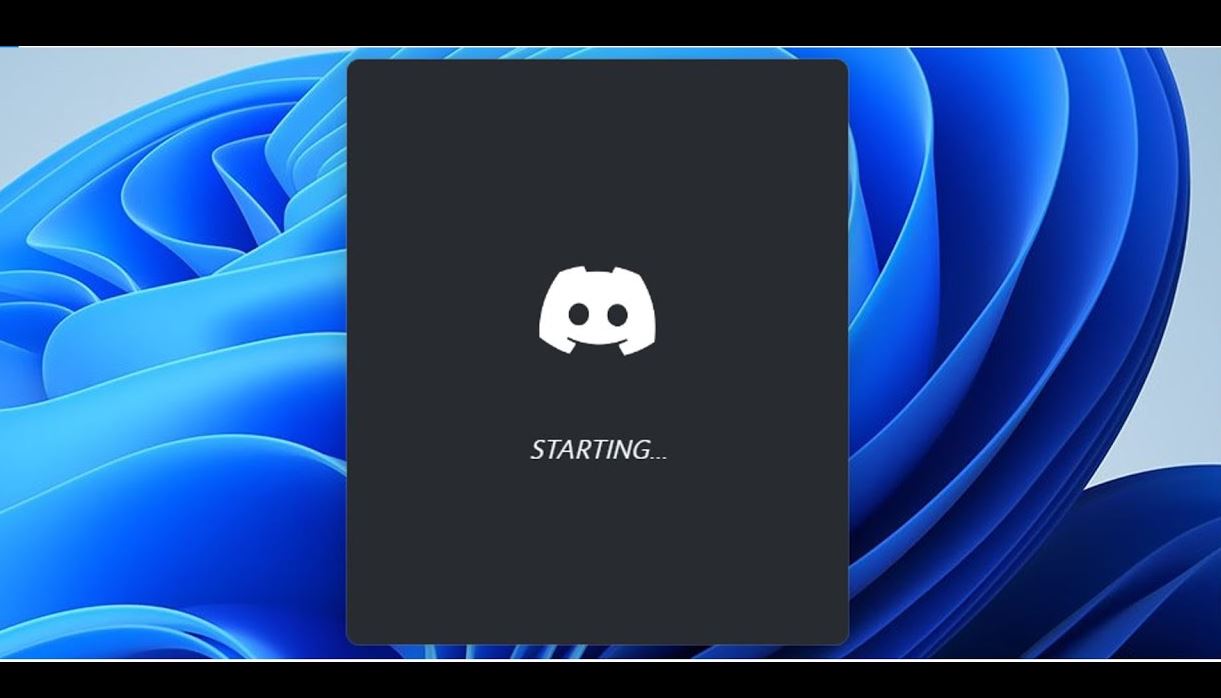
Fix Discord Not Opening or Stuck on Grey Screen (Infinite loading) : Easy Solutions
Is Discord not opening on your PC? This problem can be caused by various factors such as corrupted files, network settings, or cache issues. Here are few effective methods to troubleshoot and resolve these problems to get Discord running smoothly again.