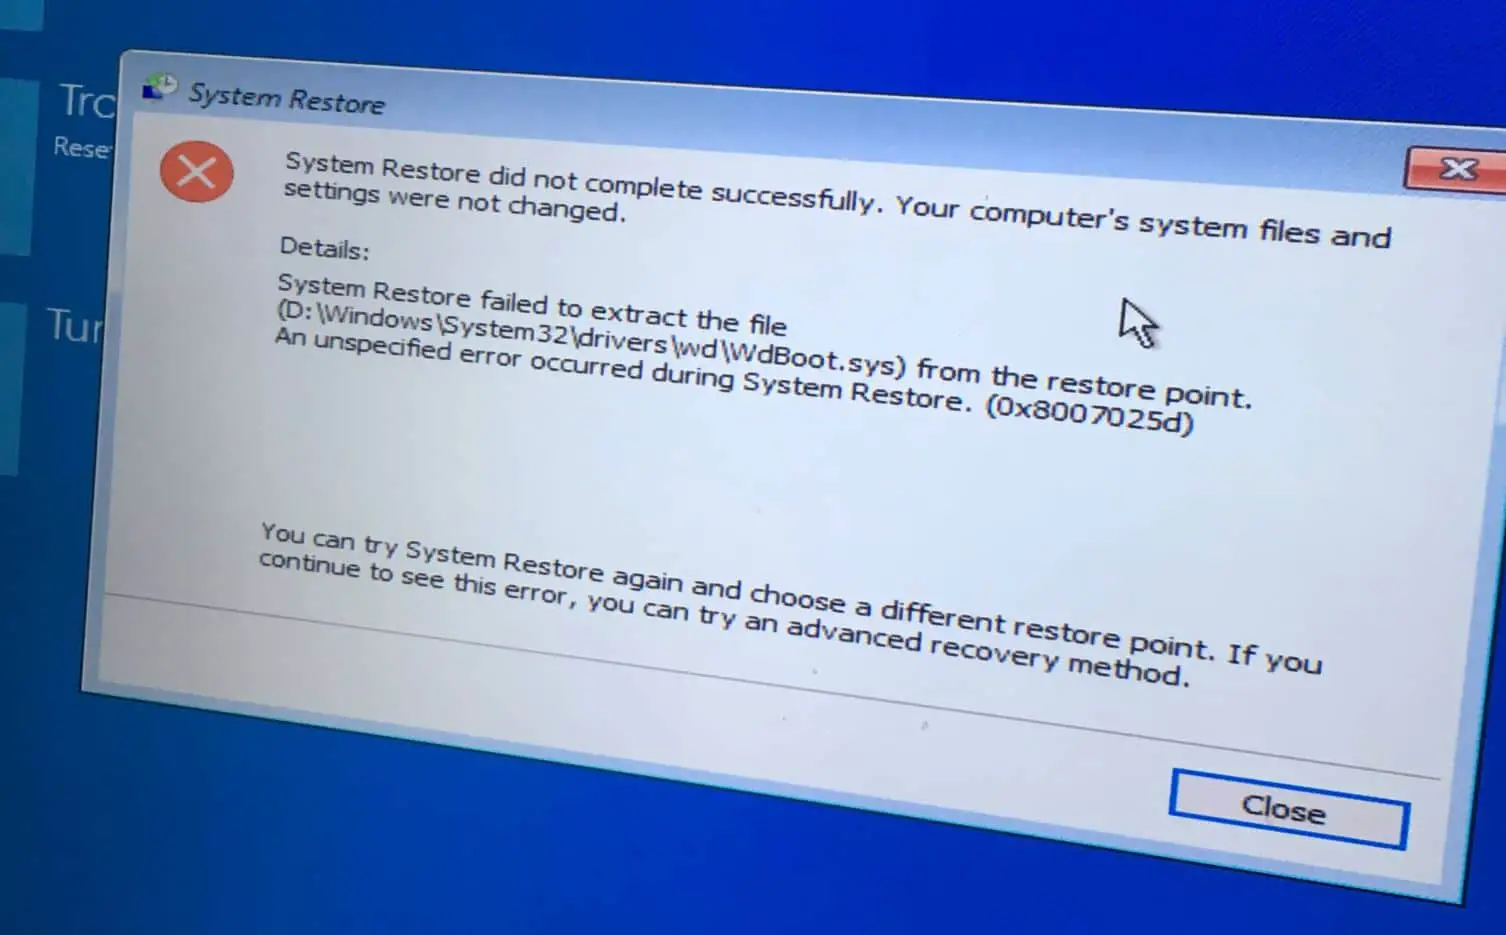
Windows System Restore is a useful feature that creates snapshots of certain files and information before critical operations such as updates or software installations take place. And it allows you to revert the state of your computer to a previous point in time to undo changes that might have harmed your computer. Performing system restore is a simile and easy search for rstrui.exe and select the first result, Next, select the desired Restore Point when prompted, and follow the on-screen instruction. Well sometimes System Restore may fail with an error message System restore did not complete successfully error 0x80070005 or 0x8000ffff. Sometimes the error may be different “Unspecified error occurred during System Restored 0x80070091”
These errors occur usually due to errors with the restore point created, Windows update issues, disk write errors or corruption in system files or other unspecified reasons. or the Security software installed on your PC might be interfering with System Restore. Whatever the reason, Here are detailed instructions to troubleshoot the System Restore Error 0x80070005 on Windows 10.
System restore not working windows 10
The first thing we recommend, uninstall any third-party antivirus (If installed on your System) before performing a system restore.
Run System Restore in Safe Mode
This is the most effective method work for most Windows users who experience System restore did not completed successfully. Safe Mode starts your PC with a minimum set of drivers and applications. And you may not see the problems when using System Restore through Safe Mode if driver or software conflict causes the issue.
To Start Windows 10 in Safe Mode:
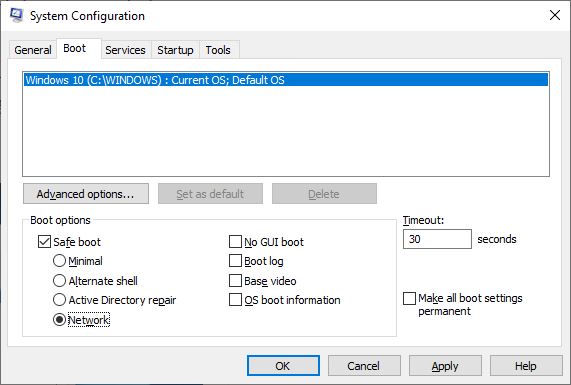
- Press Windows key + R, type msconfig and click ok,
- The system configuration window opens,
- Move to the Boot tab and then check the “Safe Boot” option.
- Click “OK” and restart your computer to start windows in safe mode.
Note: In order to boot Windows in “Normal Mode” again, you have to uncheck the “Safe Boot” option.
Now perform a system restore, To do this
- Press Windows Key + R and type sysdm.cpl then hit enter.
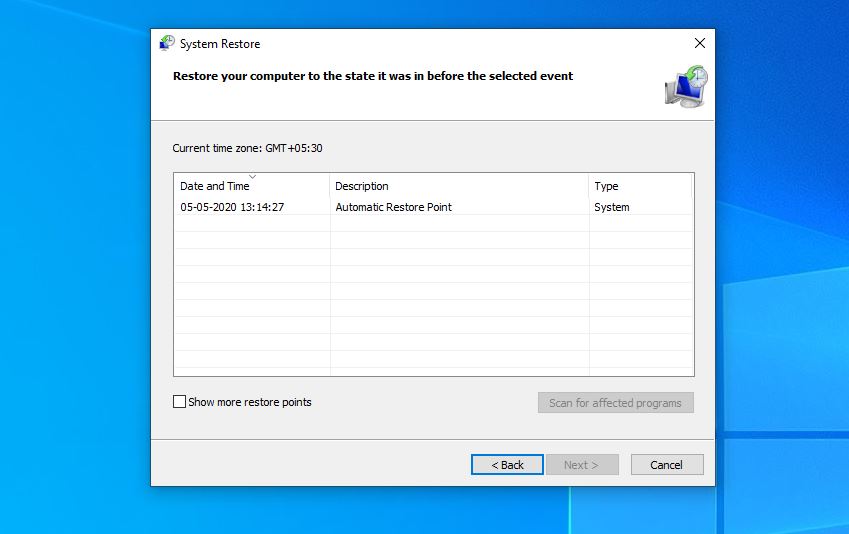
- Select the System Protection tab and choose System Restore.
- Click Next and choose the desired System Restore point.
- Follow on screen instructions to complete system restore.
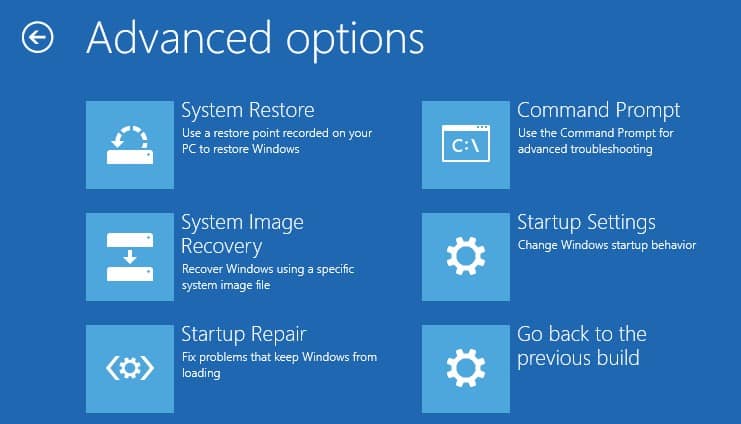
Use Advanced Startup Options
- Boot Windows 10 from installation media, If you don’t have check how to make a bootable pen drive/DVD.
- Select the Language to install, Time/Currency format and Keyboard input method and press Next.
- Click Repair your computer
- Then choose to Troubleshoot > Advanced Options > System Restore, select a restore point and follow on-screen instructions.
Start Volume Shadow Copy service
- Press Windows key + R, type services.msc and click ok,
- This will open the windows service console, scroll down and locate the Volume Shadow Copy service
- If the service is running, right-click on it and select restart,
- If the service not started, Right-click on it select properties,
- Here change the startup type automatic and start the service next to service status,
- Click apply and ok to save the changes.
Do the same process with Task Scheduler and Microsoft Software Shadow Copy Provider service. Reboot your PC and again perform a system restore to check if this time gets succeeds.
Check the Disk drive for errors
If you are getting error system restore did not complete successfully with the error 0x80070017, it might be because of disk drive error or system file corruption.
- Open the command prompt as administrator,
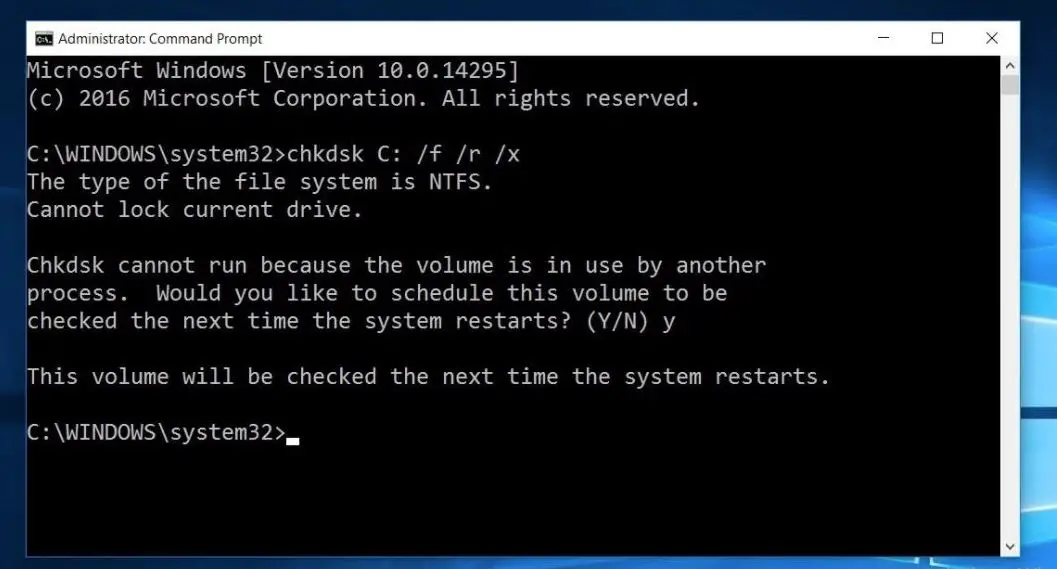
- Type command chkdsk C: /f /r /x then press enter key
- Next type Y when ask for schedule run check disk on the next start, close the command prompt and restart your PC
- This will start scanning the disk for errors and try to fix them itself only.
Restore missing system files
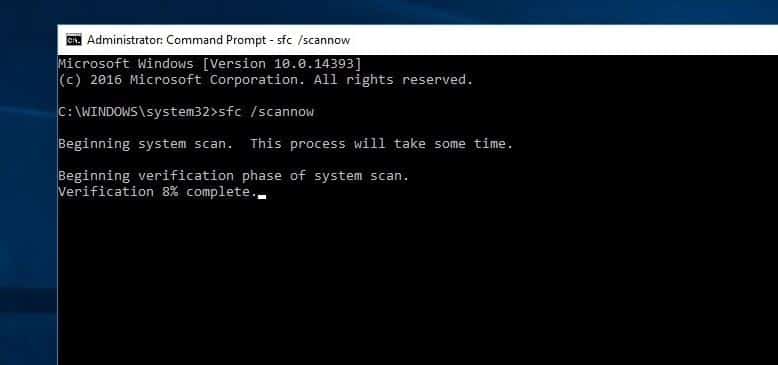
Corruption in system files can cause issues and interfere with performing a successful System Restore. Run system file checker utility it finds corrupt system files and replaces them with healthy ones.
- Click the Start menu and type ‘cmd’
- From the list of results, right-click on Command Prompt and select Run as Administrator
- Then type ‘sfc /scannow’ and press the enter key to start the SFC scan
Once the SFC scan completes, try performing System Restore again. Ideally, this should help you complete the restore successfully. If not, you can try reset your PC to fix issues as explained in the next step.
Also read:
- How To fix Devices and Printers not Loading on Windows 10
- Fix pfn list corrupt windows 10 Blue Screen Error Permanently
- How to install Kali Linux on Windows 10 subsystem (Step by step guide)
- Solved: DHCP is not enabled for local area connection in Windows 10
- Fix Audio services not responding Problem on windows 10
