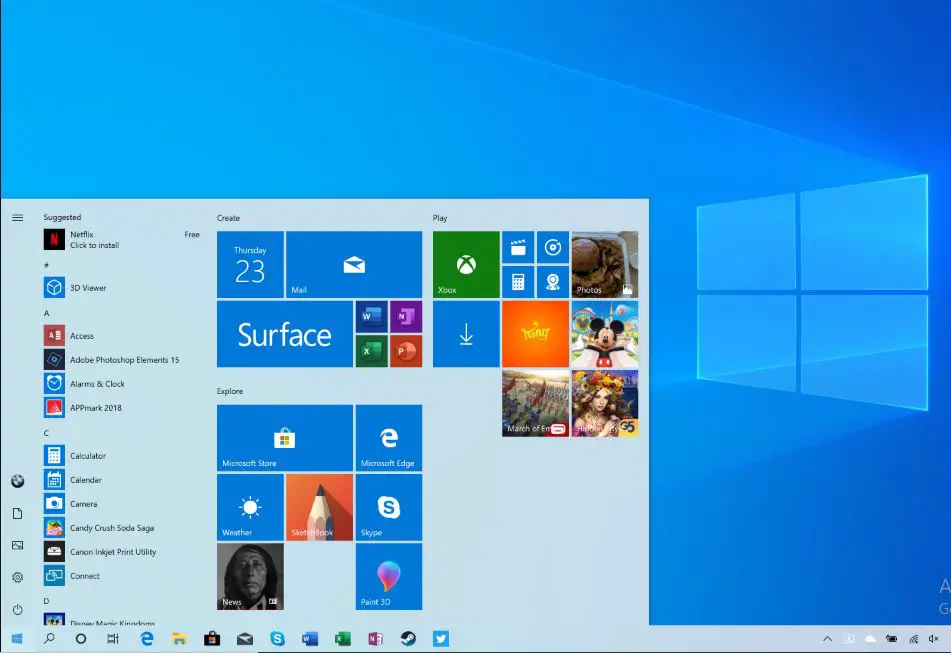
The start menu is the critical point to navigate different windows 10 features, which makes work easier and saves time. But sometimes you might experience, Start Menu refusing to do as it’s told. A few users report the Windows 10 start menu not opening after the latest windows update or making it impossible to use the very handy search feature. If your Windows 10 PC or laptop’s start menu is locking up or becoming generally unresponsive, even it’s not responding to mouse clicks here are a few troubleshooting steps you may want to try out.
Windows 10 start menu not working
Well, the exact cause of this problem varies on different combinations of PC environments. It could be buggy windows update installation, system files corrupted or missing, any Third-party programs especially the PC optimizer and antivirus are misbehaving and more.
If this is the very first time you have noticed the start menu not opening or working restart your PC. That probably fixes if temporary glitch causing the issue.
Restart StartMenuExperienceHost
Here is the solution that worked for me:
To overcome windows 10 start menu problems Microsoft team decided to provide an exclusive separate process (StartMenuExperienceHost.exe) so it no longer hangs or slows down in Windows 10. Well still Start Menu not responding or opening very slow refresh StartMenuExperienceHost.exe help fix the problem.
- Open Taskmanager using the keyboard shortcut, Ctrl + Shift + Esc,
- Under the details tab look for “StartMenuExperienceHost.exe,
- Select the process, right-click on it and select end task,
- It’ll restart Start Menu process and fix different start menu problems
Update Windows 10
Microsoft regularly releases security updates with various bug fixes and security improvements. And install the latest windows updates fix previous problems as well. Install the latest Windows updates that may have the bug fix for the Start menu problem.
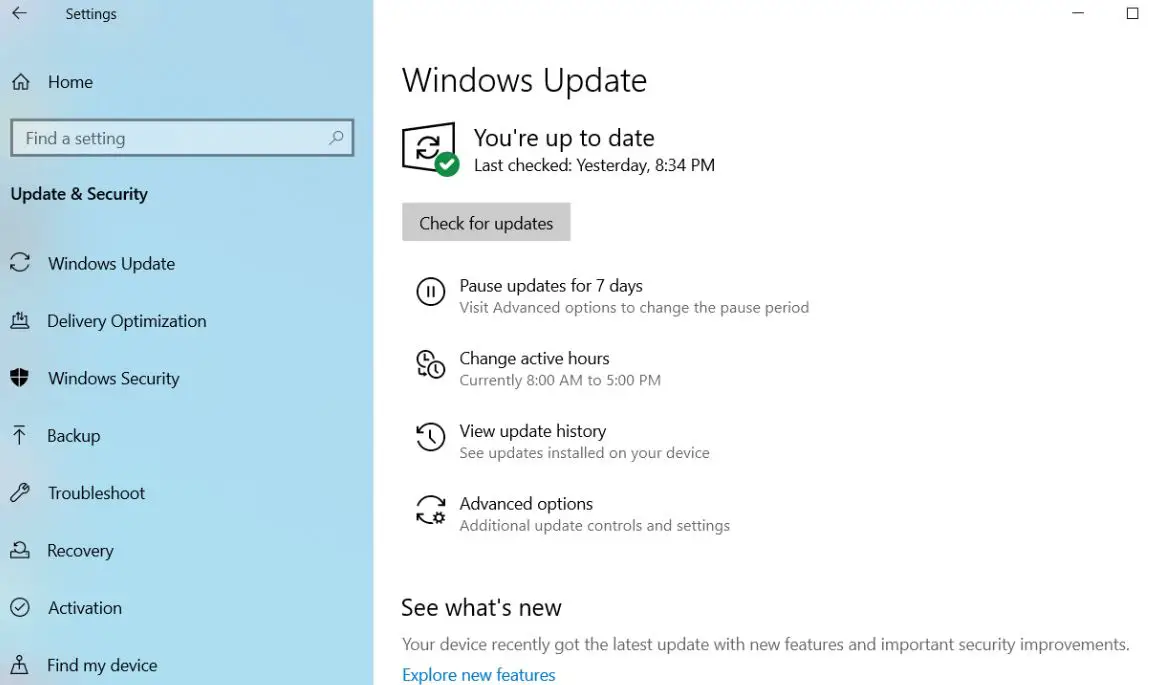
- Click on the start menu then select the settings icon,
- Next click Update & security the click Windows update on the left-hand side,
- Now click Check for updates button (refer to image below) to allow download and install the latest windows updates from the Microsoft server (if available0.
- Once done you need to restart your PC to apply the updates
Repair corrupted system files
As discussed corrupted missing system file is the primary reason for this problem. Run built-in system file checker utility that helps scan and restore missing files with the correct one.
Open the command prompt as administrator,
Note: As the start menu not working, you need to open the command prompt from the task manager,
- Open task manager using Ctrl + Shift + Esc,
- Click on file then Run New task,
- Here type CMD and tick mark on create this task with administrative privileges.
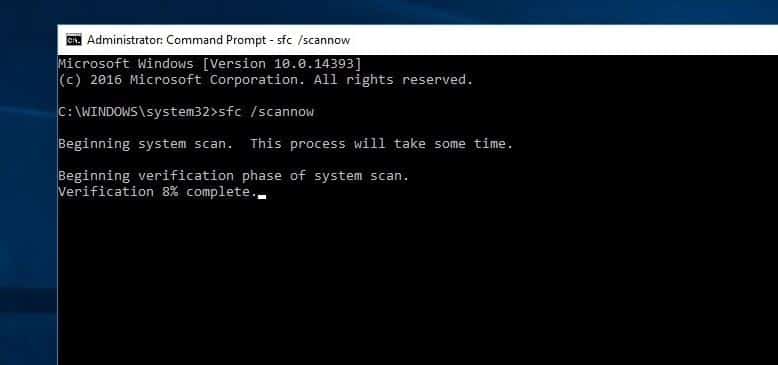
- When the elevated command prompt opens type sfc /scannow and hit the enter key.
- Windows will now run a scan on your file system and let you know whether it discovers any discrepancies.
Note: If the sfc scan end with Windows Resource Protection found corrupt files but was unable to fix some (or all) of them then you’ll need to run the command Dism /Online /Cleanup-Image /RestoreHealth
After Execute the command again perform a system File check
Create a new user profile
Again chances there the user profile corrupted that causing the start menu problem. Create a new user following the steps below and see if it helps.
- Open command prompt as administrator
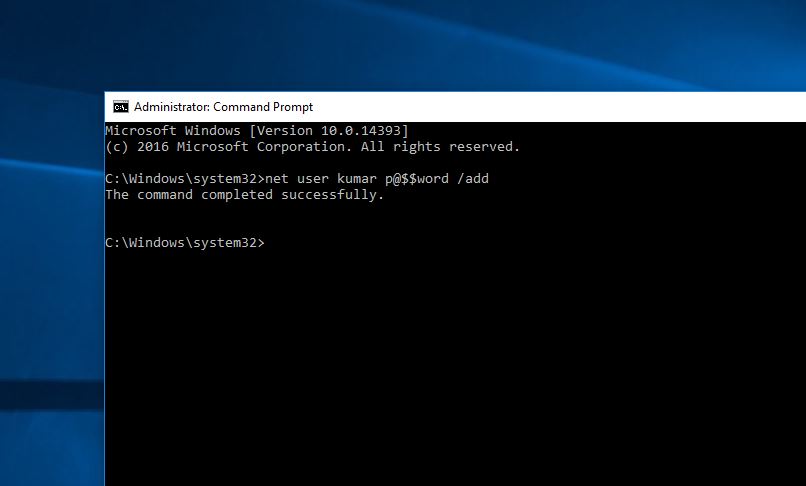
- Next type command net user NewUsername NewPassword /add to create a new user account.
You’ll need to replace NewUsername and NewPassword with the username and password you want to use. For example, the command is like net user kumar p@$$word / Add
- You will see The command completed successfully message.
- signout from the current user and Log into your new account and see if it has resolved your issue.
Reinstall the Windows apps
Still need help, open PowerShell as an administrator and perform the command below.
Get-AppXPackage -AllUsers | Foreach {Add-AppxPackage -DisableDevelopmentMode -Register “$($_.InstallLocation)\AppXManifest.xml”}
Once done restart your PC and check the problem is solved.
Tweak Windows registry
Here another registry tweak helps a number of users to fix Windows 10 start menu problems.
- Press the keyboard shortcut Windows + R, type regedit and click ok to open the windows registry editor.
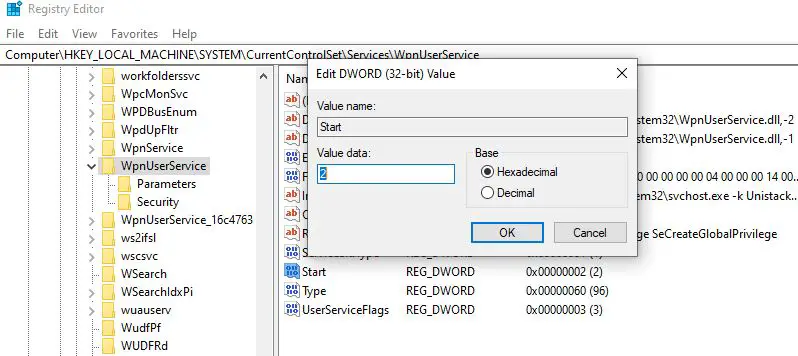
- first backup registry database then Go to path [HKEY_LOCAL_MACHINE\SYSTEM\CurrentControlSet\Services\WpnUserService].
- Double click on “Start” on the right side of the screen.
- Change the value data to “4” with “Base” set to “Hexadecimal” then “OK”. And Reboot windows.
Check Windows Search Service
If you have noticed windows 10 start menu search not working, or not showing results we recommend to check the windows search service is running.
- Press Windows + R, type services.msc and click ok
- This will open the Windows services console, Scroll down and locate windows search,
- Right-click on windows search service select restart,
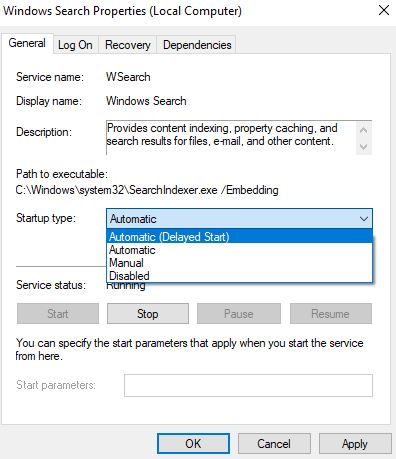
- If the service not started, double click on it to open properties,
- changes the startup type automatic, and start the service next to service status.
If all of the above methods not work then perform system Restore which can revert back your windows to the previous working state where windows work smoothly. still need help, follow the instructions listed here.
Did these solutions help fix the Start menu problems on windows 10? Let us know in the comments below.
Also read:
- How to Configure and Setup FTP server in Windows 10, 8.1 and 7
- How to fix AMD Radeon driver problems windows 10(Opens in a new browser tab)
- Photos App Opens Extremely Slow in Windows 10? Apply these solutions
- Solved: Windows cannot connect to the printer error 0x000000c1 or 0x00000214
- Solved: Modern Setup Host high CPU usage in Windows 10
