
5 Warning Signs Of A Computer Virus malware infection (how to secure)
Is your computer infected? Here are 5 virus and malware warning signs to watch for. 1. If your computer is slow or crashes frequently, it could be a sign of malware infection. 2. Unexpected pop-up ads or unwanted toolbars appearing in your browser may
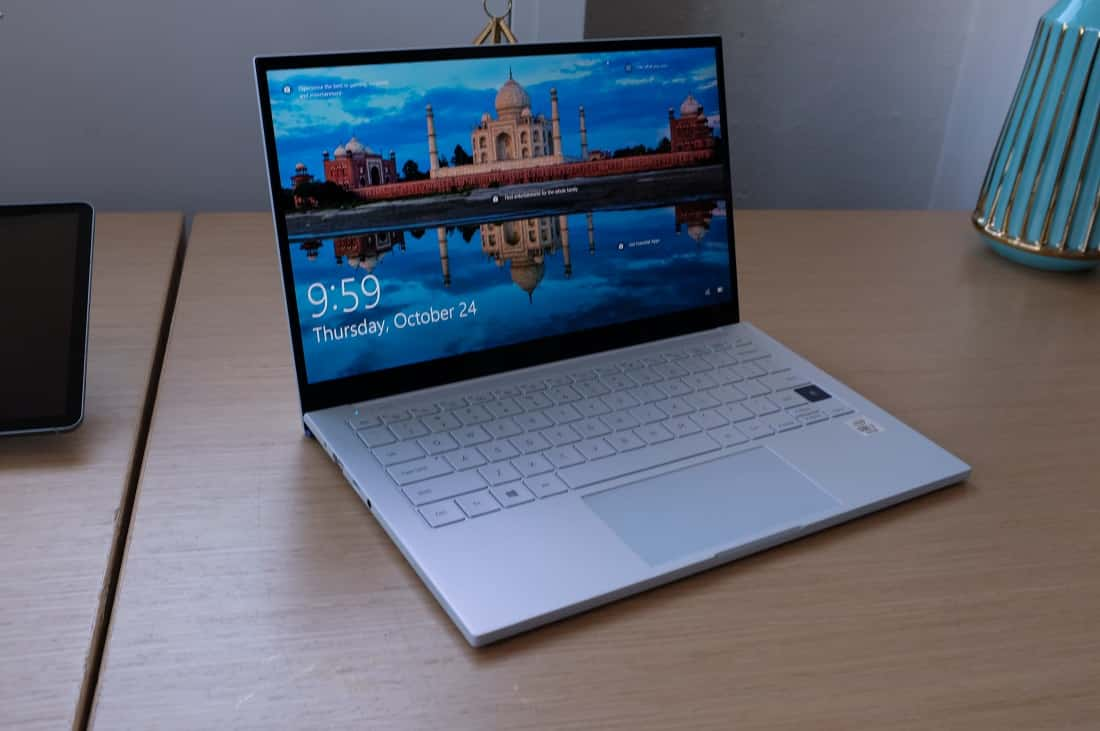
Laptop Buying Guide 2025 - How to Choose the Right Laptop
Here is a laptop buying guide to help you identify a laptop best suited to your needs. 12.5 to 14-inch screens offer the best balance between usability and portability. Larger screens are fine if you don't travel much and smaller models are great for kid
Secure windows 11 from virus and hackers or unauthorized access
Securing your Windows 11 system is crucial to protect your data and maintain a safe computing environment. Here's a brief guide to help you keep Windows 11 secure from hackers. Enable Windows Defender Antivirus: Ensure that Windows Defender Antivirus is
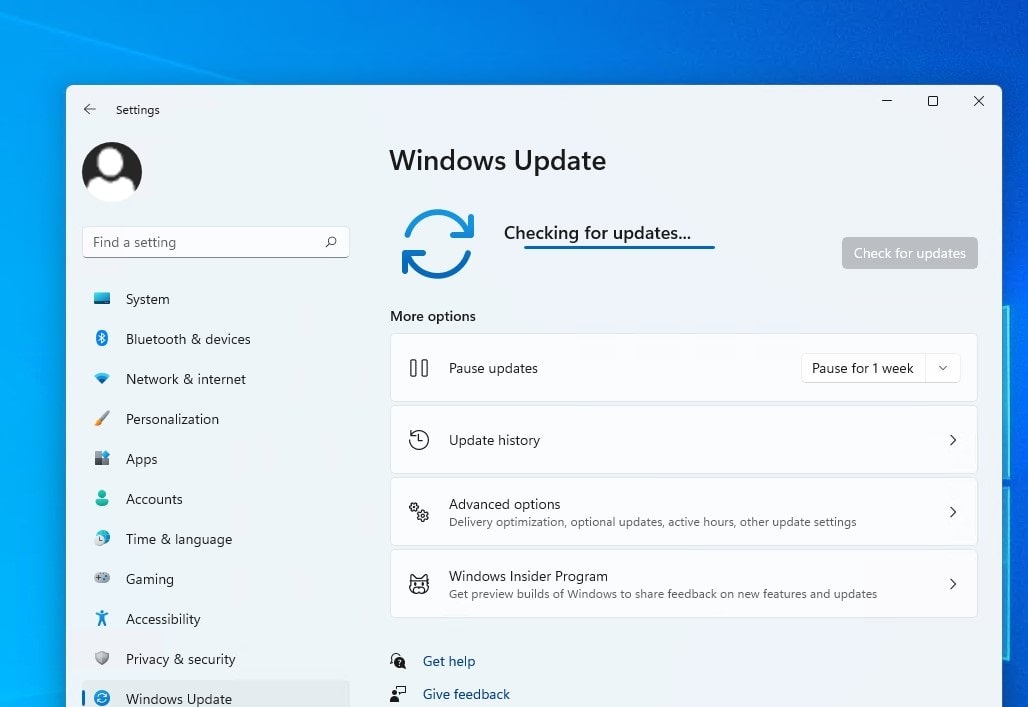
How to fix windows 11 update stuck download
Keeping your Windows operating system up to date is crucial for maintaining security and performance. However, encountering issues during the update process can be frustrating, especially when the update gets stuck during the download phase. In this video
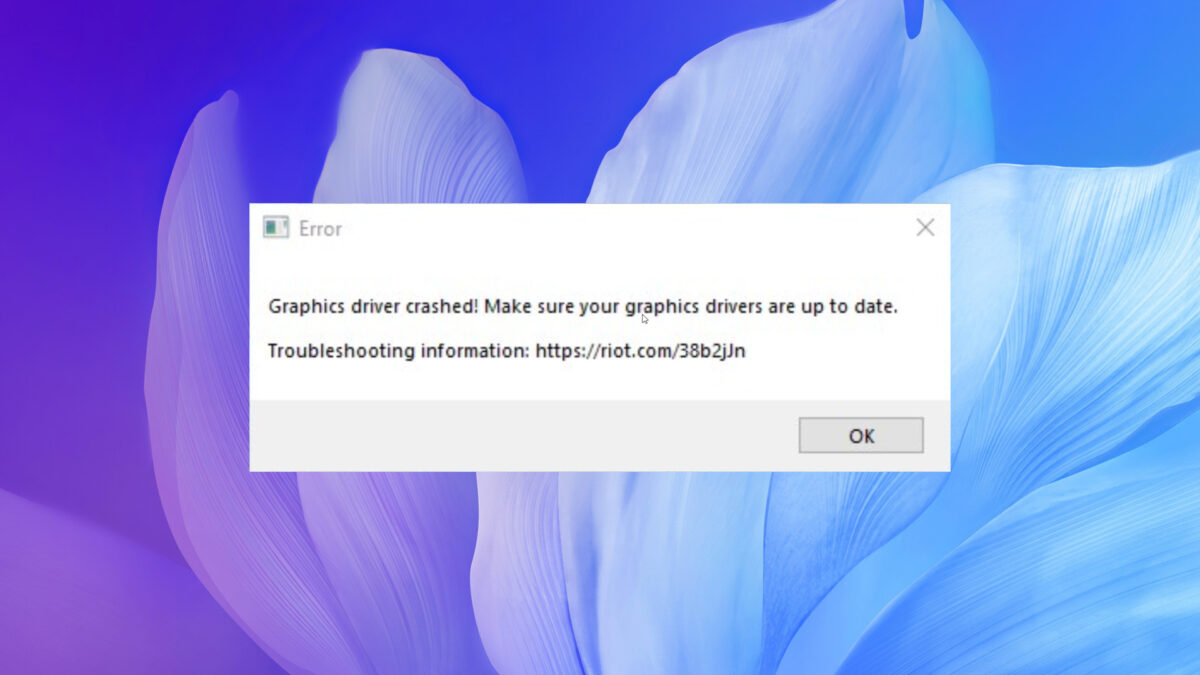
How to Fix the Video Driver Crashed Error on Windows 11/10
Are you encountering the frustrating "Video driver crashed and was reset" error while playing games or watching high-resolution videos on your Windows 11 or 10 PC? This error can abruptly crash your games or interrupt your videos, making the experience un
Windows 11 version 23H2 Features 2023
The latest version of Windows 11 version 23H2 brings many ground-level changes and AI features for a smarter experience on Windows 11. This update is referred as the “Moment 4” update and will have OS build number 22631. Just like previous Windows 11 feat
Windows 11 23H2 new features and changes
Windows 11 version 23H2, introduces significant enhancements, including the introduction of Copilot in Windows, an upgraded backup and restore experience, and substantial AI-powered updates for various Windows 11 applications. Here's a closer look at the

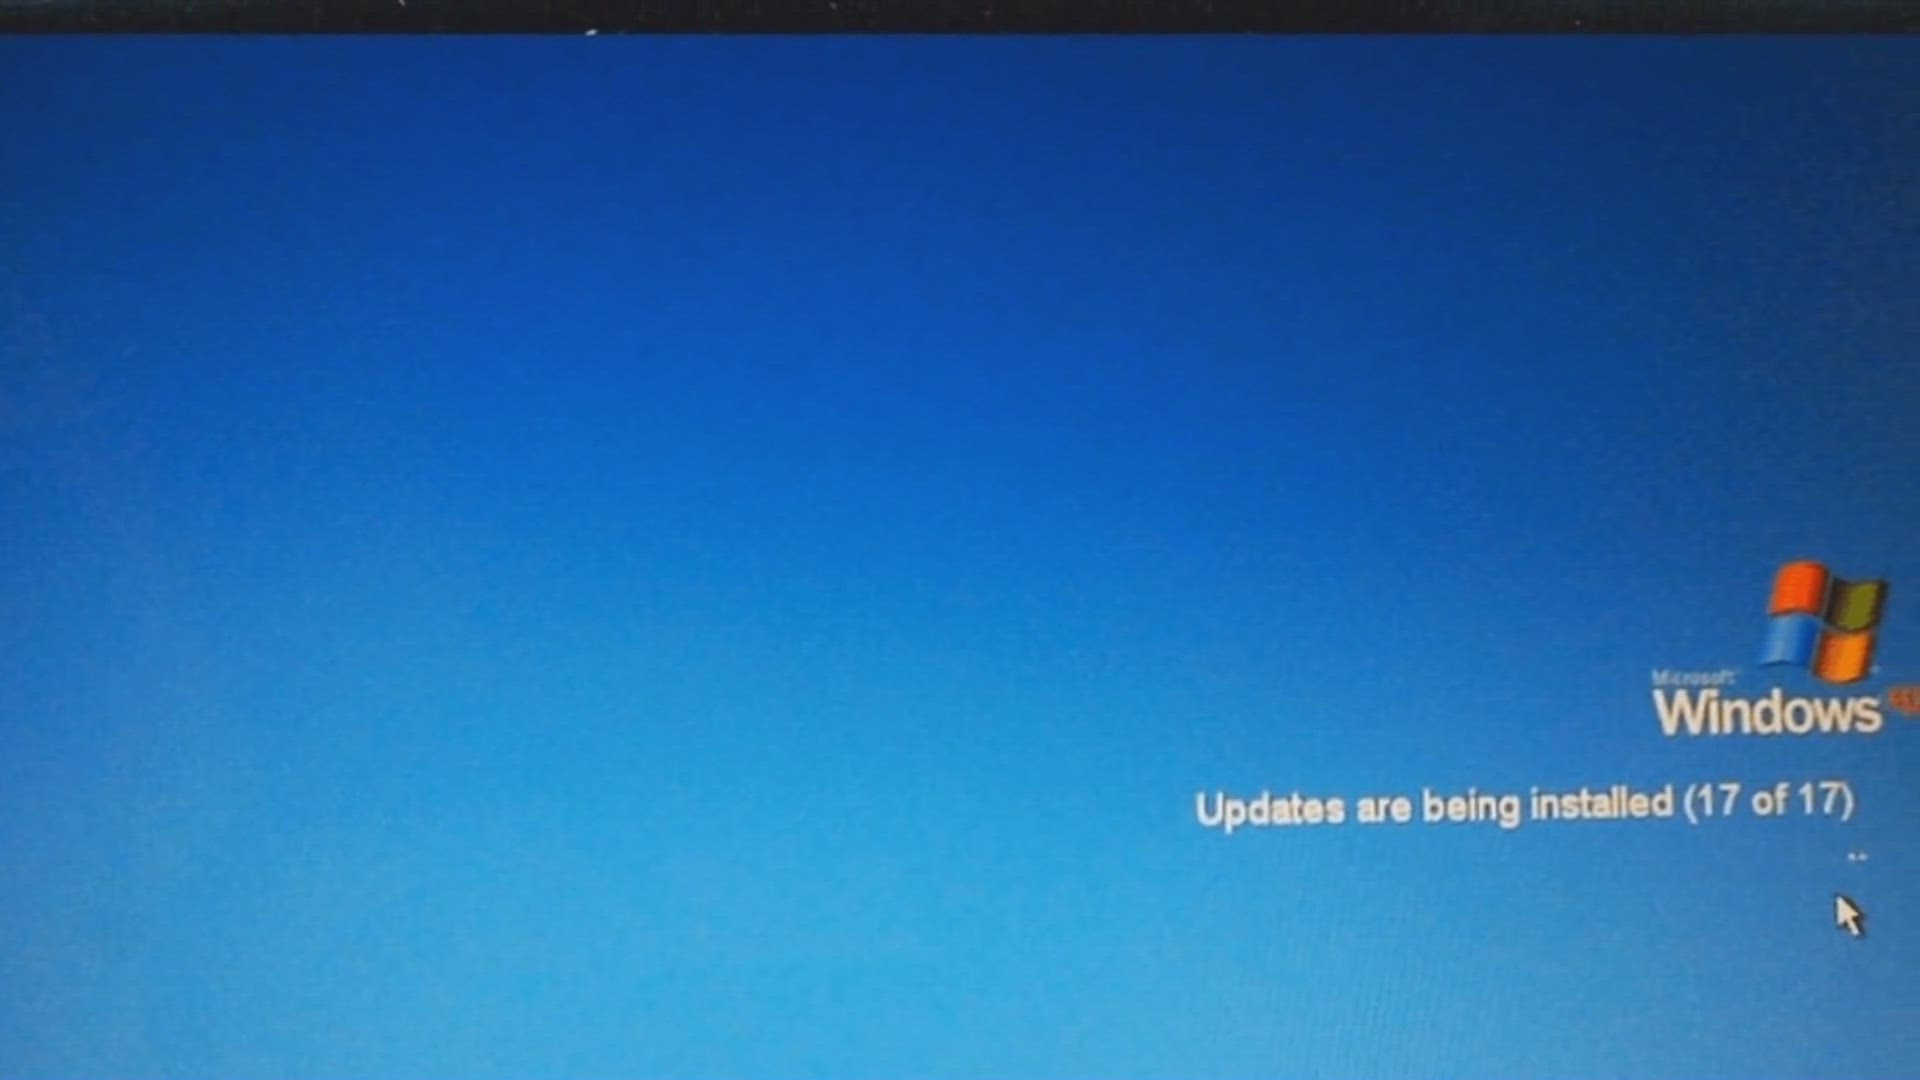
Windows 11 Keeps Installing the Same Update
Windows 11 keeps installing the same software update? Problems with the software update components can cause Windows to install the same update. Sometimes, a simple restart can resolve update issues. Restart your computer and check if the update installs
Troubleshooting Windows 11 Update Problems
Are you experiencing issues with the Windows 11 update? Don't worry, we've got you covered. First, check if your device meets the minimum system requirements for Windows 11. If your device is compatible, try restarting it and running the Windows Update t
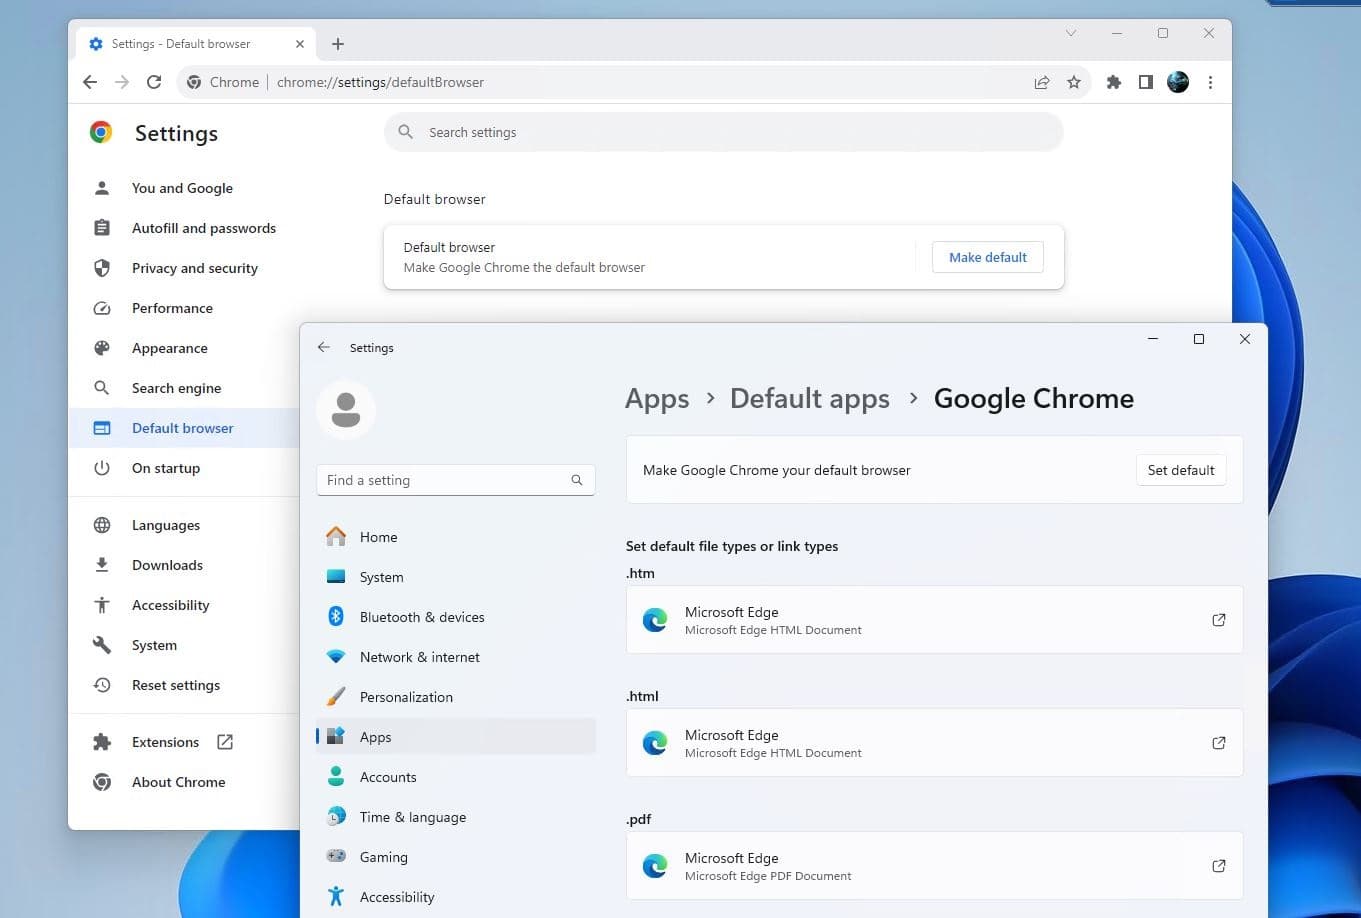
How to Make Chrome Default Browser on Windows 11
Chrome is fast, secure, and easy to use. Here is how to make Chrome your default browser on your Device to enjoy the best browsing experience.
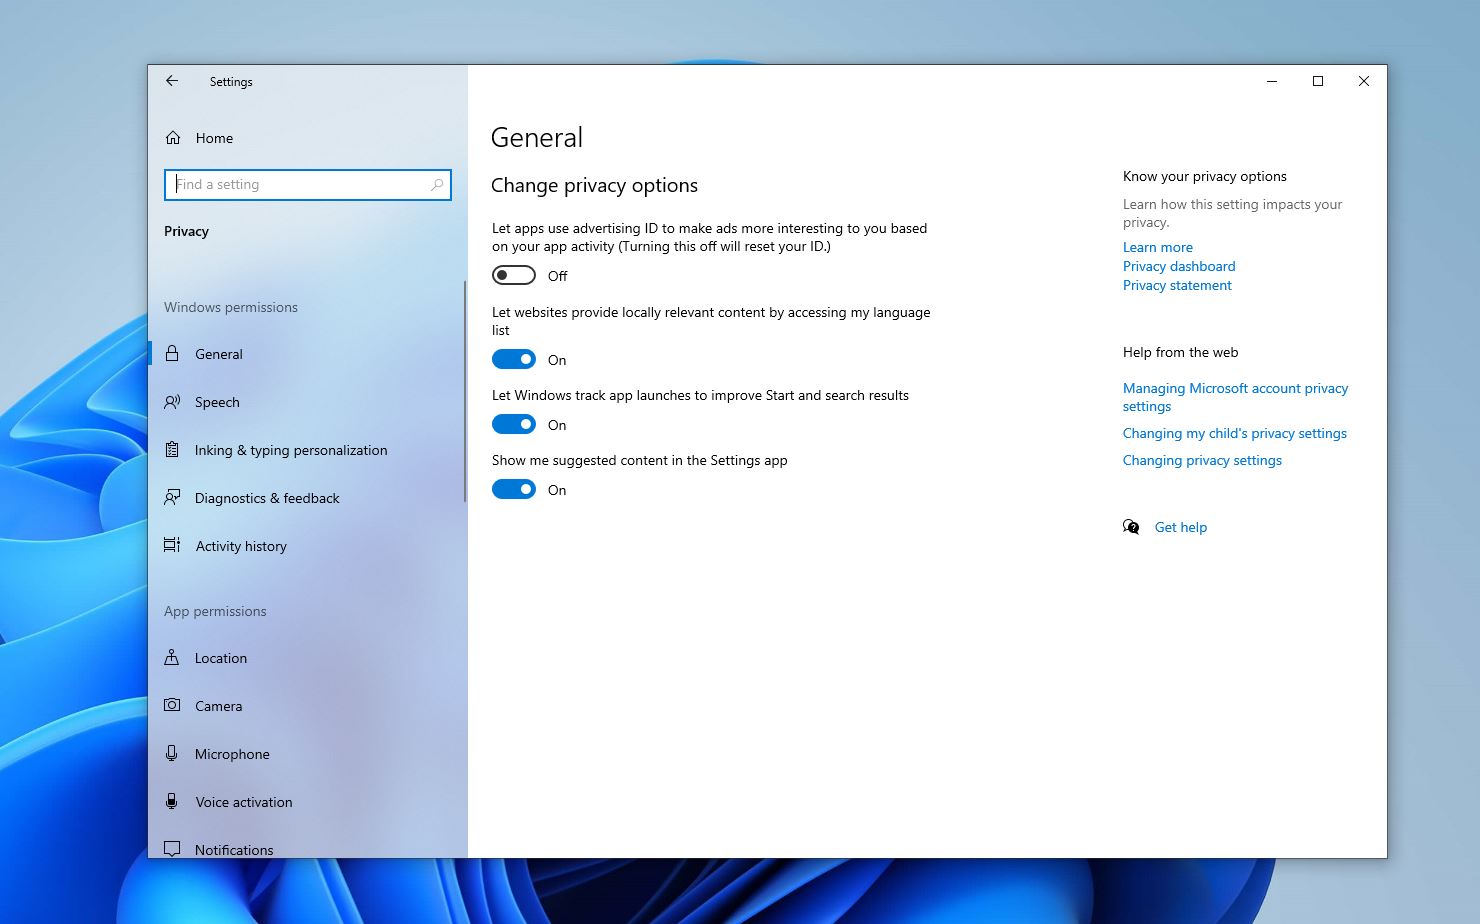
7 Windows 10 Settings to Disable Now : Enhance Your Privacy
In today's digital age, safeguarding your privacy is paramount. Windows 10, while a powerful operating system, comes with default settings that may compromise your privacy. Here are five privacy settings you should consider disabling today: Location Trac

How to Block Ads with Custom DNS Settings in Windows 10/11
Ads are ubiquitous on the internet, often intrusive and disruptive to your browsing experience. Fortunately, you can block ads at the network level by configuring your DNS settings. Here's how to do it on Windows 10: Open Network Settings: Right-click on
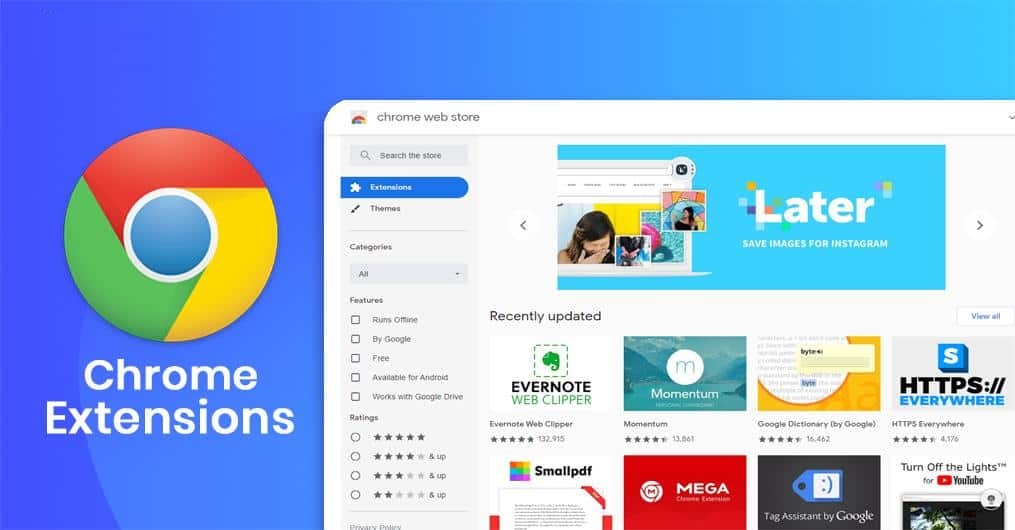
8 Chrome Extensions for Student and Productivity 2024
Chrome extensions can be invaluable tools for students, offering features that enhance productivity, time management, and overall academic performance. Here are some of the best Chrome extensions tailored specifically for students: Grammarly: Grammarly i
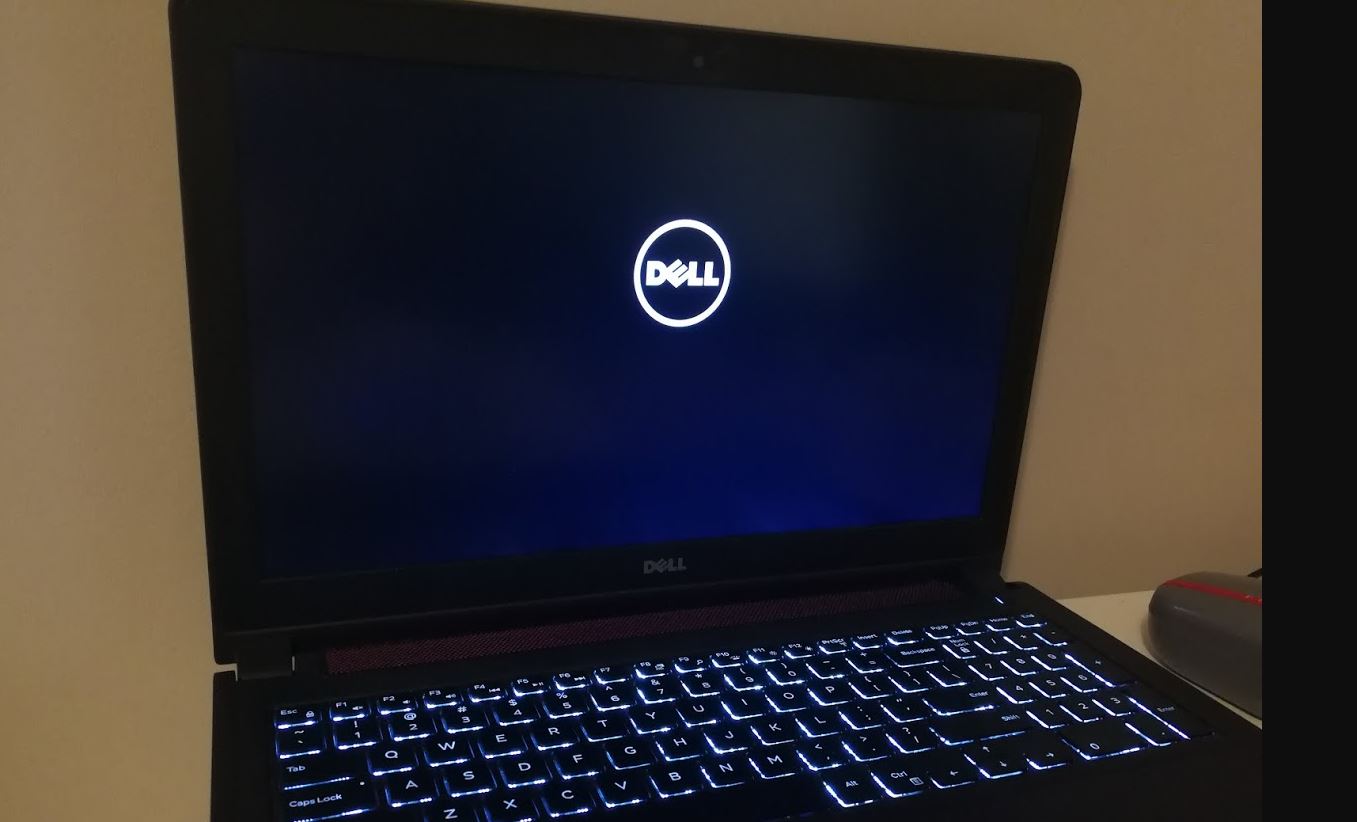
How to Fix Slow Boot Times in Windows 10 and 11
If you notice Windows 11 PC takes an unusually long time to boot up or shut down, here is a useful video for you. Several factors effect Windows 11 boot times including too many startup programs, outdated or incompatible drivers, malware infections, insuf
Why Windows Update is Essential for Your PC's Health
Discover the importance of Windows Update in this informative video. We'll explore how it enhances your computer's security, performance, and compatibility, and introduces new features. Learn why keeping your system updated is crucial for its overall heal
Troubleshoot a Windows 10 update that won't install
Keeping Windows 10 PC updated is crucial for maintaining system security, stability, and performance. However, times you may encounter issues during the update process. Such as Windows 10 update stuck download hours or fails to install with different erro

Fix Critical Process Died error windows PC | Blue screen of Death
The "Critical Process Died" error in Windows 11 or 10 is a common issue that can cause the system to crash with a Blue Screen of Death (BSOD). This error typically occurs when a critical system process fails to run correctly. Several factors cause Windows
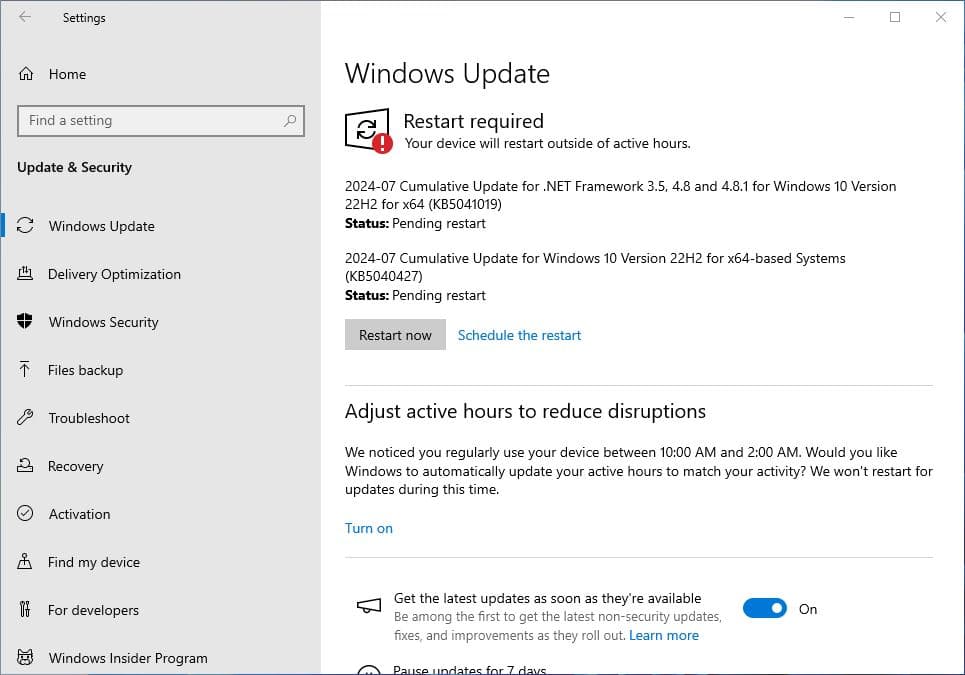
Windows 10 KB5040427 July 2024 Patch Tuesday Update Download
Windows 10 KB5040427 OS Build 19045.4651 is available for download. This is part of the July 2024 patch Tuesday update brings security enhancements and fixes lots of bugs previously reported by users. This is a mandatory security update, download and ins
Download windows 11 KB5040442 | July 2024 Patch Tuesday Update
Microsoft released Windows 11 KB5040442 with several changes, bug fixes and security enhancements. This is part of the July 2024 Patch Tuesday update, available via Windows update. Also, you can download Windows 11 KB5040442 offline installers (.msu) fil
WiFi Keeps Disconnecting on Laptop Windows 11 | 7 Troubleshooting Tips 2024
Experiencing frequent WiFi disconnections on your Windows 11 laptop can be incredibly frustrating, especially when you're in the middle of important tasks. There are several potential reasons for this issue, Outdated Network Drivers, Network Congestion, i

wifi connected but no internet | Fix WIFI Internet connection problems
If your Windows 11 laptop shows a connection to WiFi but you have no internet access, it can be frustrating. This issue can be caused by several factors, IP Address Conflicts, VPN or Proxy Interference, Problem with WiFi router or Internet service provide
How to Fix "WiFi Network Not Showing Up" on Windows 11
If your Windows 11 laptop is not showing available WiFi networks, it can be quite frustrating, especially when you need to connect to the internet urgently. Several factors can cause this issue, Your laptop’s WiFi might be turned off, Old or corrupted net
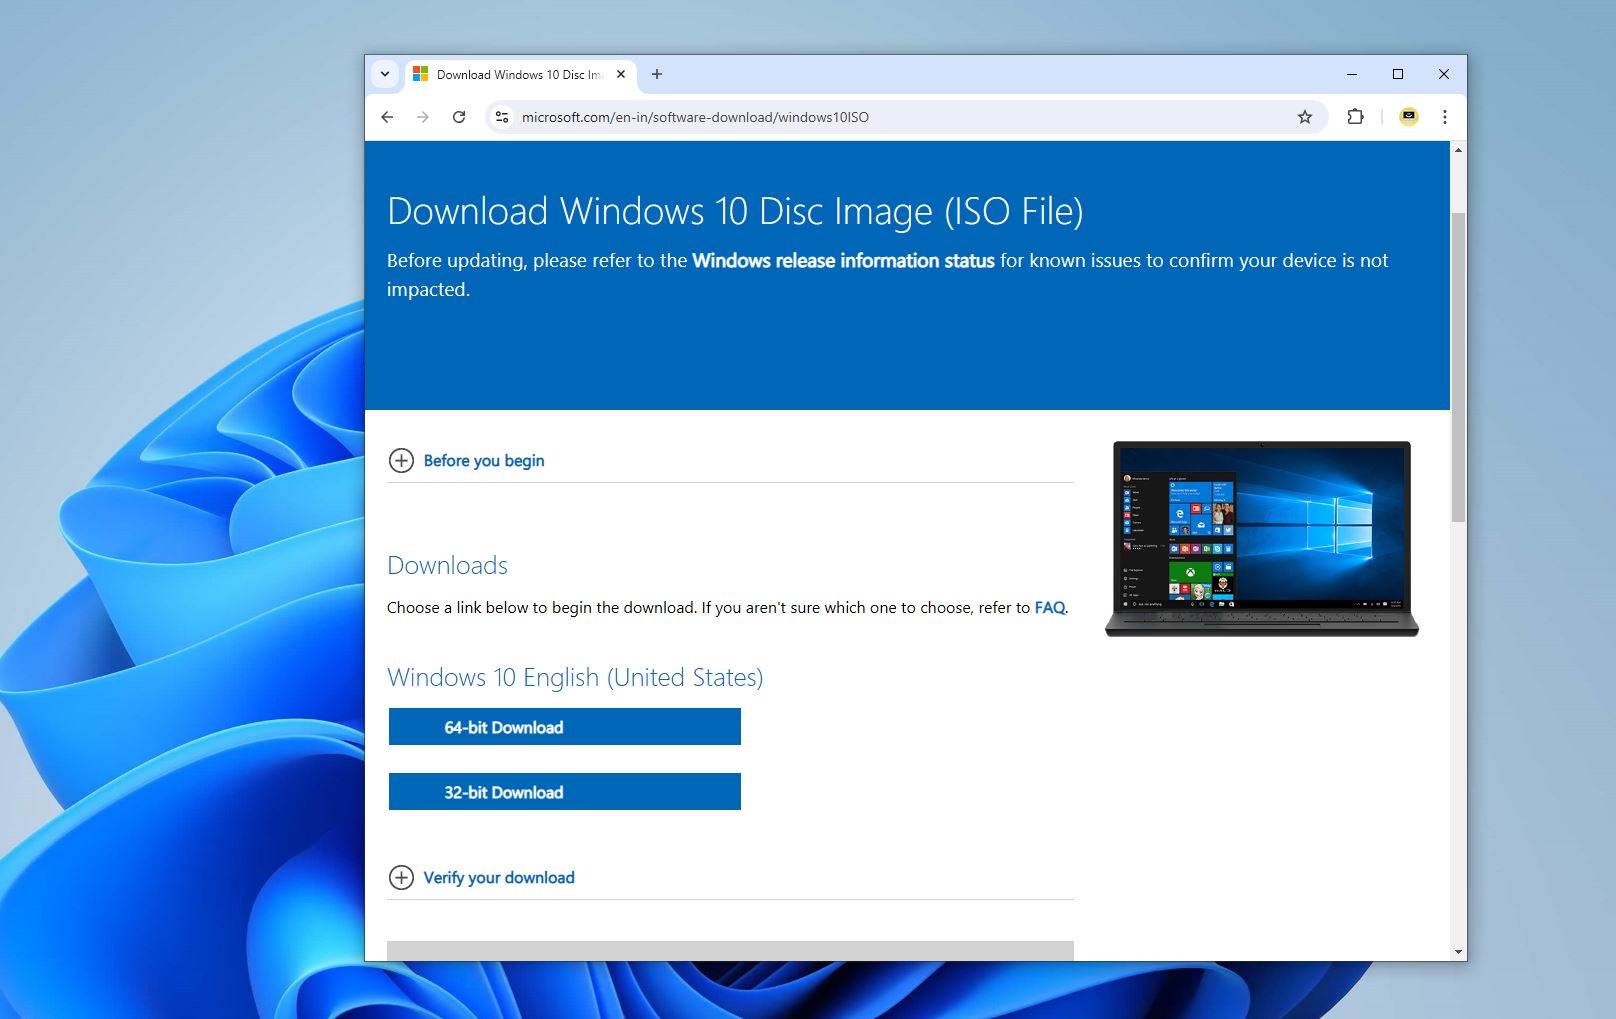
Download Latest Windows 10 or Windows 11 ISO directly from Microsoft server
Whether you're upgrading your current OS, setting up a new PC, or creating a bootable installation media, downloading the official ISO files for Windows 10 or Windows 11 directly from Microsoft's servers is the most reliable way to go. Here is steps by st
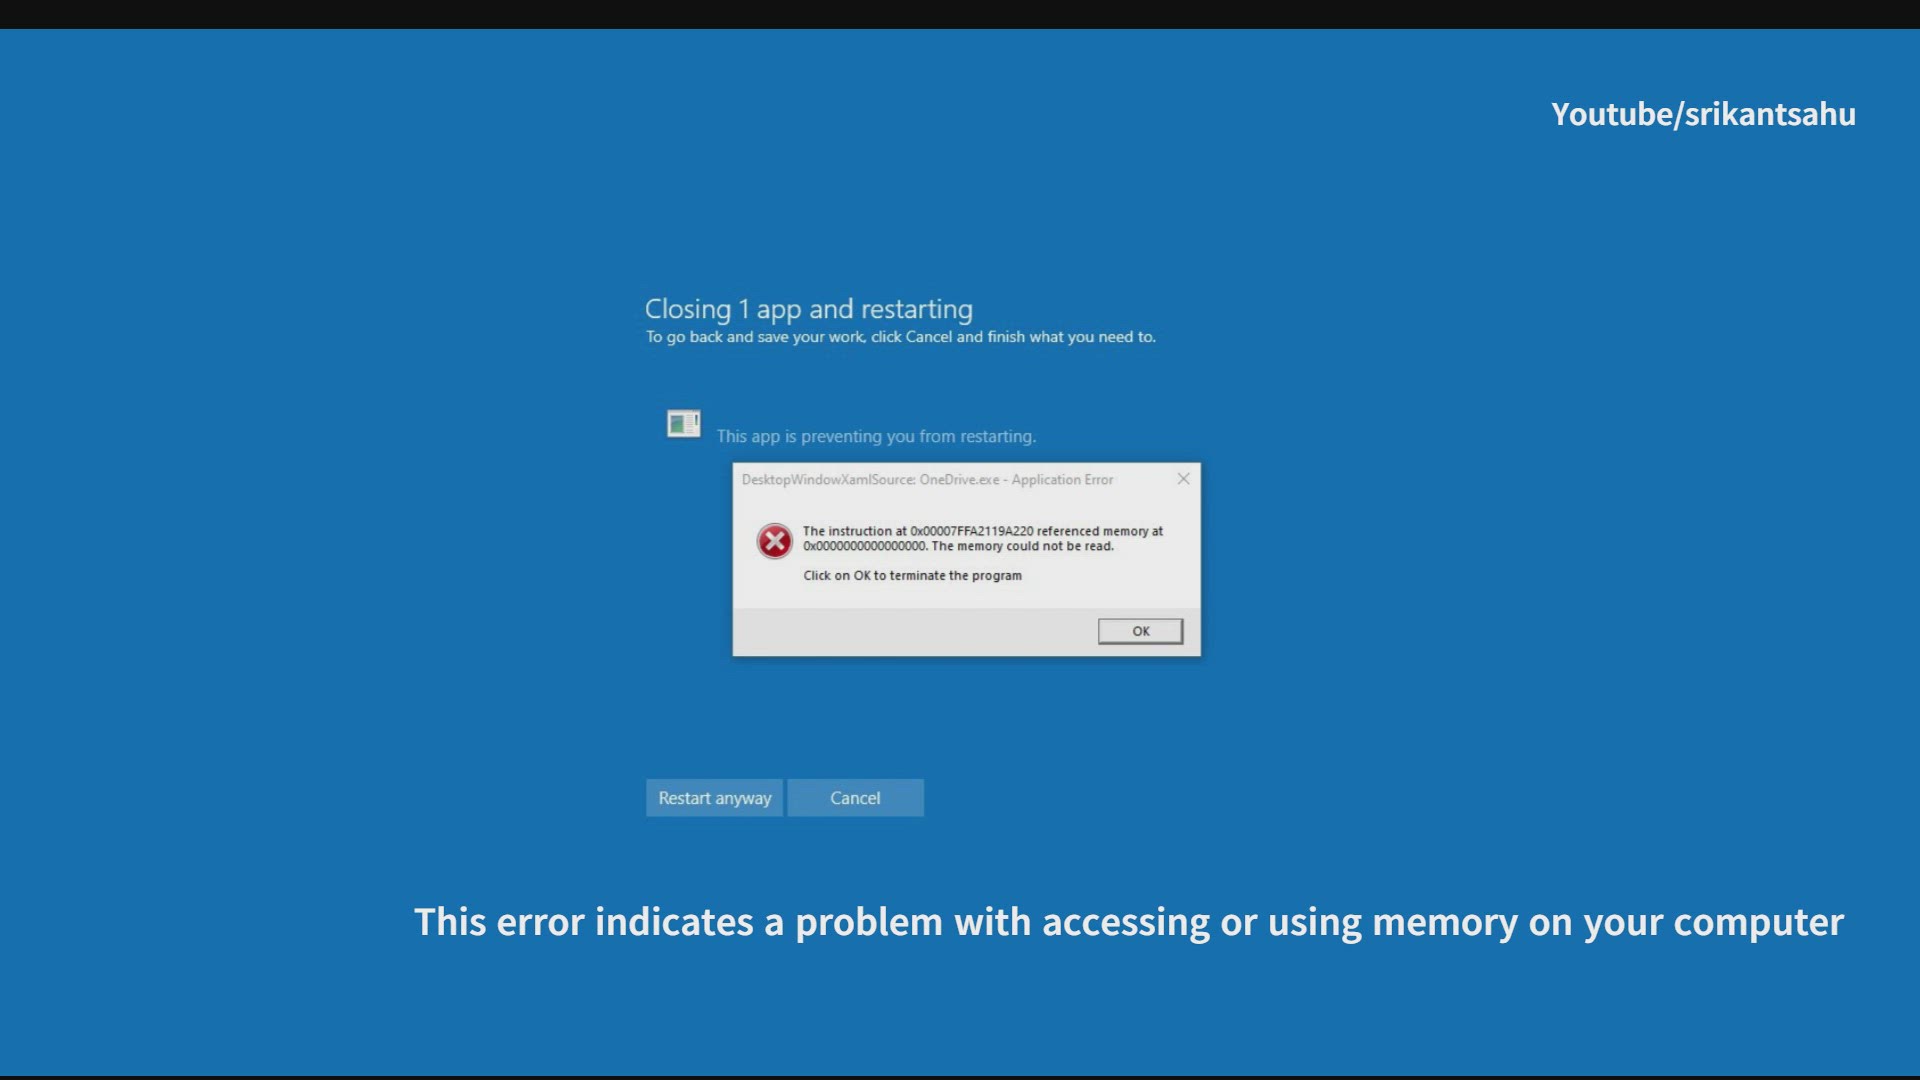
Instruction at Referenced Memory Could Not Be Read error windows PC (Solved)
The error message "Instruction at referenced memory could not be read" typically indicates a memory-related issue with a specific application or process in Windows. Here are some steps you can take to troubleshoot and potentially resolve this issue. Memo