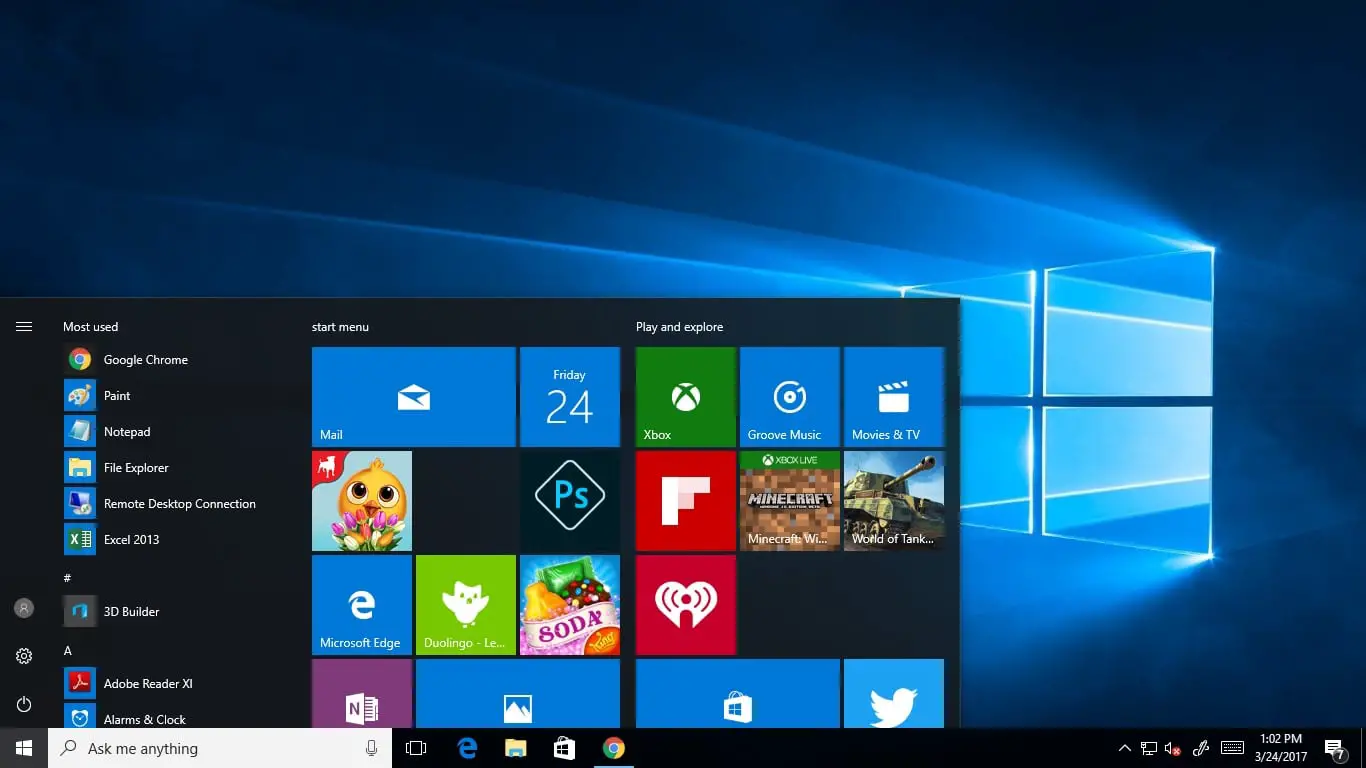
With Microsoft Windows 10 Start menu is back and better than ever! You can Just select the Start button on the taskbar. This is the combination of the Windows 7 start menu and Windows 8 apps. And also the Windows 10 Start menu is quite customizable. Here Some New Features on Windows 10 Start Menu compared to 7 Start Menu.
Start Menu is Resizeable
The Windows 10 Start menu is also quite customizable. You can quickly resize the Start Menu by simply moving your mouse to the top edge of the Start Menu and resizing down. You can change the background color (right click > Personalize), drag live tiles around, and pin your favorite apps on the left-hand side.
you can resize the menu screen As you require.
Change the Start Menu and Taskbar Colour
You can easily change the color of your Start Menu and Taskbar by right-clicking any empty space and choosing Personalize.
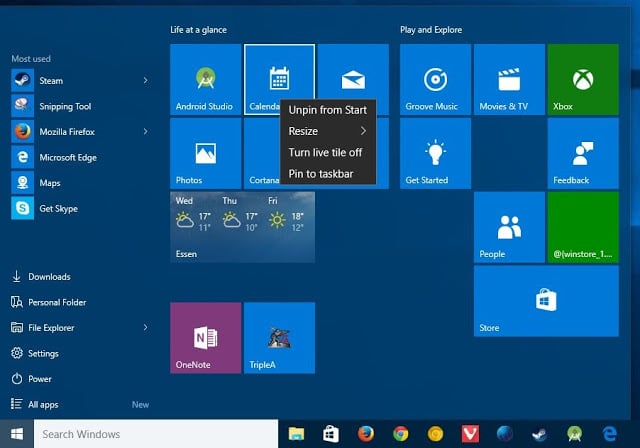
Pin and Unpin Tiles

Pin Items from the Left Side of the Start Menu
You can pin applications to the left side of the Start Menu as well, but that’s not quite as intuitive. You need to drag and drop the shortcut for the application to the Start Button and you’ll see the tooltip change to “Pin to Start menu,” which is your cue to drop it there.
Resize Live Tiles

Turn Off Live Tile Updates
If all those blinking tiles end up annoying you, just right-click on them and choose “Turn live tile off.”
Group your live Tiles
You can also group your live tiles as you please. You can create a group for games, for example, or one for productivity apps, communication apps, design apps…it’s up to you.
To create a new group, click and drag a live tile to an empty space in the Start menu’s live tile pane until a horizontal bar appears. Once the bar appears, release the mouse button, and Windows will create a new group containing that app. you can name your groups, too. Mouse over the empty space above each group, then click Name group once the text appears. Give the group a name, then press the Enter key. While you’re at it, go ahead and rearrange your groups by dragging the drag thumb that appears.
Adding Control Panel and Special Items to the Left Side of the Start Menu
You can also add some special built-in shortcuts to the left side of the Start Menu, but you’ll need to find a settings screen. Right-click on any of the white space and choose Properties.
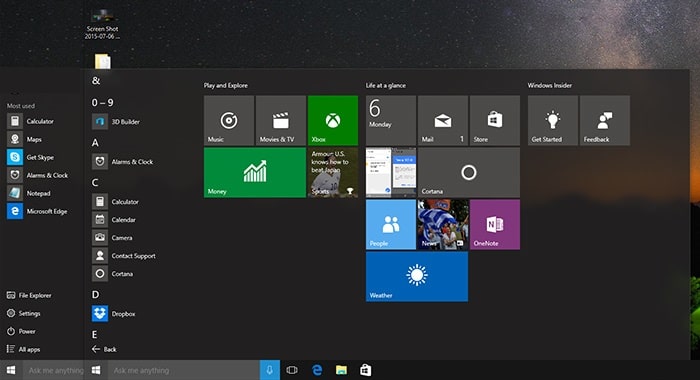
Make Start full screen
You Can make Start Menu full screen and see everything in one view, select the Start button, then select Settings > Personalization > Start, and then turn on Use Start full screen.
Select the Menu in the top left corner of the screen to get to your account picture, the All apps and Most used list, and the power button.
Find all your apps and programs On Start Menu
The Start menu is the place to find a full list of all of them. Select the Start button, and then select All apps in the lower-left corner. keep scrolling to a minimum, jump to a specific part of the list. Select one of the section dividers, and then choose the letter that the name of your app begins with.
Pin Windows Settings to the Start Menu
This setting’s a bit lesser-known but quite useful. If you have a few settings that you access often, you can pin them to the Start menu too. Just right-click on any item in the Settings app and choose “Pin to Start”.
I think that’s about it. So far, I’m pretty impressed with the Windows 10 Start menu. It’s a nice, updated version of the Windows 7 Start menu. See This video for more

