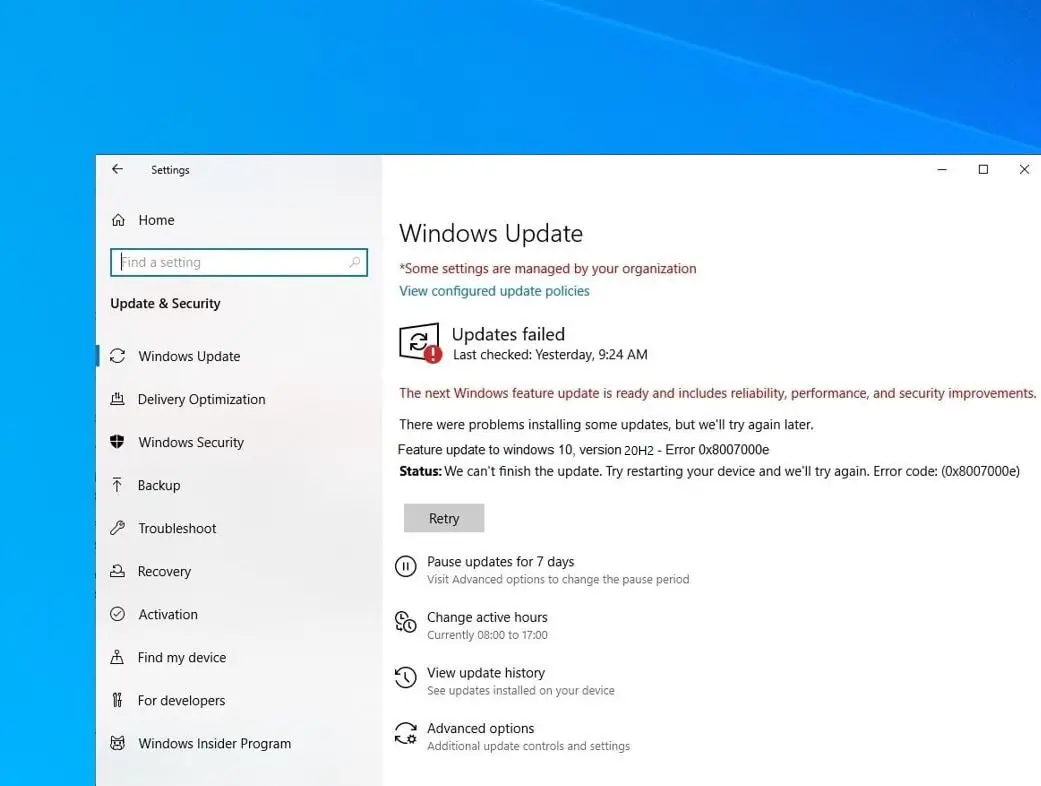
Microsoft’s Major AI update 2023, Windows 11 version 23H2 available for download. It’s a free update for existing Windows 11 users, and compatible Windows 10 devices running version 2004 and later. Existing Windows 11 users can download and install Windows 11 2023 update (Version 23H2) by heading to Settings > Windows Update and clicking Check for updates. For Windows 10 users, if your device meets minimum system requirements, can get install Windows 11 2023 update via Windows update. Overall it’s like installing regular Windows update but its size in huge may take longer time. However, at times you may experience Windows 11 Version 23H2 failed to install on Windows 10 device. Some users report Windows 11 Version 23H2 Update Not Installing, is stuck download hours. This post explores the common reason behind Windows 11 Update Errors: Why it Fails & How to Fix it.
Windows 11 23H2 update failed to install
There can be many reasons you may not be able to install the latest Windows Updates on your computer. Slow internet connection to Insufficient disk space, third-party software conflict, corrupt system files or security software blocking are common.
- Windows 11 has specific hardware requirements. If your computer doesn’t meet these requirements, the upgrade will fail.
- Windows 11 often requires a TPM 2.0 chip. If your system lacks this or it’s not enabled, the upgrade may fail.
- If your system doesn’t have enough free space, the upgrade may fail. Windows 11 requires a certain amount of free disk space to install.
- If the installation files are corrupted or incomplete, it can lead to a failed upgrade.
- A stable internet connection is crucial during the upgrade process. If there are network problems, the installation might fail.
- Antivirus or security software can sometimes interfere with the installation process. Temporarily disabling such software before the upgrade can help.
- If you’re using third-party disk encryption software, it can cause problems during the upgrade process.
Check System Requirements
The first thing you need to verify and ensure that your system meets the minimum requirements for Windows 11. It is crucial for a successful Windows 11 upgrade. Windows 11 introduces new features and requires specific hardware capabilities that may not be present in older systems.
Here are Microsoft’s official recommended minimum system requirements for installing Windows 11 on a PC. Also ensure Your device must be running Windows 10, version 2004 or later, to Windows 11 upgrade.
| Processor | 1 gigahertz (GHz) or faster with 2 or more cores on a compatible 64-bit processor or System on a Chip (SoC). |
| RAM | 4 Gigabytes (GB). |
| Storage | 64 GB or larger storage device Note: See below under “More information on storage space to keep Windows 11 up-to-date” for more details. |
| System firmware | UEFI, Secure Boot capable. Check here for information on how your PC might be able to meet this requirement. |
| TPM | Trusted Platform Module (TPM) version 2.0. Check here for instructions on how your PC might be enabled to meet this requirement. |
| Graphics card | Compatible with DirectX 12 or later with WDDM 2.0 driver. |
| Display | High definition (720p) display that is greater than 9” diagonally, 8 bits per color channel. |
| Internet connection and Microsoft account | Windows 11 Pro for personal use and Windows 11 Home require internet connectivity and a Microsoft account during the initial device set-up. |
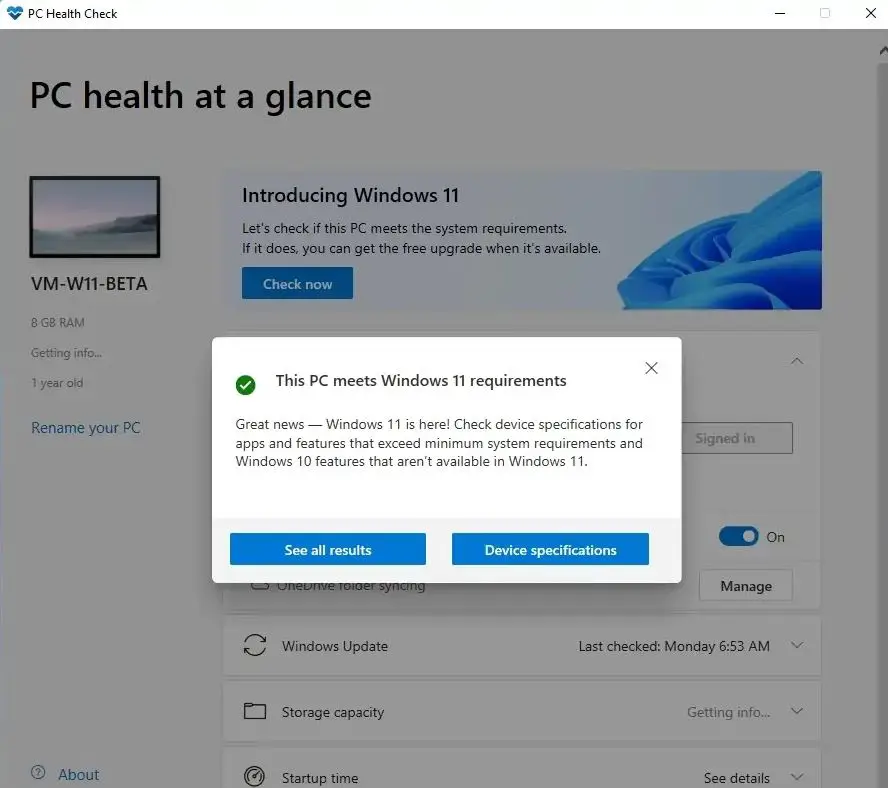
Also, you can downlaod and run the Microsoft PC Health Check app from Microsoft to ensure your Device is compatible with the latest Windows 11 version 23H2.
Check Internet connection
A stable and working internet connection is essential for downloading and installing Windows 11 23H2 update. If your internet connection is unstable or not functioning properly, it can lead to incomplete downloads or interrupted installations, causing the upgrade to fail.
A stable and working internet connection is essential for downloading and installing updates.
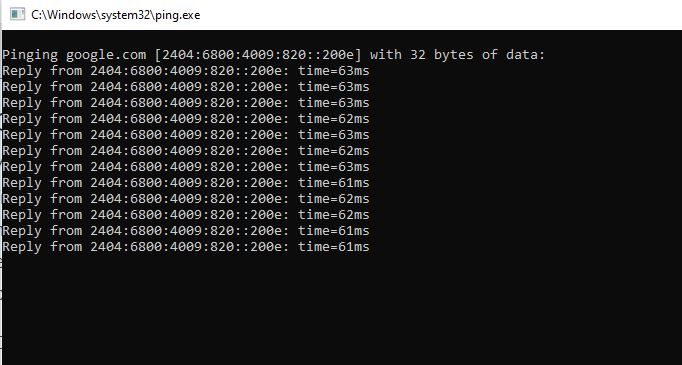
You can run a ping command to measure the latency of your internet connection.
- Press Windows key + R, type ping www.google.com -t and press Enter.
- This sends a series of test packets to a server (in this case, Google’s server) and checks if you receive responses.
- If successful, it indicates that your internet connection is functioning.
Ensure that both your modem and router (if applicable) are powered on and have their indicator lights showing normal operation. If you suspect an issue with your router, try restart it. This can often resolve temporary connectivity problems.
- You can Power cycle your modem and router by unplugging them,
- Waiting for about 30 seconds, and then plugging them back in.
- Allow them to fully restart before attempting to connect again.
Also, it’s recommended to disconnect from a VPN before attempting a major system operation like a Windows 11 upgrade. This is because a VPN can sometimes interfere with the download and installation process by routing traffic through different servers or locations, potentially causing errors.
If you’re using Wi-Fi, take your laptop closer to Router, For a wired connection, ensure that the Ethernet cable is securely plugged in at both ends.
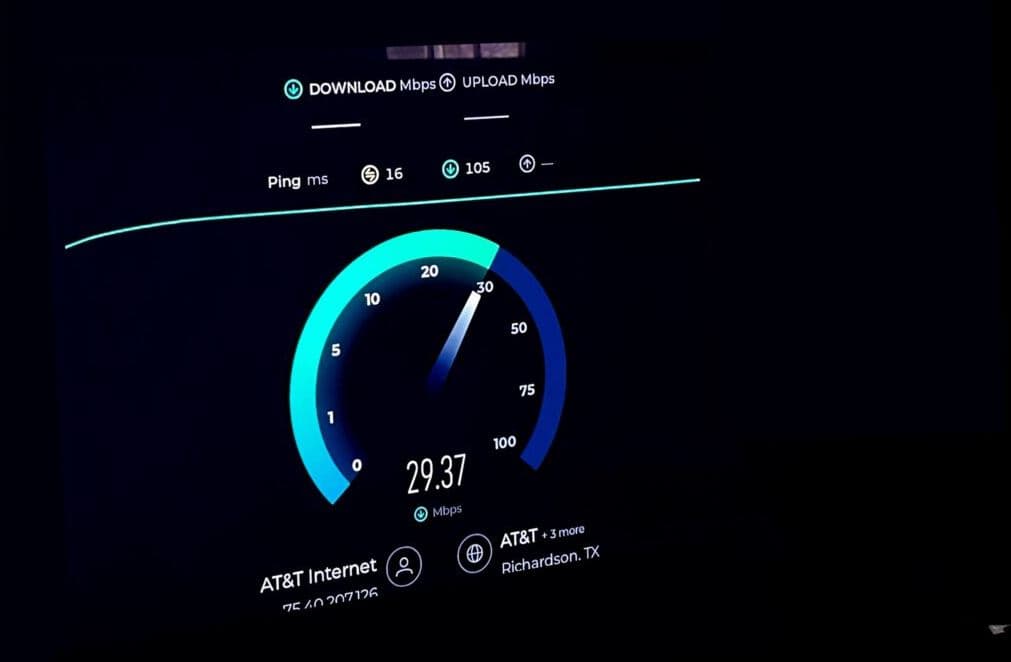
Also, you can visit fast.com or speedtest.net to check your internet speed.
Free Up Disk Space
The Windows 11 installation process requires a certain amount of space to accommodate the new operating system files. If your system drive is nearing full capacity, it can lead to installation failures or performance issues after the upgrade. Cleaning up unnecessary files and applications frees up space, allowing for a smoother upgrade experience.
Ensuring you have enough free disk space on your system drive is crucial for the upgrade process.
- Use the built-in Disk Cleanup tool to remove unnecessary files, such as temporary files, old downloads, and system-generated cache.
- Go to “Settings” > “Apps” and review the list of installed programs. Uninstall any applications you no longer use or need.
- Manually review your files and delete any large or unused files, such as old videos, documents, or applications.
- Consider moving large media files (like videos, photos, and music) to an external hard drive or cloud storage.
Check TPM 2.0 and secure boot Enabled
Enabling TPM 2.0 (Trusted Platform Module) and Secure Boot are important steps in preparing your system for a potential upgrade to Windows 11. Here’s how you can enable these features on Windows 10:
To Check if Your System Already Has TPM
Press Windows key + R to open the Run dialog box, type tpm.msc, and press Enter. If TPM is already present, you can skip to the next step.
Enable TPM in BIOS/UEFI:
- Restart your computer and enter the BIOS or UEFI settings. This is usually done by pressing a key like F2, F10, F12, DEL, or ESC during startup. Refer to your computer’s manual for specific instructions.
- Navigate to the Security or Advanced settings menu, and look for an option related to TPM or Security Chip.
- Enable it and save changes before exiting the BIOS.
To Enable Secure Boot
- Restart your computer and enter the BIOS or UEFI settings using the same method as above.
- In the BIOS/UEFI settings, look for an option related to Secure Boot. It may be found under the Security or Boot sections.
- Set the Secure Boot option to “Enabled” or “Enabled with UEFI only”. This ensures that only signed and trusted bootloaders and drivers are loaded during startup.
- Save the changes you made to the BIOS/UEFI settings and exit. Your computer will restart.
Run Windows Update Troubleshooter
The Windows Update Troubleshooter is a built-in tool designed to identify and resolve common update-related issues. It scans for problems that may be preventing Windows updates from being installed correctly. Running this troubleshooter can help diagnose and fix issues related to Windows update components, services, and settings. And this help successful upgrade to Windows 11.
The Windows Update Troubleshooter can identify and resolve common update-related issues.
To run Windows Update Troubleshooter
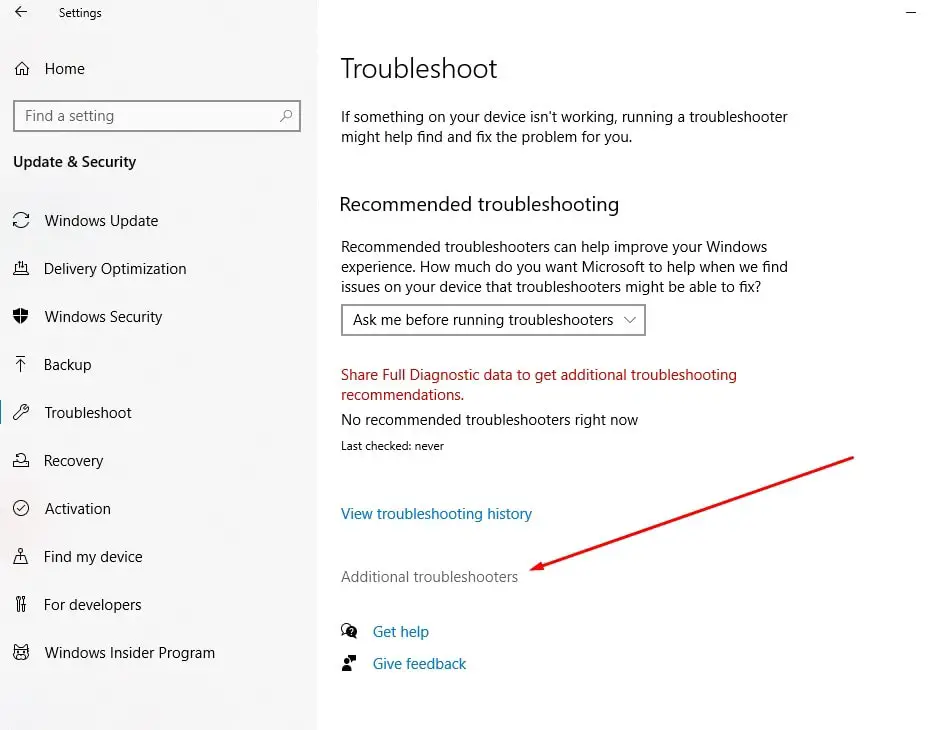
- Press Windows + I to open Settings.
- Click Update & Security then troubleshoot
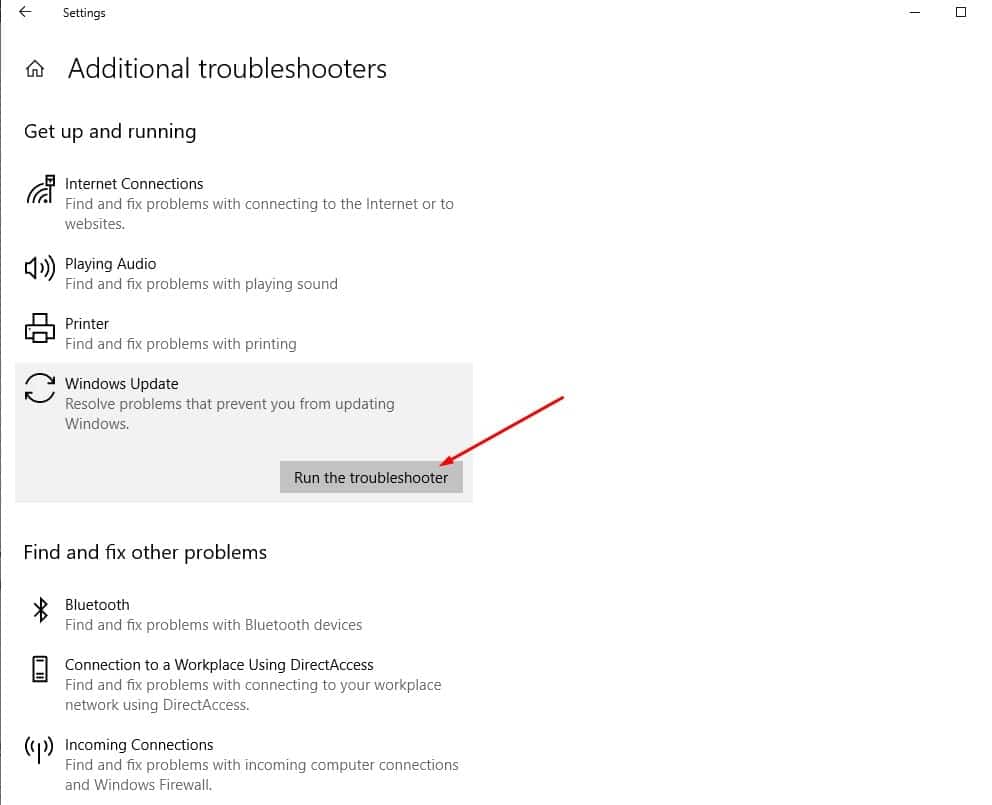
- Now click on the additional troubleshooter link (Refer to the image below)
- locate Windows Update and click Run the Troubleshooter
The Windows update troubleshooter will run and attempt to identify if any problems exist which prevent your computer from downloading and installing Windows Updates. After completing, the process Restart Windows and again manually Check for Updates.
Reset Windows update components
This process involves deleting temporary files that Windows uses to store update files. These files can sometimes become corrupted or incomplete, leading to issues during the upgrade process. By clearing the update cache, you’re essentially starting with a fresh set of update files, which can help resolve any problems associated with the existing cache.
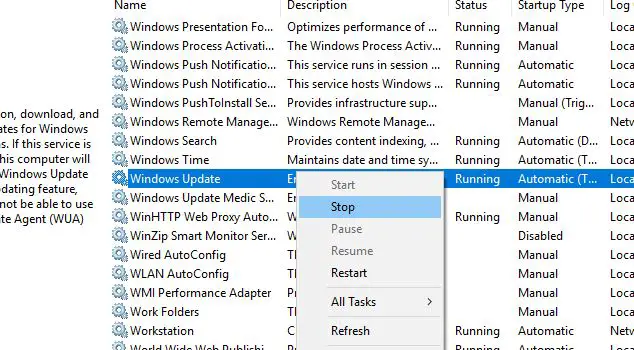
- Press Win + R to open the Run dialog box and type services.msc.
- Find the “Windows Update” service, right-click, and select “Stop”. This will temporarily halt the Windows Update service
- Now press Windows key + E to open File Explorer and navigate to C:\Windows\SoftwareDistribution.
- Open the download folder and delete all files and folders within it. This is where Windows stores update files.
- Restart the “Windows Update” service by right-clicking it and selecting “Start”. This will initiate the service again.
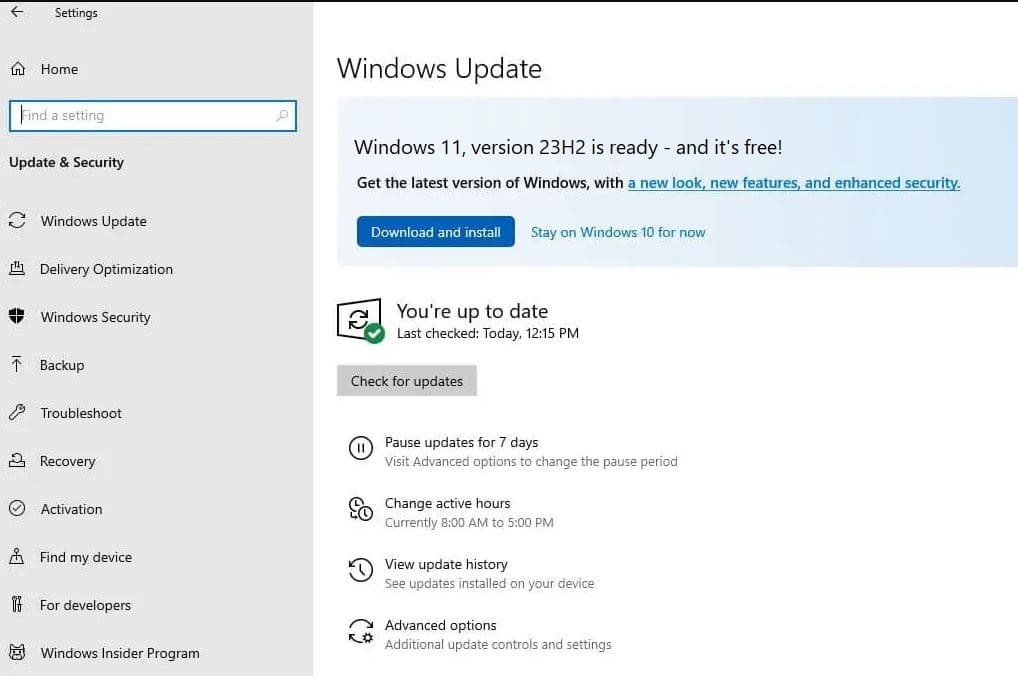
Now open Windows 10 settings using Windows key + I, navigate to Windows update then hit check for updates. Click download and install next to windows 11 ready notification.
Repair Corrupt Files using SFC and DISM
Corrupt system files are another common reason why Windows 11 version 23H2 fails to install. You can use the System File Checker (SFC) and Deployment Image Service and Management Tool (DISM) tools for repairing the Windows operating system.
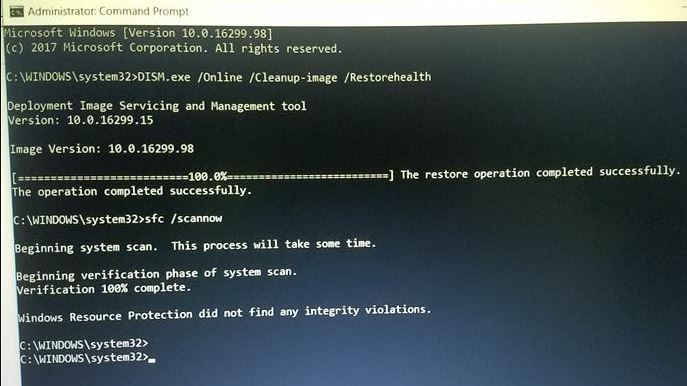
- Open the command prompt as administrator,
- Run DISM command DISM.exe /Online /Cleanup-image /Restorehealth
- And after that run sfc/scannow to run the system file checker utility,
- Restart windows after complete the scanning process.
SFC scans and repairs corrupted or missing system files, ensuring the integrity of the operating system. DISM, on the other hand, is used to repair the Windows image itself, which includes system files and components.
Running both of these tools can help resolve any underlying issues within the Windows environment, potentially enabling a successful upgrade.
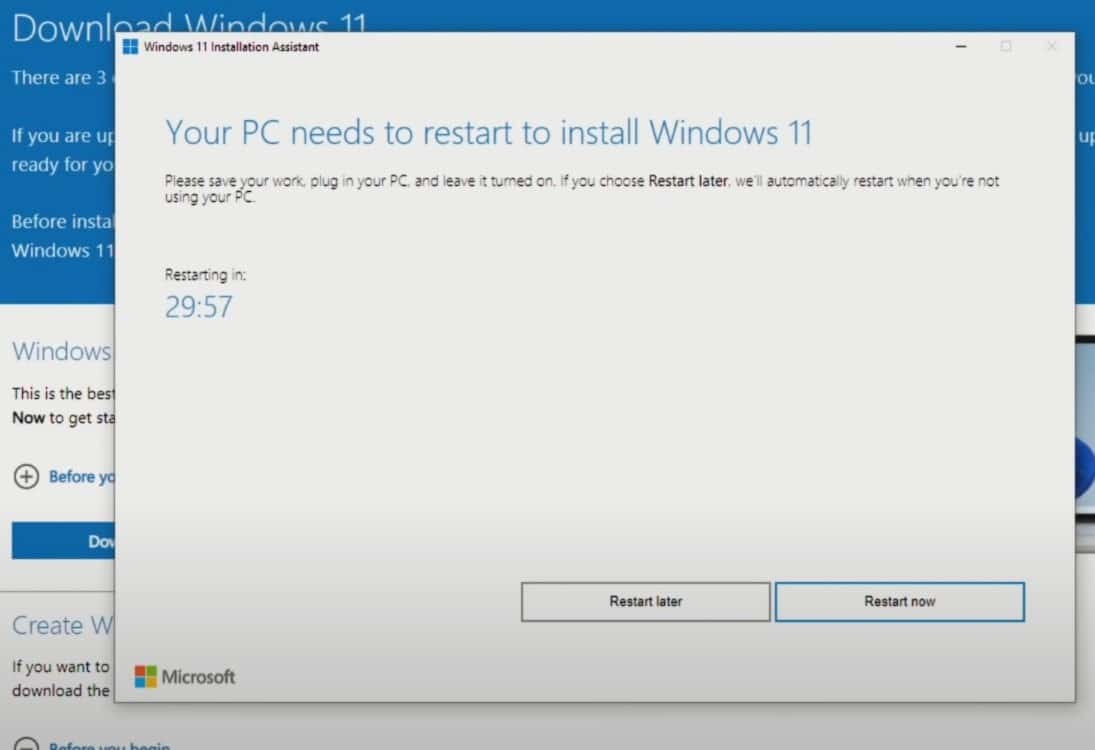
Use Windows 11 Installation Assistant
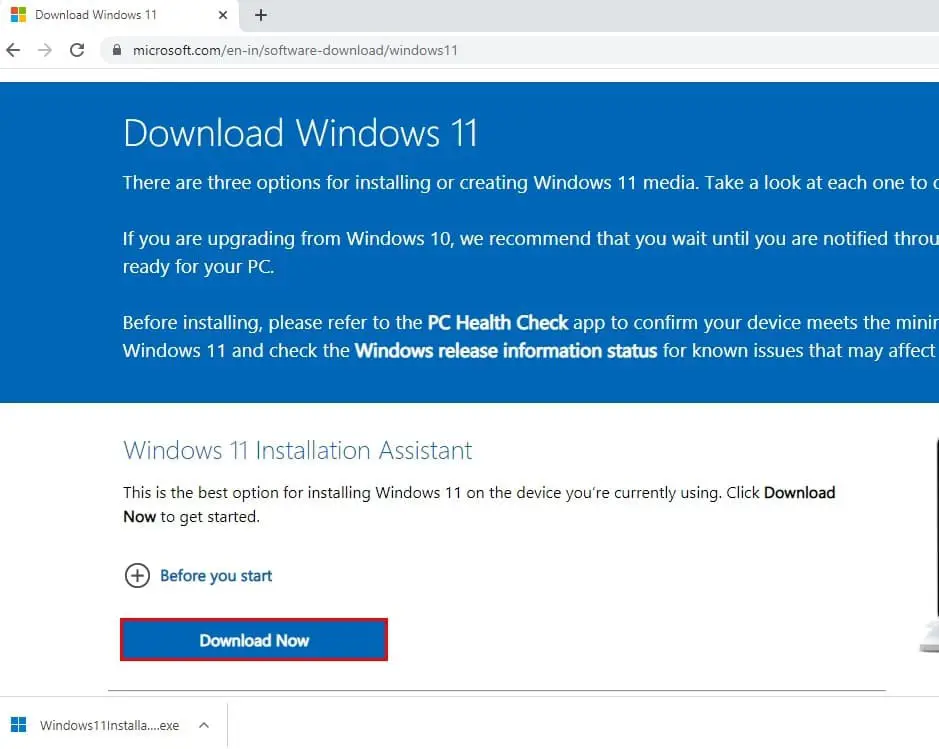
The Windows Installation Assistant is a dedicated tool provided by Microsoft to assist users in upgrading to Windows 11. It automates many of the compatibility checks and guides users through the upgrade process. If all the above methods fail to fix the problem, download and run the Windows 11 Installation Assistant from the Microsoft website.
This tool is designed to make the upgrade experience more user-friendly and to help identify and address potential issues that may prevent a successful upgrade.
- Visit the official Microsoft website to get the Windows 11 Installation Assistant. Click on the “Download now” button to start the download process.
- If a User Account Control notification appears, click on “Yes” to allow the tool to make changes to your system.
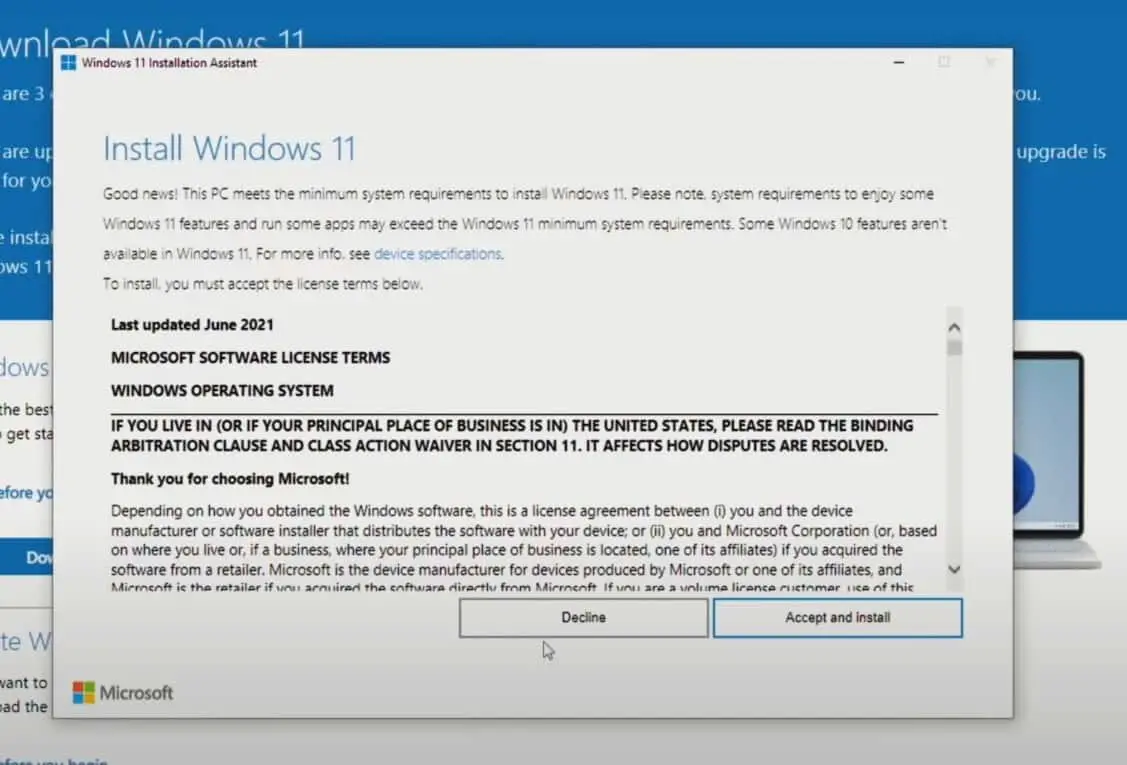
- Read through the Microsoft software license terms and then click on “Accept and install” to proceed with the Windows 11 upgrade.
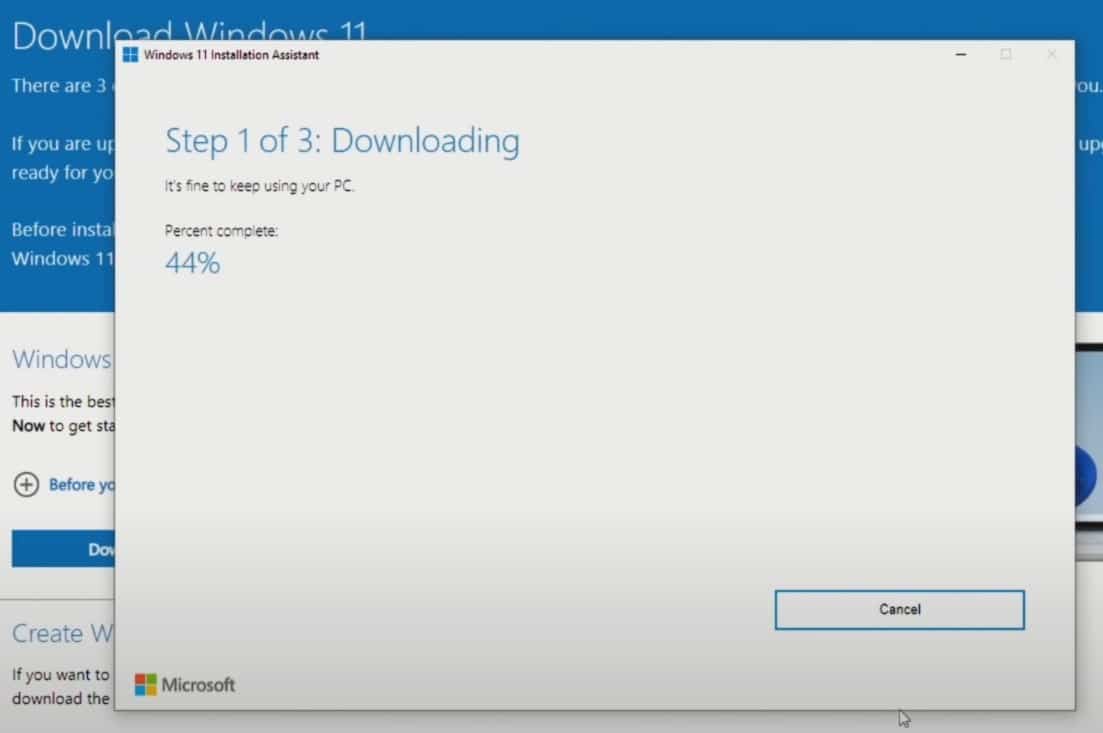
- The Installation Assistant will now start downloading Windows 11. This process may take some time, and you can continue to use your PC while it downloads.
Once the download is complete, click on “Restart now” to begin the installation of Windows 11.
Note: Make sure your laptop is connected to the AC adapter during this process, and avoid forcing a shutdown to prevent any potential issues.
After the computer restarts and you’re back at the desktop, it means the Windows 11 installation process is finished.
Also read:
- Fix Windows 10 WiFi keeps disconnecting (5 working solutions)
- Solved: Unknown Hard Error on Windows 10 / 8 / 7 (5 Working Solutions)
- Fix Apps missing after Windows 10 version 22H2 upgrade
- Solved: Windows 10 BSOD kmode_exception_not_handled overclock
- How to Fix Devices and Printers not Loading on Windows 10 Version 22H2
