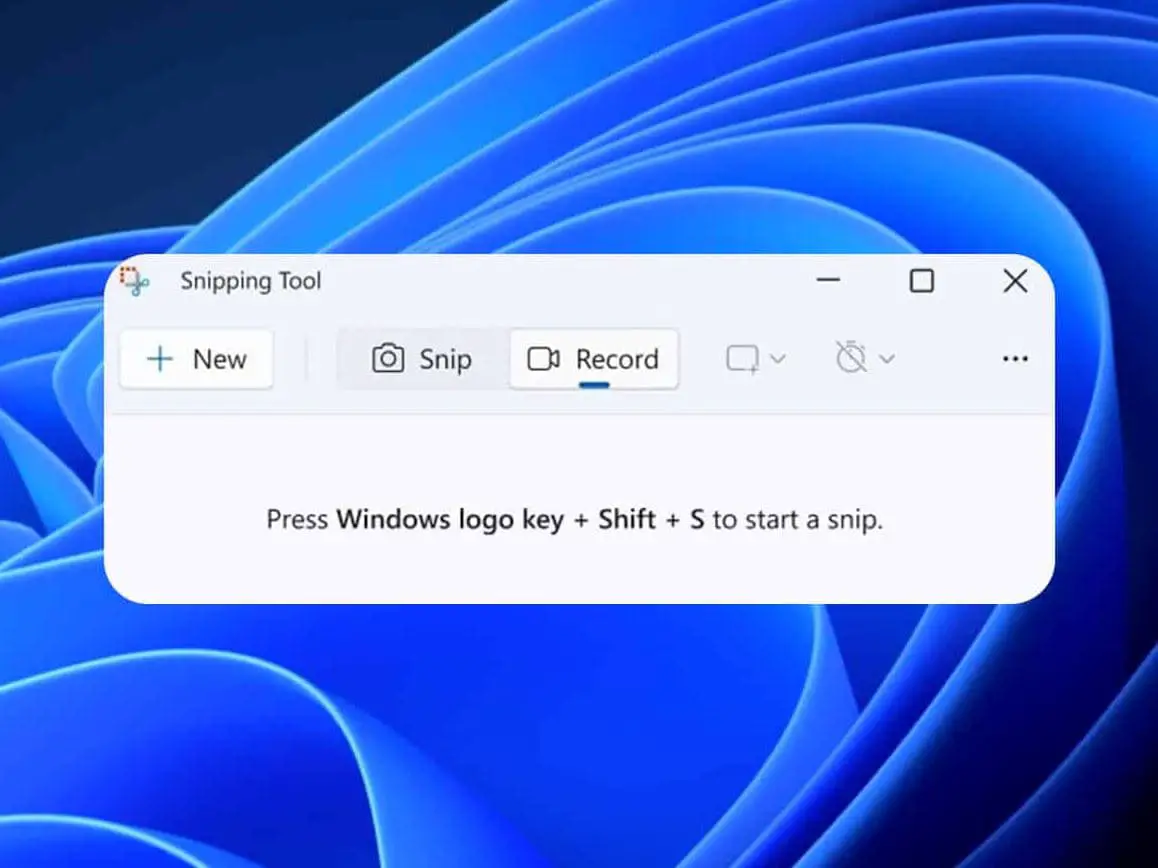
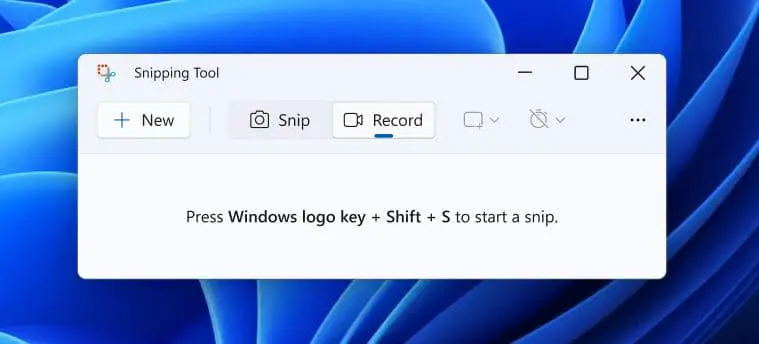
The Snipping Tool in Windows 11 lets you take screenshots quickly and edit them. Recently Microsoft updated the tool with a built-in screen recorder and the ability to pause while recording, improved performance and reliability. And you can press the Windows logo key + Shift + S to start a snip on Windows 11.
But sometimes you may notice Snipping Tool not opening or repeatedly crashing. A number of users report, Snipping Tool not working in Windows 11.
Snipping Tool not working in Windows 11
There are several reasons cause Snipping Tool not working, Software Conflict, System File Corruption, older versions of Windows, or the graphics driver is outdated and incompatible with the Snipping Tool are common. And Reset or Repair the Snipping Tool on Windows 11 helps several users fix the problem with the app. In addition, you need to install the latest Windows updates, repair corrupted files with sfc tool or Turn Off Focus Assist to get rid of such problems on Windows 11.
Let’s first restart the snipping app process that probably helps:
- Press Ctrl + Shift + Esc keys to open the Task Manager.
- Under the Processes tab, right-click the Snipping Tool listed on the left and select End task from the pop-up menu.
- Now open the app again and check if it can function properly.
Reset or Repair the Snipping Tool
If the snipping tool not working on Windows 11 the first thing you should try is Reset or Repair the Snipping Tool. This is one of the most elementary and convenient methods to eradicate the problem with Snipping tool on Windows 11.
- Press the Windows key + I to open the settings app,
- Go to Apps then locate and click on the ‘Installed Apps’
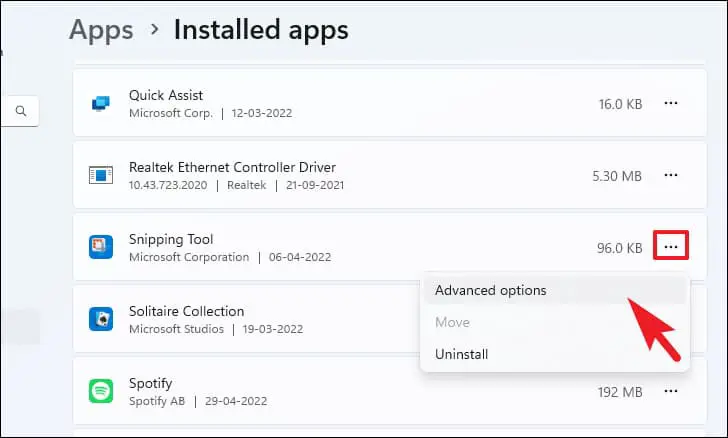
- Scroll down to locate the ‘Snipping Tool’ app
- Click on the ‘ellipsis’ icon (three horizontal dots) then select ‘Advanced Options‘ on the context menu
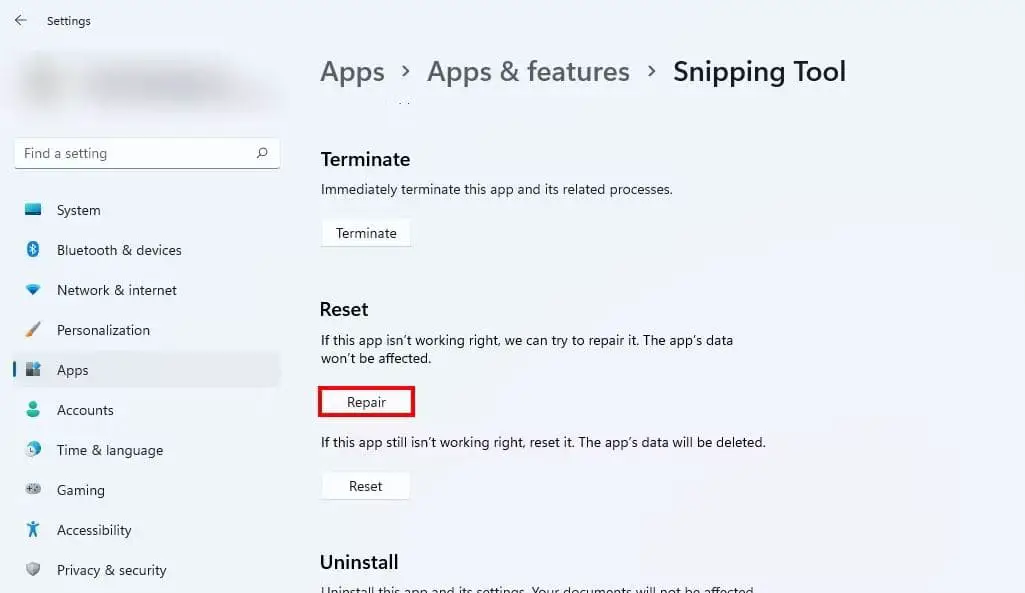
- The new window opens with options to repair or reset the app default settings.
- First, try to repair option and launch the Snipping Tool app on your PC if it’s still not working or keeps on crashing try the Reset option.
Enable Background App Permissions
Again it might be the app does not have the necessary permission to run in the background. Let’s check and allow the snipping tool to run in the Background.
- Open Settings and navigate to Apps > Installed apps.
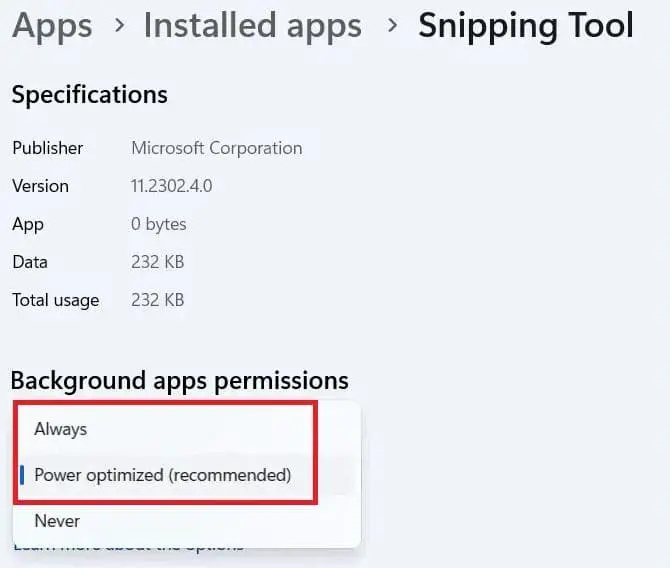
- Locate the Snipping Tool, right-click on the three dots near it, and select “Advanced options.”
- Under the Background apps permissions, select the option for Let this app run in the background as “Power optimized” or “Always.”
- This gives necessary access permissions to take pictures, now try to open the app and check if it working as expected.
Turn Off Focus Assist
The Focus Assist feature filters all unwanted notifications on Windows 11. But sometimes cause problems with some helpful apps such as the snipping tool. A number of users mention disabling Focus Assist help them fix the snipping tool not responding problem.
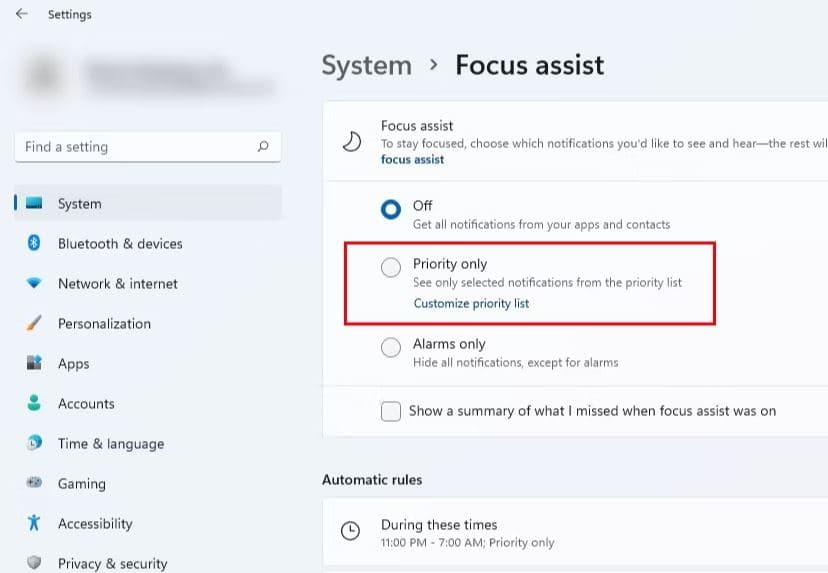
- Press Windows key + X and select settings now Nevigate Systems then Focus assist option
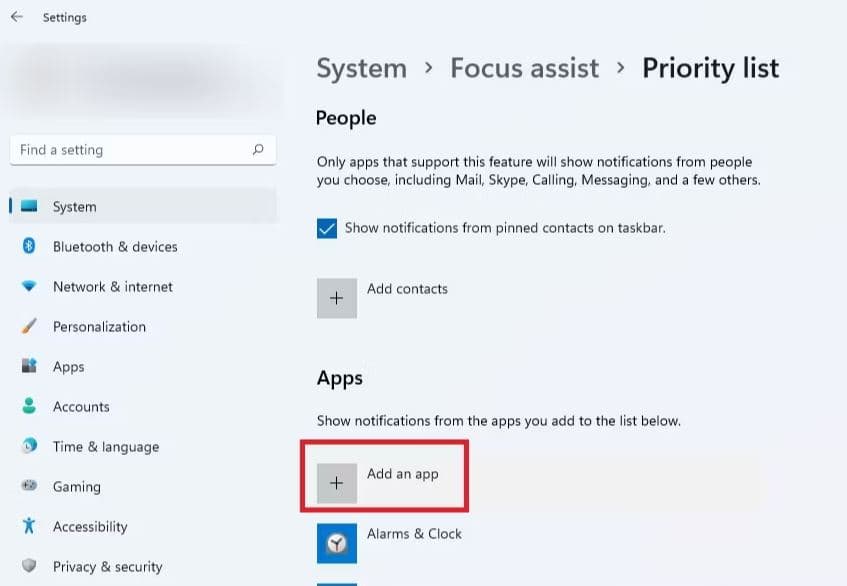
- In Focus Assist, select the Priority only option and click on the Customize priority list
- Here, under the Apps section, click on Add an App. Find the Snipping Tool from the list of apps and close the window.
- Try opening the Snipping Tool and check if it works now.
Update Windows 11
Older versions of Windows 11 or bugs on recent Windows updates can also cause Snipping Tool not working in Windows 11. Microsoft regularly updates Windows 11 with the latest bug fixes and security enhancements, let’s check and install the latest Windows 11 updates that may have bug fixes for the snipping tool.
You may also update the snipping tool by visiting the Microsoft Store.
- Press Windows key + I to open the settings app on your PC,
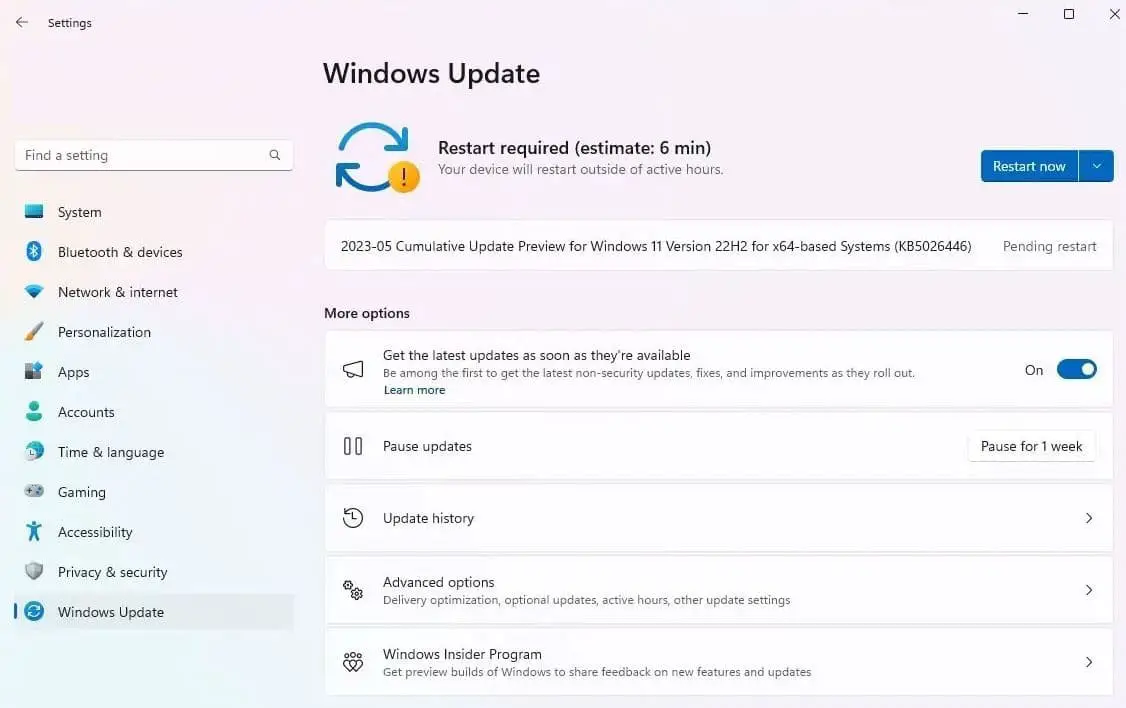
- Select “Windows Update” in the left pane, and hit the check for updates button,
- If there are pending updates, allow them to download and install from the Microsoft server,
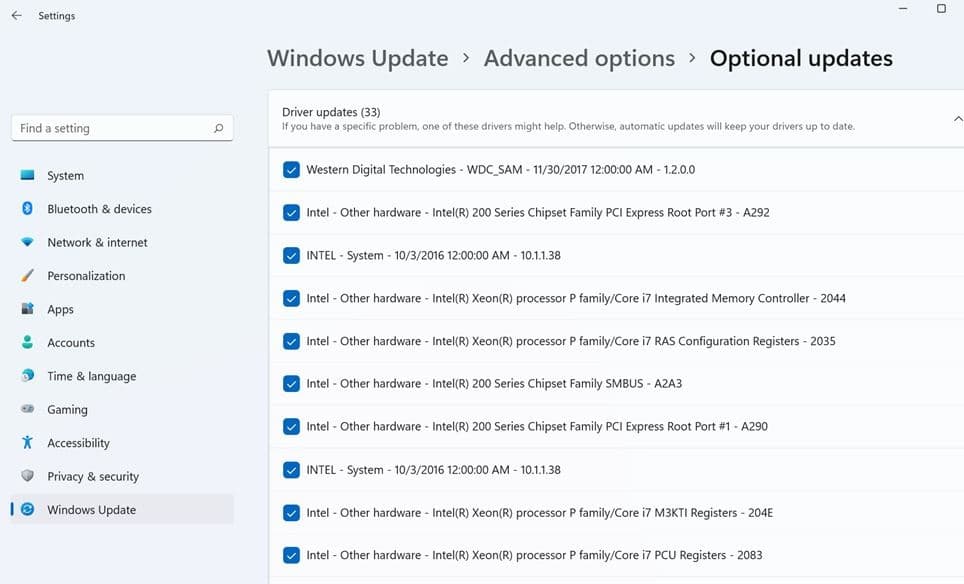
- Once done select “Advanced options”, then Select “Optional updates” under Additional options.
- If there are any pending updates here, download and install them.
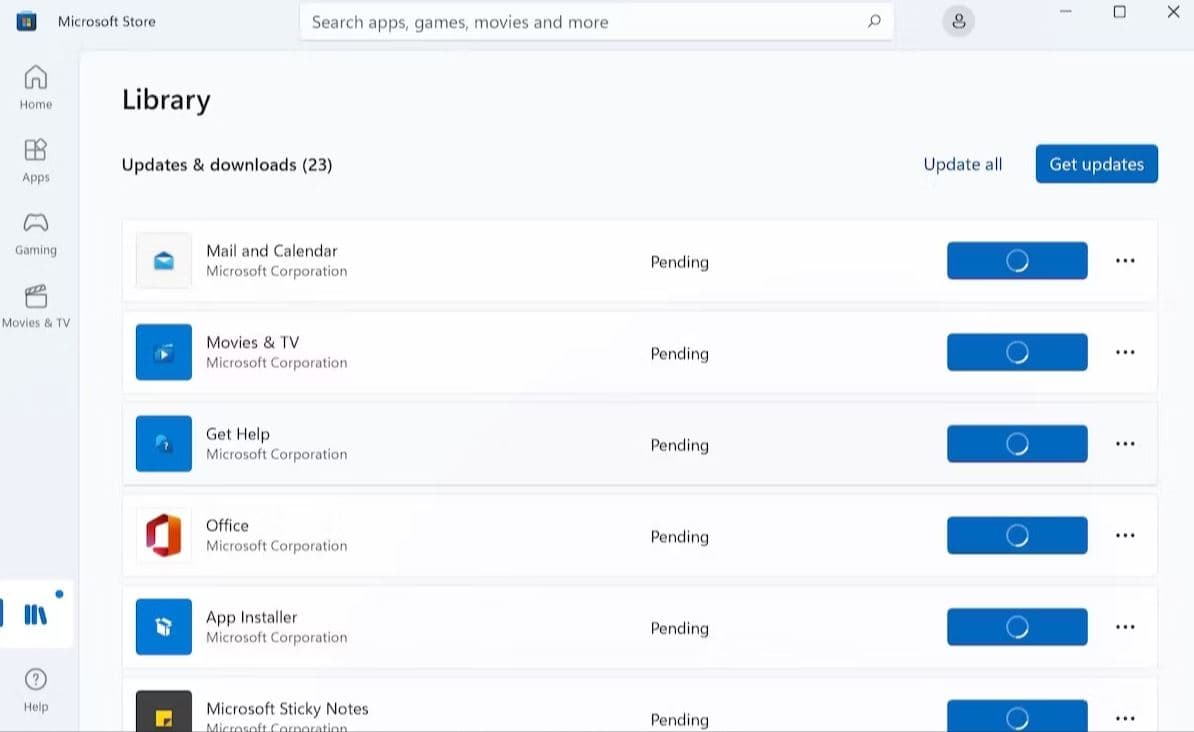
- Now open the Microsoft Store, Select the Library tab and click the Get Updates button. Install the updates, if any.
- Scroll down to locate Snipping Tool and install any available updates.
- Finally, reboot your computer to apply the changes.
Disable Automatic Time
Sometimes this tool may not work properly if there is an issue related to the date and time of the application’s digital certificates.
- Press the windows key + x and select settings
- Go to Time & Language then Date & Time section
- Here Turn off the Set time automatically toggle button.
- Then, click the Change button near Set the date and time manually.
Perform a Clean Boot
Perform Windows 11 clean boot to check if third-party software conflict affects the working of the snipping tool. Performing a clean boot can help you with this issue and get the screenshot tool working in no time.
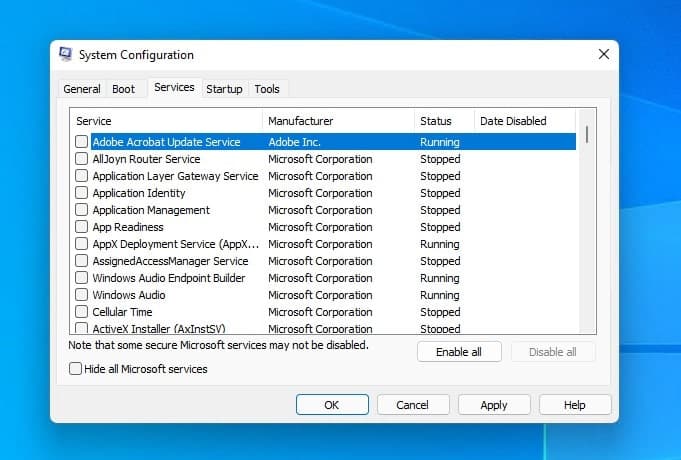
- Press Windows key + R, type “msconfig” and click ok to open the system configuration
- Select the services tab, checkmark “Hide all Microsoft services”, and click the Disable all button.
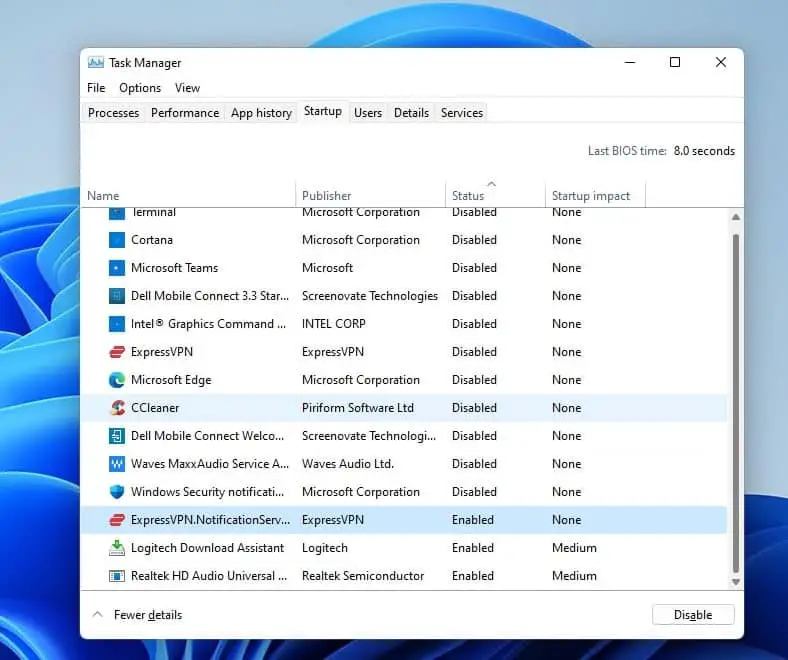
- Now move to the Startup tab and click “Open Task Manager.”
- Right-click on every third-party application and select “Disable.”
- Close Task Manager, Click “OK” in the System Configuration dialog box and restart your computer.
Now open the snipping tool to see if the problem has been resolved.
- Well if the app not open using the keyboard shortcut, you should try open it from the start menu search. If you are still facing issues, close it and open it again as an administrator.
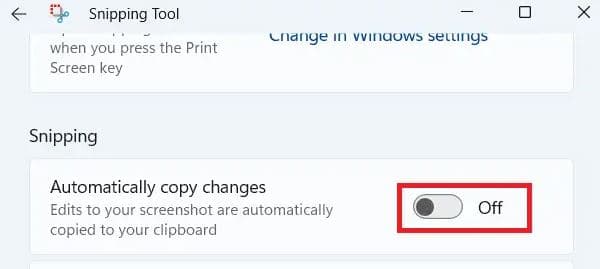
- If the app crashes while taking a screenshot, open the snipping tool click the three dots on the top-right corner, and select “Settings.” And toggle off the “Automatically copy changes” option under Snipping.
- If the tool still doesn’t work on reopening, select “3-second delay” in the Delay snip drop-down menu, and try again.
Reinstall Snipping Tool
Still the app not working, you should try Uninstall and Reinstalling the snipping tool from the Microsoft Store.
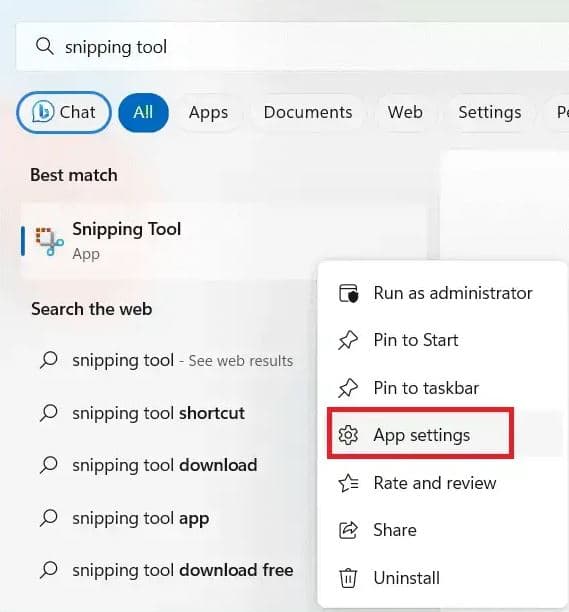
- Press Windows key + S, and type snipping tool When the tool appears, right-click and select “App settings.”
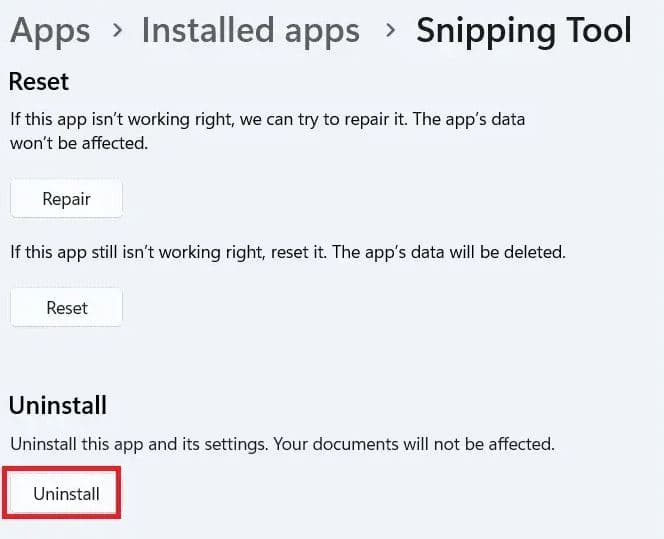
- Scroll down and click the Uninstall button, Confirm your action and restart the PC.
- Now open Microsoft Store and search for the Snipping Tool to get it replaced with a new version.
- Then, click the Get button to get the Snipping Tool and install it.
Update The Graphics Driver
If the above solutions didn’t fix the problem, still snipping tool not responding or crashes, you should try updating the Graphics driver on your PC.
- Right-click on the Start Menu and select Device Manager.
- Double-click on Display adapters to expand it, right-click on the graphics card, and select “Update driver.”
- In the next window, select “Automatically search for drivers.”
- Install the graphics driver update if available and restart your computer.
You may also go to the manufacturer’s website and get the latest driver to install. Finally, check if the Snipping Tool is working well after the driver update.
Run SFC and DISM command
Again corrupted Windows system files may cause Windows 11 apps not working include the snipping tool. Run the DISM and SFC commands to scan and repair system files on your computer.
- Press Windows key + S, type cmd, and select run as administrator,
- First, run the DISM restore health command, DISM /Online /Cleanup-Image /RestoreHealth
- Next, run the system file checker utility command sfc /scannow
- The above command scan all protected system files, and replace corrupted files with a cached copy that is located in a compressed folder at %WinDir%\System32\dllcache
- Once the scanning completes 100%, reboot your PC and check if the app working without any problem.
Sometimes corrupted user profiles also cause the snipping tool not working on Windows 11. If the above solutions didn’t help, create a new user account, log in with it and check the snipping tool working as expected.
Also read:
