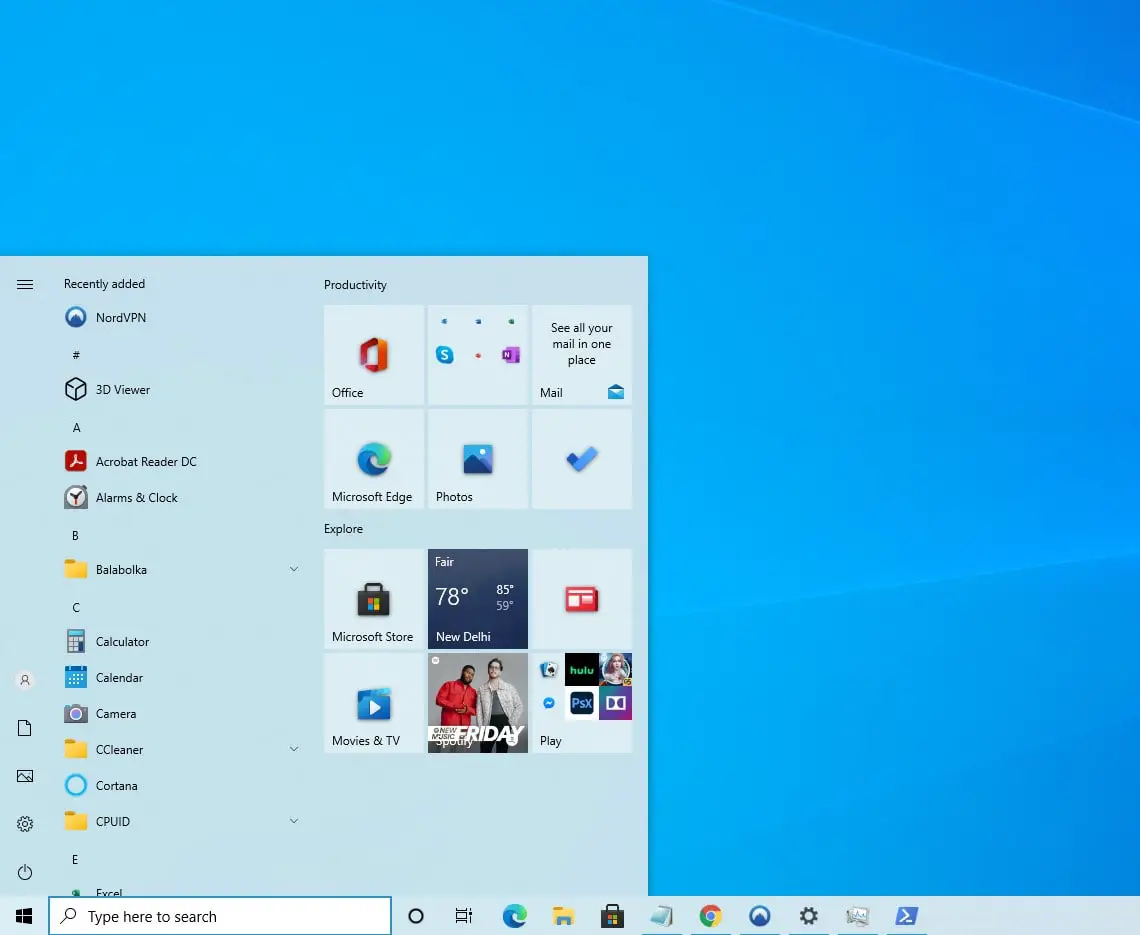
The start menu is one of the most essential additions to Windows 10, as it allows you to access your apps, features, settings, files, and more. Its functionality is crucial for a seamless and efficient user experience. However, occasionally you may experience the Windows 10 start menu not working, stop responding, freeze, or disappear altogether. Several users report the start menu not working after windows 10 update. Several factors can cause the start menu to malfunction, corrupted system files, User Profile Corruption, problems with the Start menu process or system glitches are common. Here is how to quickly fix the Windows 10 start menu and taskbar not working problem and get it working again.
Contents
This issue can arise due to various reasons, such as Damage or corruption to essential system files can lead to Start Menu malfunctions. Again Incompatibility or conflicts with third-party software installations can affect the Start Menu’s functionality.
Restart Your Computer
Sometimes, the simplest solution is the most effective. Restarting your computer can resolve temporary glitches or conflicts that may be affecting the Start Menu. It refreshes the system and reloads all essential components, potentially fixing any minor software Glitches.
- Simply click on the “Start” button, then select the “Power” icon, and choose “Restart.”
- Allow your computer to restart completely, then check if the Start Menu is functioning properly.
In addition, Go to Settings > Accounts > Sign In Options. Scroll to Privacy and turn off the option that says ” Use my sign-in info to automatically finish setting up my device after an update or restart.
kill StartMenuExperienceHost.exe
Windows 10 start menu now has its own dedicated process called ShellExperienceHost.exe. If Start Menu not working or not responding mouse click then kill StartMenuExperienceHost.exe probably help fix the problem.
- Open the task manager using the Ctrl+Shift+Esc keys
- look for Start process in the given list, right-click on it select end task,
- Go to the Details tab, look for “StartMenuExperienceHost.exe” process right-click on it select end task.
- This will kill the start menu process and restart it, Now check if the start menu problem is resolved.
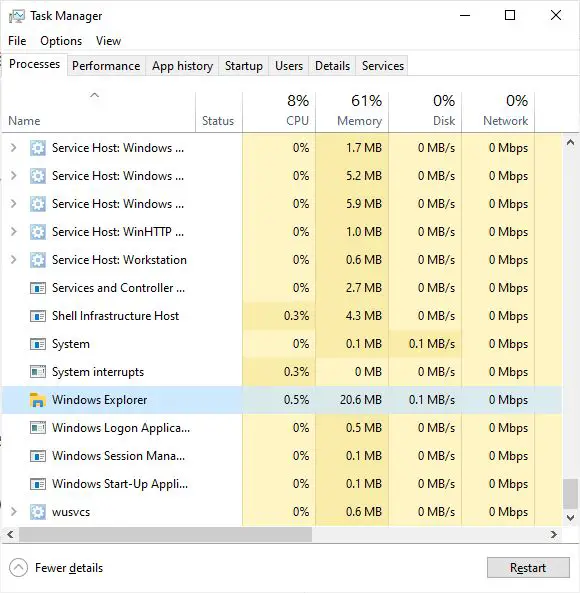
In addition under the process tab look for Windows Explorer, right-click on it select the restart option. After that, try to open the Start Menu and check if the problem is resolved.
Run Windows Update
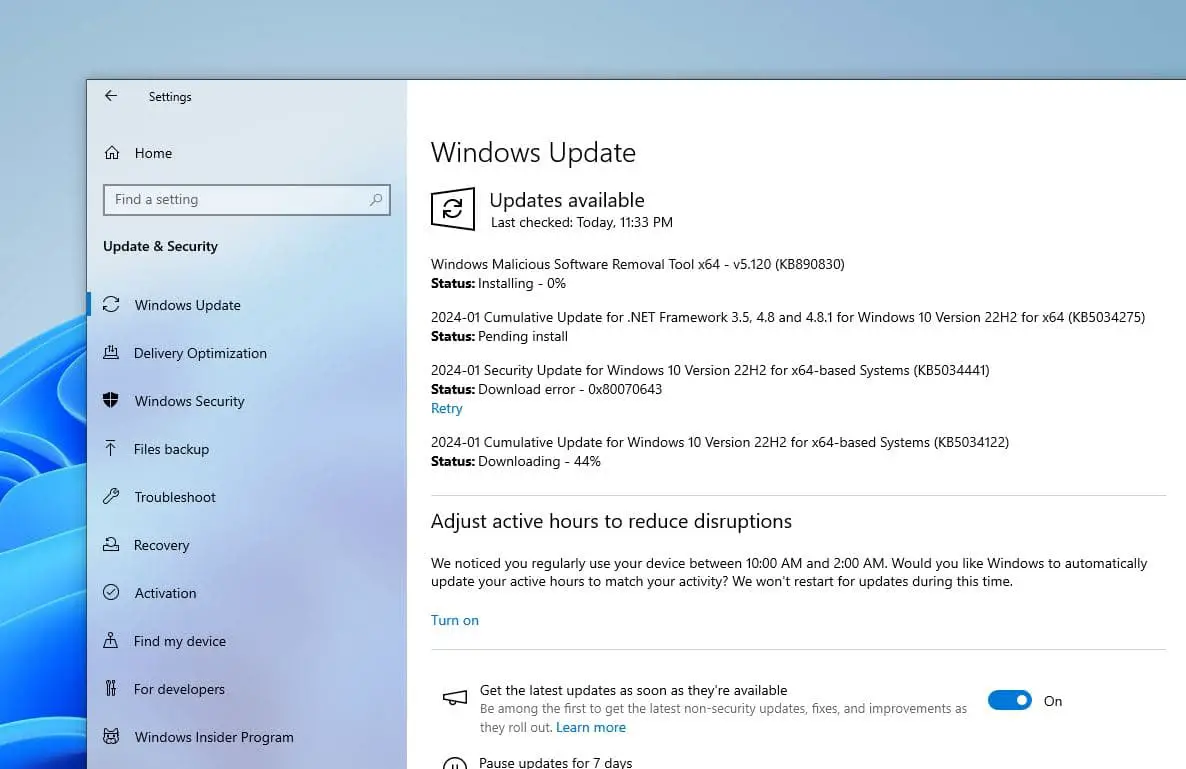
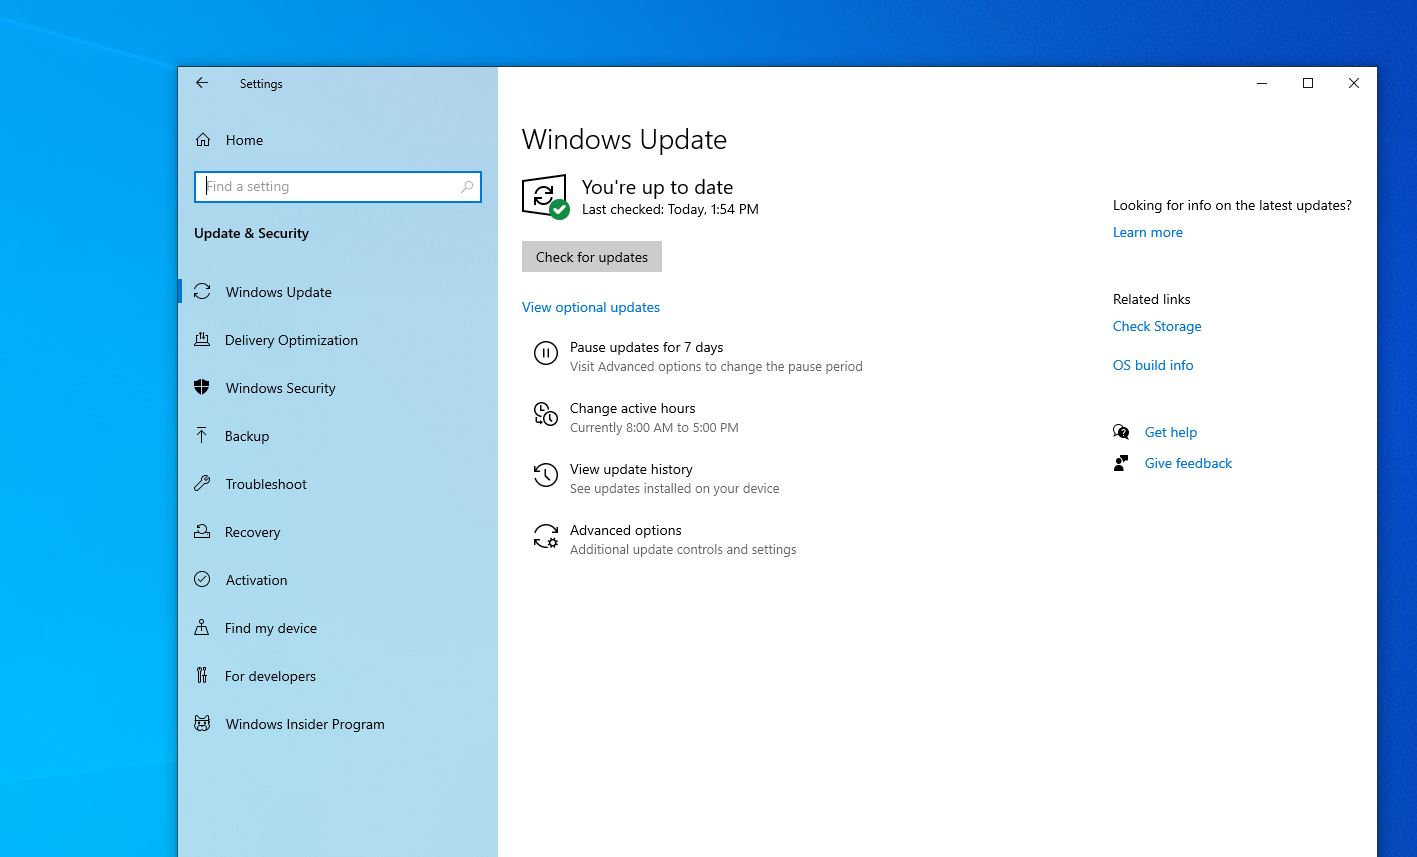
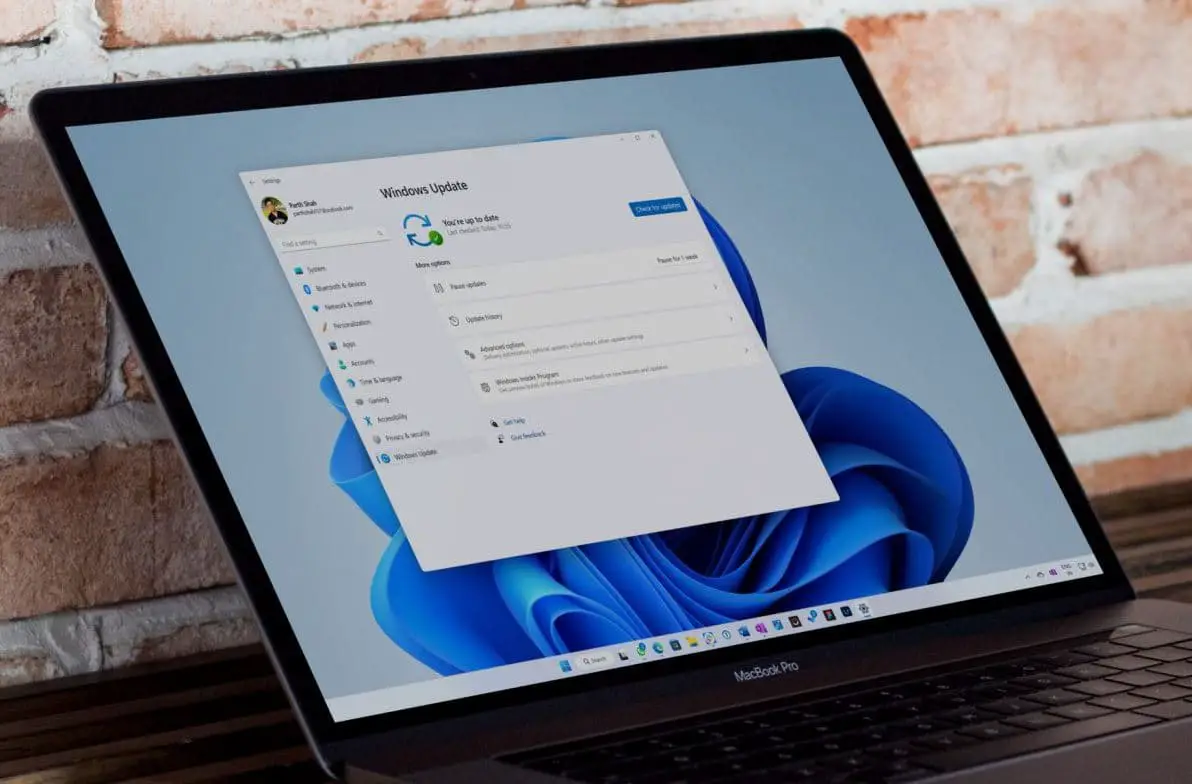
Windows updates often include bug fixes, security patches, and improvements that can address issues with system components, including the Start Menu. Installing updates ensures that your operating system is up to date, potentially resolve the Windows 10 start menu and taskbar not working problem caused by outdated or incompatible system files.
- Press Windows key + I to open settings,
- Go to Update & security the hit check for updates button,
- This will start the download and install the latest Windows updates from the Microsoft server.
- Once done you need to reboot your computer to apply them and check if the start menu problem is resolved.
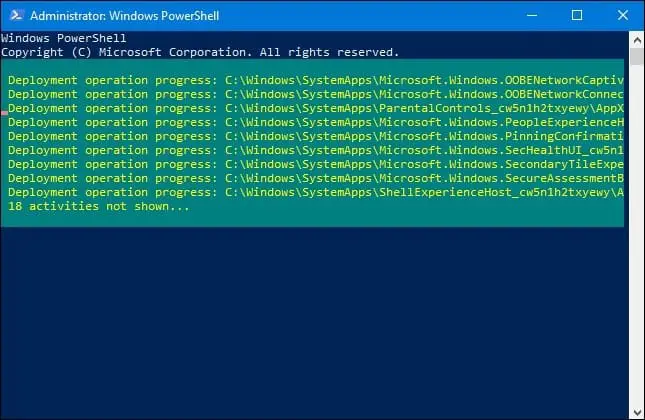
The Start menu app is a core component of Windows 10 that can be re-registered using a PowerShell command. And this is the most effective solution help many users fix the start menu problem on their computers.
To do this, you’ll need to open PowerShell as an administrator, Windows Key + R to open the Run, type “powershell” hold down “Ctrl + Shift” and click the “OK” button:
Now run the following command, you can copy it and paste on PowerShell terminal.
Get-AppXPackage -AllUsers | Foreach {Add-AppxPackage -DisableDevelopmentMode -Register “$($_.InstallLocation)\AppXManifest.xml”}
This command will re-register all the Windows 10 apps, including the Start menu app. Wait for the process to complete and then restart your computer.
Once the process is complete, restart your computer, Now check if the Start Menu is functioning properly. Re-registering the Start Menu can often resolve issues caused by corrupted or misconfigured Start Menu components.
Repair corrupt or missing Windows system files
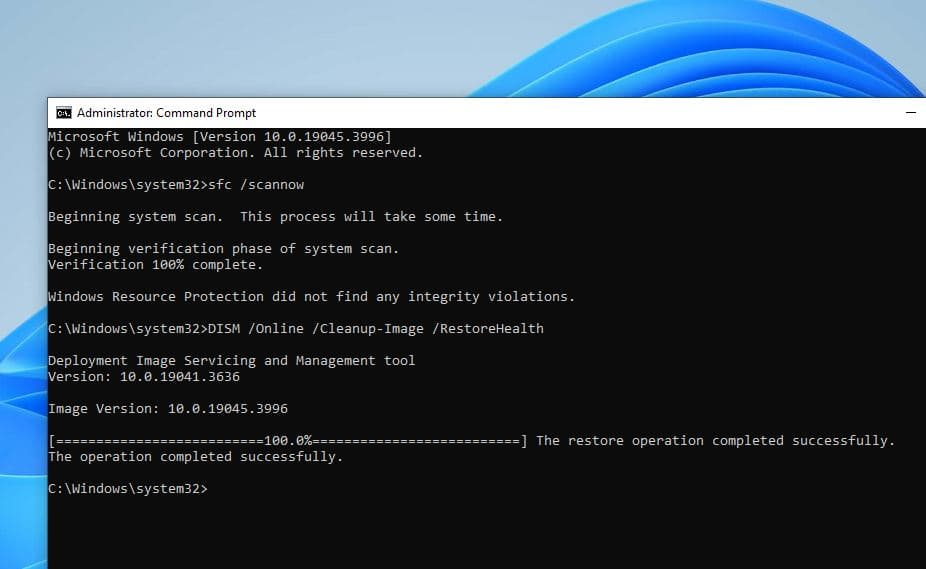
System files are important for the proper function of your computer. If for some reason, or accidentally these files get corrupted or missing it may cause various issues, including Start Menu malfunctions. Running a System File Check (SFC) scan can help identify and repair these files.
- First Open the Command Prompt as an administrator. press the windows key, type cmd and select the run as administrator option.
- Type the command sfc /scannow and press enter key to scan for and repair corrupted or missing system files.
- In addition, run DISM command to scan Windows system image for corruption and repair them using Windows update as source.
dism /online /cleanup-image /restorehealth
After that restart windows and check now everything is perfect. still, need help to follow the next solution.
Create a New Admin Account
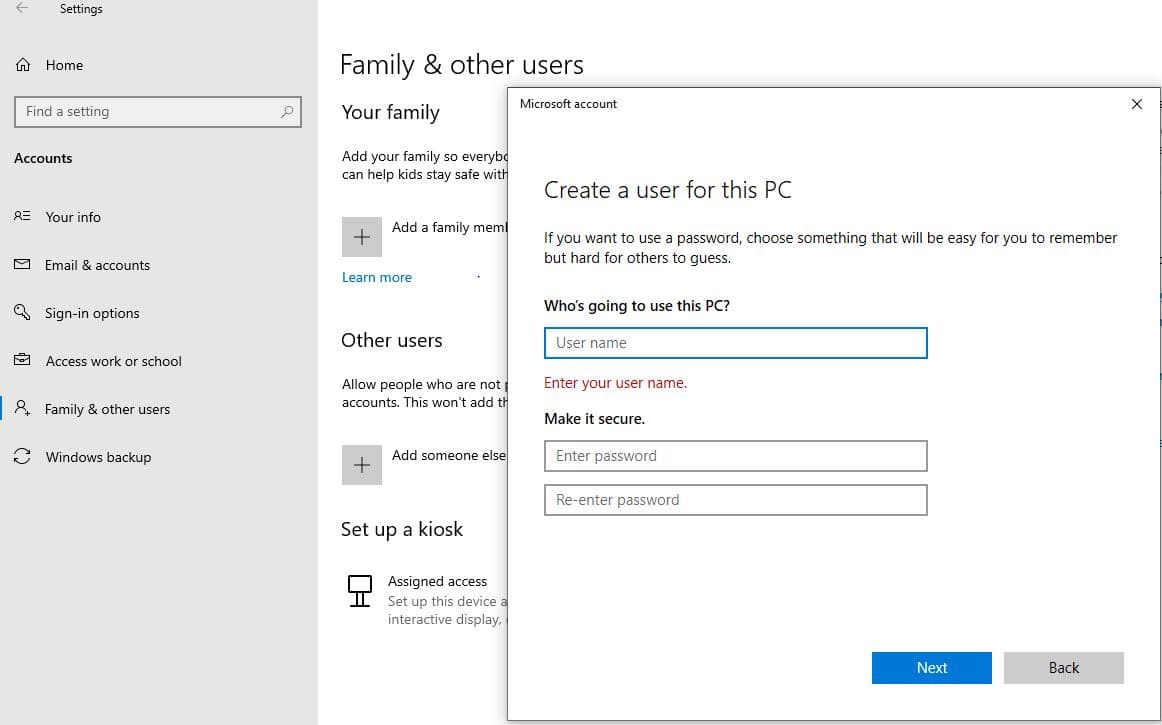
Sometimes, the Start Menu issue may be specific to your user profile. Creating a new user account and checking if the problem persists can help determine if the issue is user-related. If the Start Menu functions correctly in the new account, it indicates that there may be corruption or misconfigurations in your original user profile.
- Go to Settings > Accounts > Family & other users.
- Under “Other users,” click on “Add someone else to this PC.”
- Follow the on-screen instructions to create a new user account.
- Sign in to the new account and check if the Start Menu functions correctly. If it does, you may consider transferring your files and settings to this new account.
To transfer your settings and apps over to the new account, log back into your old account, then go to “Control Panel -> System -> Advanced system settings.” Click the “Advanced” tab, then under “User Profiles” click “Settings.” Select your newly created account from the list and click “Copy To.
Check Application Identity Service
The Application Identity Service in Windows 10 uses a service called Applocker to decide which applications are and aren’t allowed to run on your PC. Make sure this service is started and working properly. To check and run the Application Identity Service,
- Press the Windows key + R, and type services.msc into the box press enter key.
- The Windows services console opens, and scroll down until locate the Application Identity service.
- Right-click on it select Start if the service already running then click restart.
- Now check if the start menu working as expected.
In addition, sometimes third-party applications cause the start menu to stop working at the startup, Perform windows Clean boot To check and identify if any startup application causing the issue.
Perform System Restore
System Restore allows you to revert your system to a previous state, potentially undoing any changes or installations that might have caused the Start Menu problem. If the issue started occurring after a recent system change, performing a System Restore to a point before the problem occurred can help resolve the windows 10 start menu and taskbar not working problem.
-
- Click on the “Start” button, then type “System Restore” in the search bar and select “Create a restore point” from the results.
- In the System Properties window, click on “System Restore” and follow the on-screen instructions to choose a restore point and perform the restoration process.
Also, Read
- Google Chrome Keeps Crashing? Here are 7 solutions to fix it
- How To Fix if Windows 10 Stuck on Welcome Screen After login
- Solved: Keyboard Input not Working on Windows 10
- Google Chrome Slow, Not performing well on Windows 10? Try these solutions
- Internet Privacy is Not Dead. You Can Still Remain Anonymous on the Internet!

