Sometimes Windows users may notice System not running smoothly, unnecessary errors appear, system getting Frozen continuously. Even Installed components are not working properly or Windows having trouble during startup. All these symptoms are possible that Windows system files have become corrupt, gone missing, or even have been changed by a software installation somewhere along the line. Windows includes a System file checker command utility sfc / scannow that will scan, verify, and fix system files by Restore from a cached copy located on %WinDir% \system32\dllcache folder.
What is System file checker Utility?
Running System file checker utility scans all protected system files for corruption. And it attempts to repair it by copying a cached copy of each corrupted file from the %WinDir% \system32\dllcache folder. This utility was first available in Windows 98 and subsequent versions of Windows XP, Windows Vista, Windows 7, 8.1 and Windows 10 has this feature.
In Windows 10 the System File Checker is integrated with Windows Resource Protection. Which protects registry keys and folders as well as critical system files. If any changes are detected to a protected system file, the modified file is restored from a cached copy located in the Windows folder itself.
Whenever you struggle with the buggy performance of your windows. You must first run the System file checker Tool before applying other solutions.
Run the system file checker Utility On Windows 10
You can Run This tool on Normal windows, Or if windows not running smoothly and Getting different problems at startup then you can start windows into safe mode. or if windows is unable to start you can Access Advanced startup options to and Run the SFC Utility.
To run this utility in Normal Windows, you will need to open the Command Prompt in administrator mode.
- On the start, menu search type CMD and select the command prompt from the search results.
- Right-click on it and select Run As Administrator.
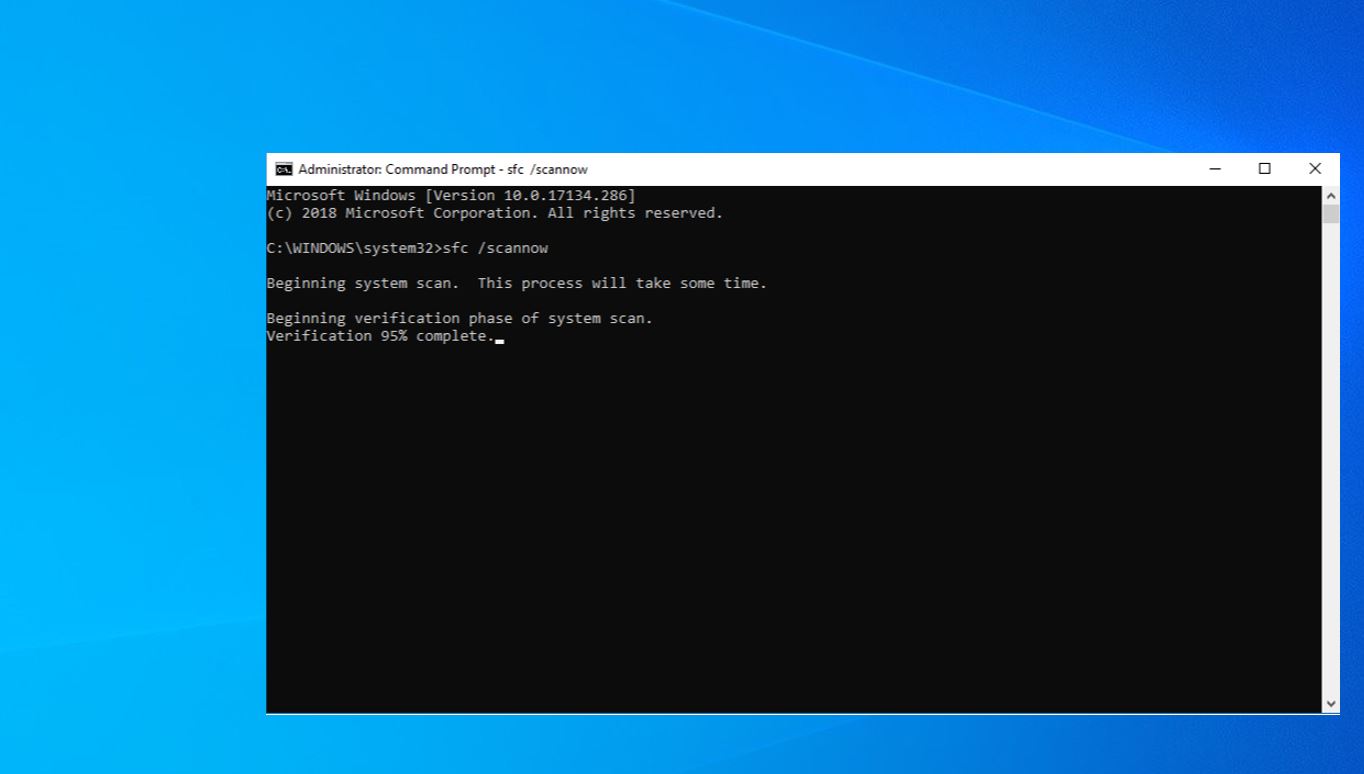
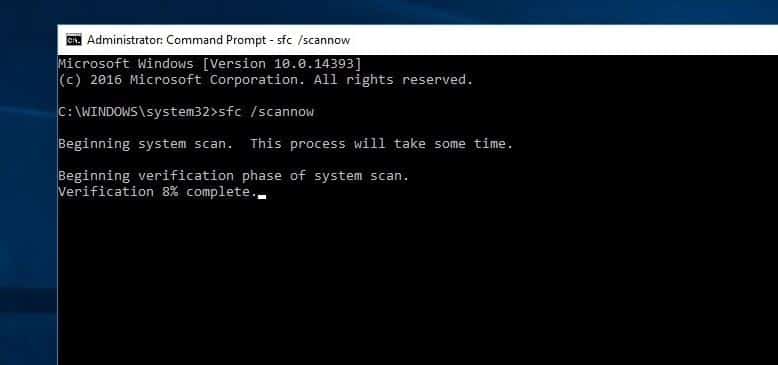
- Now When the command prompt appears type sfc /scannow command and press Enter
You see the text: Beginning system scan. This process takes some time.
The sfc /scannow command will scan all protected system files, and replace corrupted files with a cached copy that is located in a compressed folder at %WinDir% \System32\dllcache.
Here the %WinDir% placeholder represents the Windows operating system folder. For example, C:\Windows.
Note During the scanning process If you’re prompted to insert the Windows disc, do so. Corrupt files must be replaced by fresh ones.
Windows Resource Protection Could Not Start the Repair Service
In case you are unable to start the System File Checker and you instead get the “Windows Resource Protection Could Not Start the Repair Service” error, you may want to check up if your Windows Modules Installer service has been Disabled. To do so,
- Press Windows + R, type services.msc and click ok.
- This will open Windows services console,
- locate the background intelligent transfer service (BITS)
- Make sure the status of this service should be set to Manual.
- Otherwise, double-click on it change the startup type manually and start the service.
System file checker Scan Results
Wait until the scanning process to complete, Once the scan completes, you will see one of the following messages:
- Windows Resource Protection did not find any integrity violations: This indicates that your system doesn’t have any missing or corrupted files.
- If you get the message Windows Resource Protection could not perform the requested operation: This message means that there was a problem during the scan and an offline scan is required.
- Windows Resource Protection found corrupt files and successfully repaired them. Details are included in the CBS.Log %WinDir%\Logs\CBS\CBS.log: You will get this message when SFC was able to fix the problem. Now, you can move on or you can view the logs to get more details.
- Windows Resource Protection found corrupt files but was unable to fix some of them. Details are included in the CBS.Log %WinDir%\Logs\CBS\CBS.log: In this case, you’ll need to repair the corrupted files manually.
Quick Tip: You may want to run the command around three times to fix all the problems.
After completing, the process simply Restart the windows to take effect the changes the system file checker has done.
Run DISM to Enable SFC to Complete its job
If System file checker Results Windows Resource Protection found corrupt files but was unable to fix some of them Run DISM command That cause you need to repair the system image and allow SFC to Do its job.
How to view the details of an SFC scan results
To see the details of a System File Checker stored in the CBS.Log file. You’ll need to make a readable copy on your desktop:
Open the command prompt as administrator Now type the following command and press enter key.
findstr /c[SR]”%windir%\Logs\CBS\CBS.log>”%userprofile%\Desktop\sfclogs.txt”
This will create a sfclogs text document on the Desktop. Now Open the sfclogs.txt located on the desktop with Notepad. The file will contain all the details of the scanned system files and information for files that couldn’t be repaired.
Also read:
- Windows 10 stuck on repairing disk errors? Here how to fix
- How To fix Devices and Printers not Loading on Windows 10
- Fix DISM Error 0x800f081f The Source Files Could Not Be Found
- Fix Windows 10 critical error start menu Cortana aren’t working
- Windows 10 running slow after update? Here how to fix it!

