Have you noticed Windows 10 System Begins to feel buggy, Takes time to shut down or start, system freezes, responds or through Different Errors while open applications? These are the sign of System file corruption, Whenever come to us for Solution for that we Recommend to Run the System file checker Utility. that detects and Restore missing, damaged Files with a known good version, from a special cache folder located on %WinDir%\System32\dllcache.
But Some Times Users Report system file checker unable to repair corrupt files results “Windows Resource Protection found corrupt files but was unable to fix some of them”. If you are also struggling with problems like this running Deployment Image Servicing and Management (DISM) restore health do the job for you. Here How To Repair Windows 10 Using DISM and SFC Utility.
Note: If you see a “Windows Resource Protection found corrupt files but was unable to fix some of them” message, try restarting your PC in Safe Mode and running the command again. Still having the same issue SFC utility unable to fix then Try below.
Repair Windows 10 Using DISM Tool
There are three main options you can use with DISM to repair the Windows image on your computer, including CheckHealth, ScanHealth, and RestoreHealh, you want to use them in this order.
The DISM tool writes the following log files which can be used to analyze the operation status and errors:
- C:\Windows\Logs\CBS\CBS.log
- C:\Windows\Logs\DISM\DISM.log
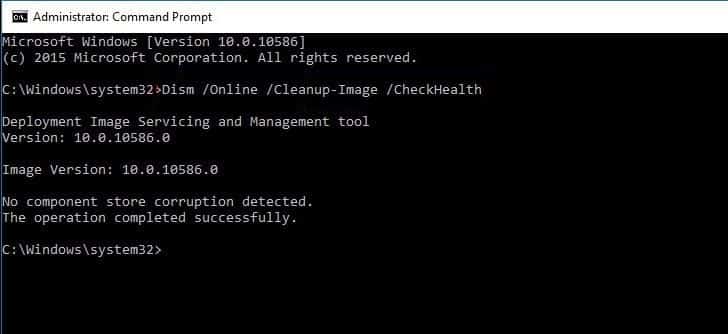
DISM CheckHealth Command
To Fix and Repair Windows 10 Using DISM, First Open the command prompt as administrator. Then Type the Following command and hit enter key to execute the command.
Dism /Online /Cleanup-Image /CheckHealth
Note : The /CheckHealth is used to check whether the image has been flagged as corrupted by a failed process and whether the corruption can be repaired. This command doesn’t fix anything, only reports the problems if any.
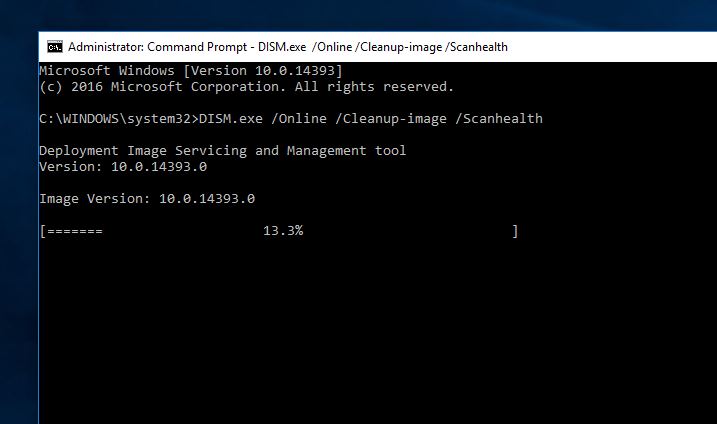
DISM ScanHealth Command
Also, you can use the /ScanHealth command to check for the component store for corruption.
Dism /Online /Cleanup-Image /ScanHealth
It takes a significantly more extended amount of time than the CheckHealth option, but using this switch may be doing a thorough test, and also writes the results to a log file.
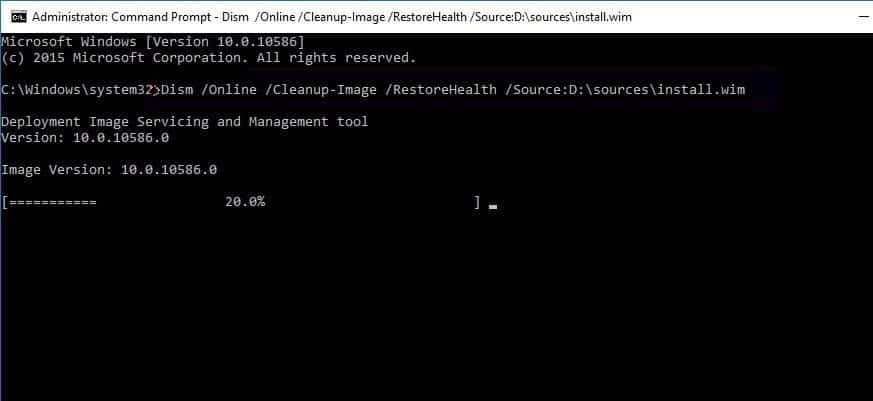
Note: While the running DISM using the /RestoreHealth or /ScanHealth, you will notice the process will seem stuck at 20% or 40%, but it’s normal behavior. After a few minutes, the operation will finish as expected.
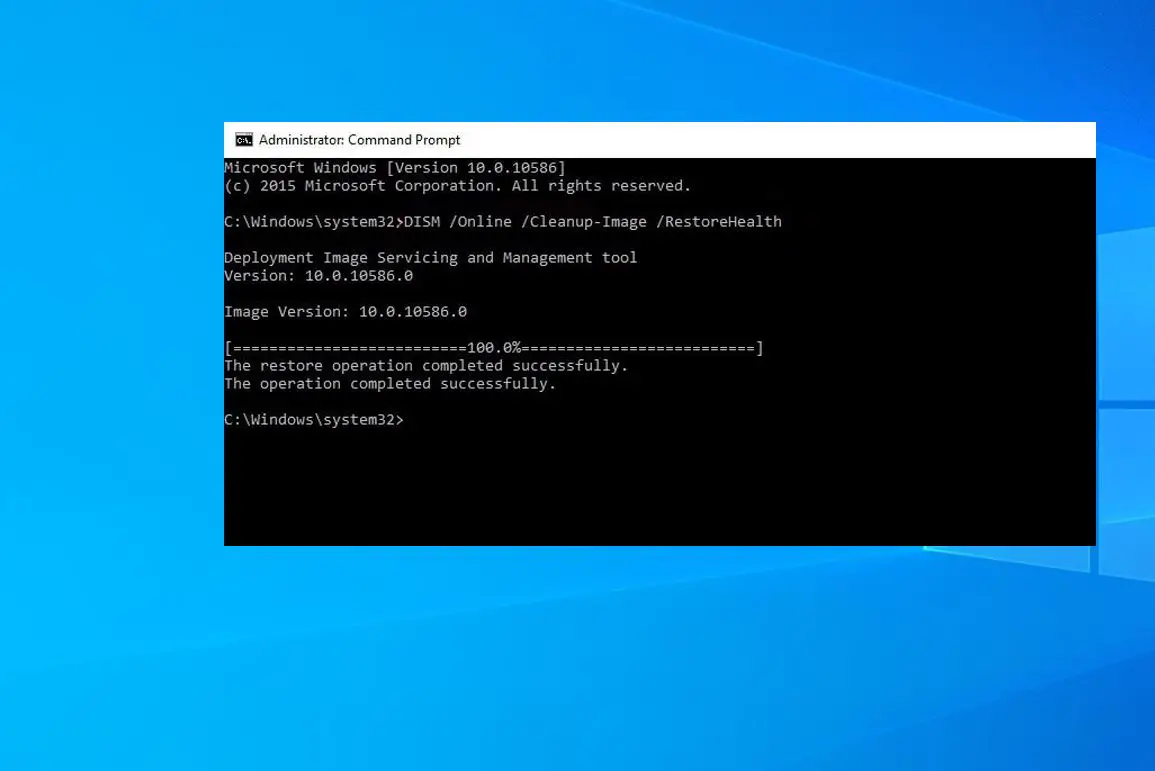
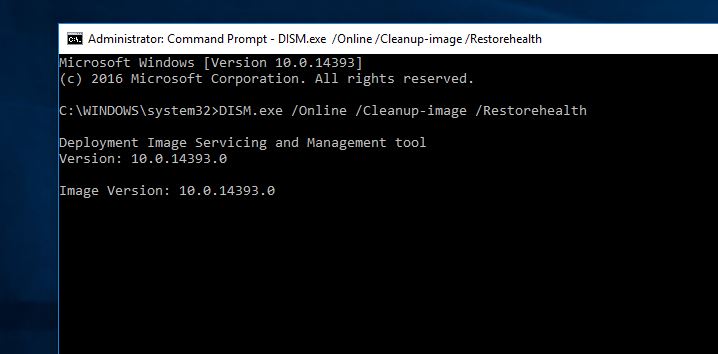
DISM restorehealth Command
Now Use the DISM command with the /RestoreHealth switch to scan the Windows image for any corruption and to perform a repair automatically.
Dism /Online /Cleanup-Image /RestoreHealth
The above command will try to use Windows Update to replace the damaged files. This process takes a long time to complete. If the problem has also extended to the Windows Update components, then you’ll need to specify a source containing the known good files to repair the image.
DISM RestoreHealth with Source options
For This First Download Windows 10 ISO with the same version and edition of your current version of Windows 10. After complete, the Download process Right Click The ISO File, Select Mount and Note down the Drive path.
Again Open the command prompt as administrator, type the command below and hit enter:
DISM /Online /Cleanup-Image /RestoreHealth /Source:ISOmountpath\install.wim
Or you can also run the following to limit the use of Windows Update:
DISM /Online /Cleanup-Image /RestoreHealth /Source:ISOmountpath\install.wim /LimitAccess
Note: Replace ISOmountpath with your Drive letter which you mount the ISO file. For Ex my ISOmountpath Drive letter is D:
The command will perform a Windows image repair using the known good files included within the install.wim file using the Windows 10 installation media, without trying to use Windows Update as a source to download the required files for repair. Wait For RestoreHealth Command to complete 100% Then After Again Run The SFC Utility To Repair, Restore missing system files.
Run System File Checker Tool
Once you run this Deployment Imaging and Servicing Management Tool, it will repair those corrupted files and sfc/scannow command will be able to modify the issues at a later time.
Follow up with the System File Checker to restore the critical system files, using the following command from an elevated command prompt:
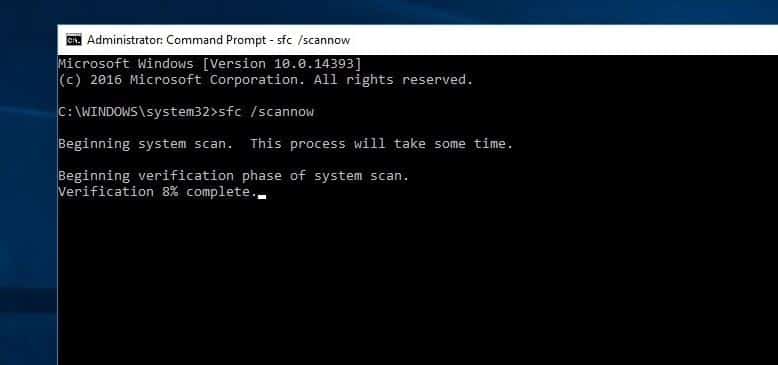
sfc /scannow
This Time System file checker Utility will Successfully scan and Restore the missing, Damaged corrupted system files with a Good Copy form special Cache folder Located on %WinDir%\System32\dllcache. Wait until 100% complete the Scanning Process. This time SFC will result like Windows Resource Protection found corrupt files and successfully repaired them. or Windows Resource Protection did not find any integrity violations. This means either the Corrupted system files Restore and repaired or the system doesn’t have any missing or corrupted files.
These are the Best methods To scan And Restore corrupted missing System files, Fix Windows 10 Buggy performance, Startup problems and Different Errors After upgrade windows 10 version 1903. I hope After reading this post you can easily fix missing or system file corruption Related problems using DISM Command And SFC ( System File Checker ) Utility. Have Any Difficulty while Running this DISM Tool, Any Query or suggestion About this post Feel Free To discuss on the Comments below.
Also Read
