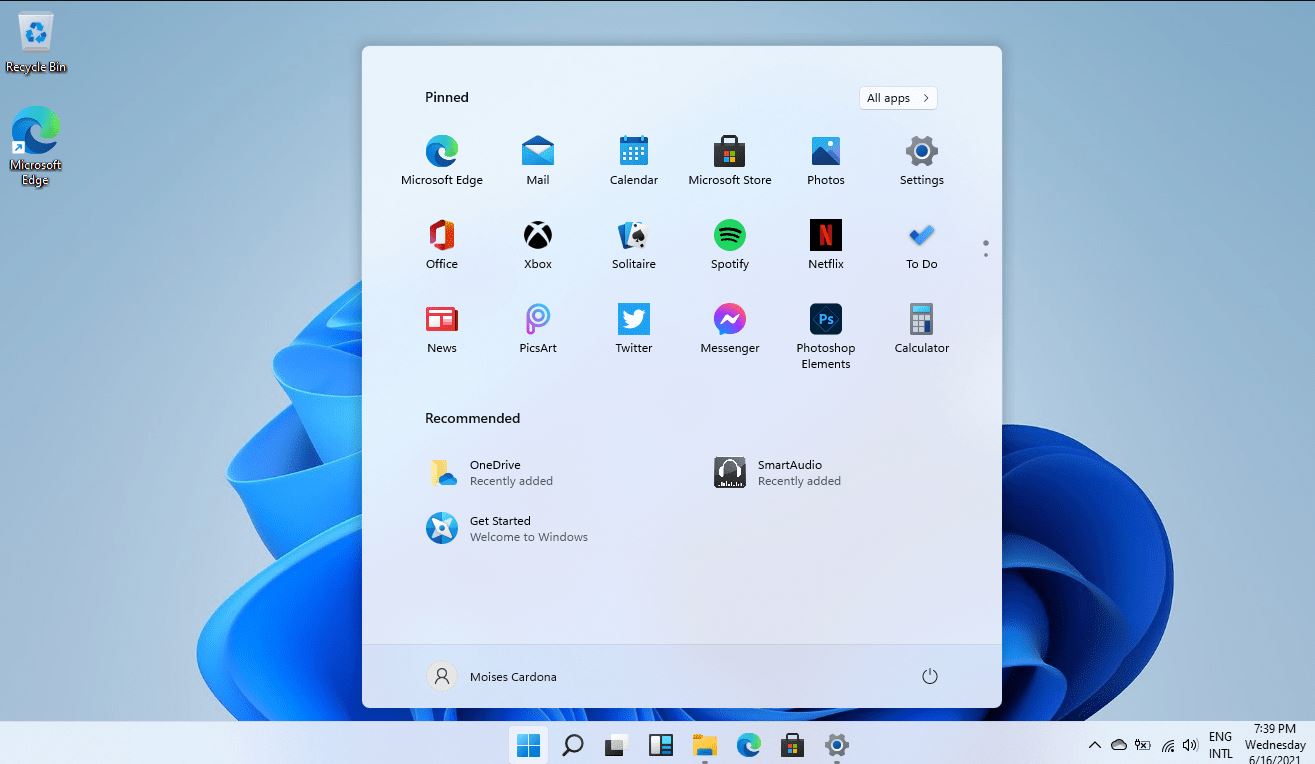
Microsoft’s latest Windows 11 version 23H2 OS is generally available as an update for eligible Windows 10 computers. Well, Windows 11 is a free upgrade for Windows 10 but not every existing PC running Windows 10 will be able to upgrade to Windows 11. The latest Windows 11 requires Intel 8th Gen Coffee Lake or Zen 2 CPUs and up, TPM 2.0 (Trusted Platform Module) support, 4GB of RAM, and 64GB of storage. If your Windows 10 computer meets the minimum system requirement for Windows 11 or when your PC is ready a big popup will appear in the Windows update that initiates the download and install process. So, if you’d like to upgrade to Windows 11 23H2, Here in this post we have different methods that explain how to upgrade from Windows 10 to Windows 11 23H2 for free.
Windows 11 minimum system requirement
Before going ahead, first, check and make sure your PC meets the minimum system requirements to install the latest Windows 11.
As per Microsoft official, to install Windows 11 on your computer you need a 64-bit processor with at least two cores and 1GHz clock speed or faster. That means Intel 8th generation or new CPU and AMD Zen 2 CPUs or higher are supported. In addition to the newer processor, Windows 11 requires TPM, Secure Boot, 4GB of memory, 64GB of storage, and graphics requirements.
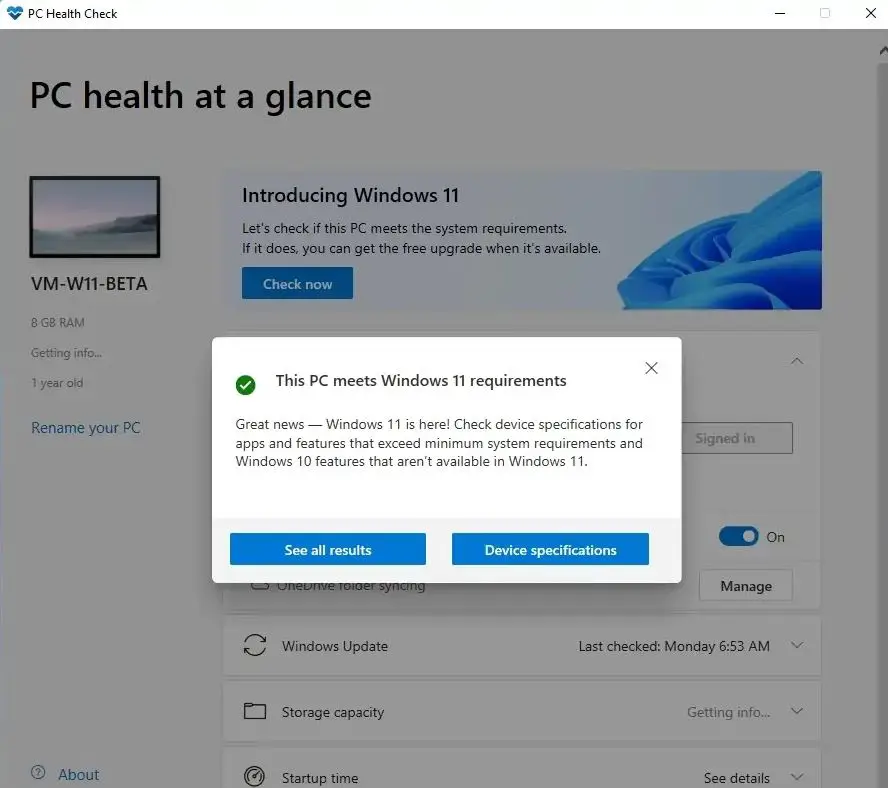
If you are not sure your computer meets the minimum requirements, download and run the Microsoft PC health check app on your Windows 10 to determine if your device has the required hardware to upgrade to Windows 11.
How to Upgrade your Windows 10 PC to Windows 11
If your device meets the minimum system requirement for Windows 11, then you can upgrade your Windows 10 PC to Windows 11 by following the steps below.
- Before go ahead, temporarily disable or uninstall third-party antivirus and disconnect VPN (If configured on your device)
- Disconnect external devices such as a USB drive or external HDD connected to your computer.
- Free up storage space up to 64 GB on your system installed drive (Usually its C: drive)
Windows update
This is the most recommended and official way to grab a free copy of Windows 11.
- First Back up all of your important documents, apps, and data to an external device or cloud storage.
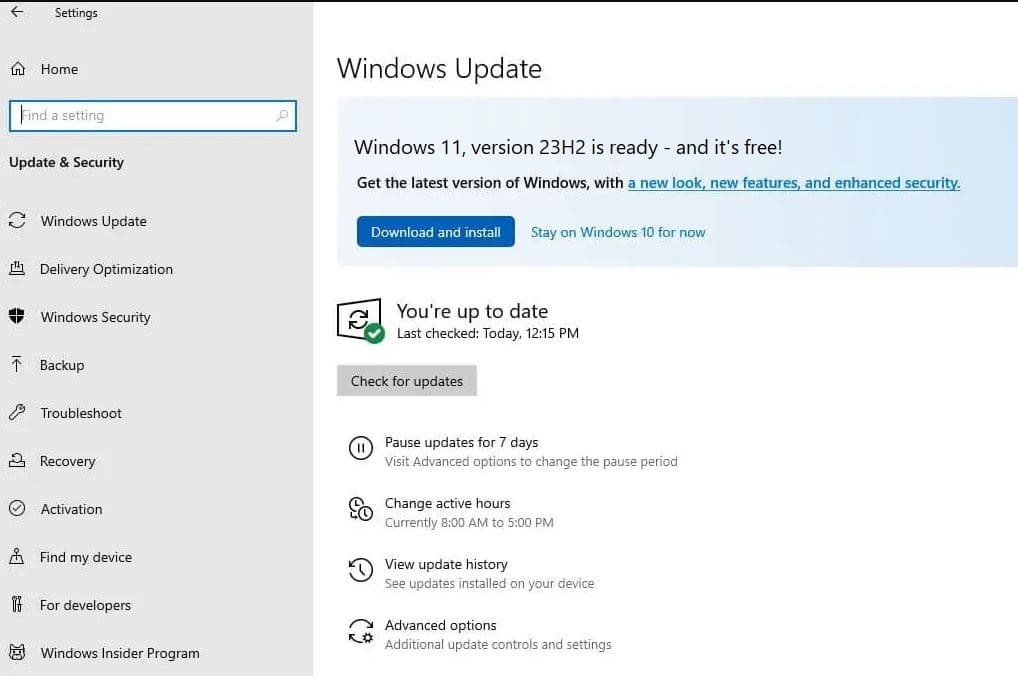
- Next on your Windows 10 PC, head into Settings > Update & Security > Windows Update and hit Check for updates.
- If the free Windows 11 upgrade is available, you’ll see an option to download and install it.
- Click on the download and install button to start the Windows 11 download process. It takes some time to download and install Windows 11 update files from the Microsoft server, depending on internet speed.
- Once done you need to reboot your computer to apply the changes and you will be presented with brand new Windows 11.
Windows 11 Installation assistant
Also, Microsoft offers an official Windows 11 Installation assistant to get Windows 11 without Windows Update.
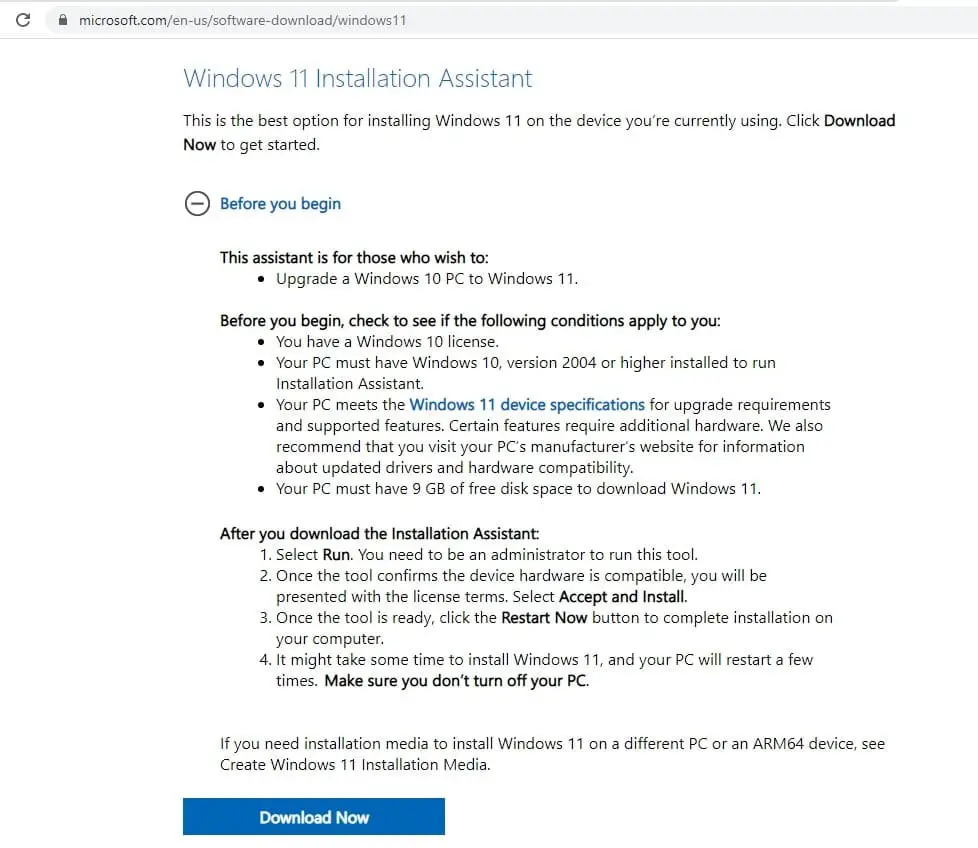
- First, visit the Windows 11 official download page here,
- Expand the Before you begin a section and read what it’s going to do but make sure your device meets the specifications.
- Finally, click on the Download now button to download Windows 11 Installation Assistant on your device.
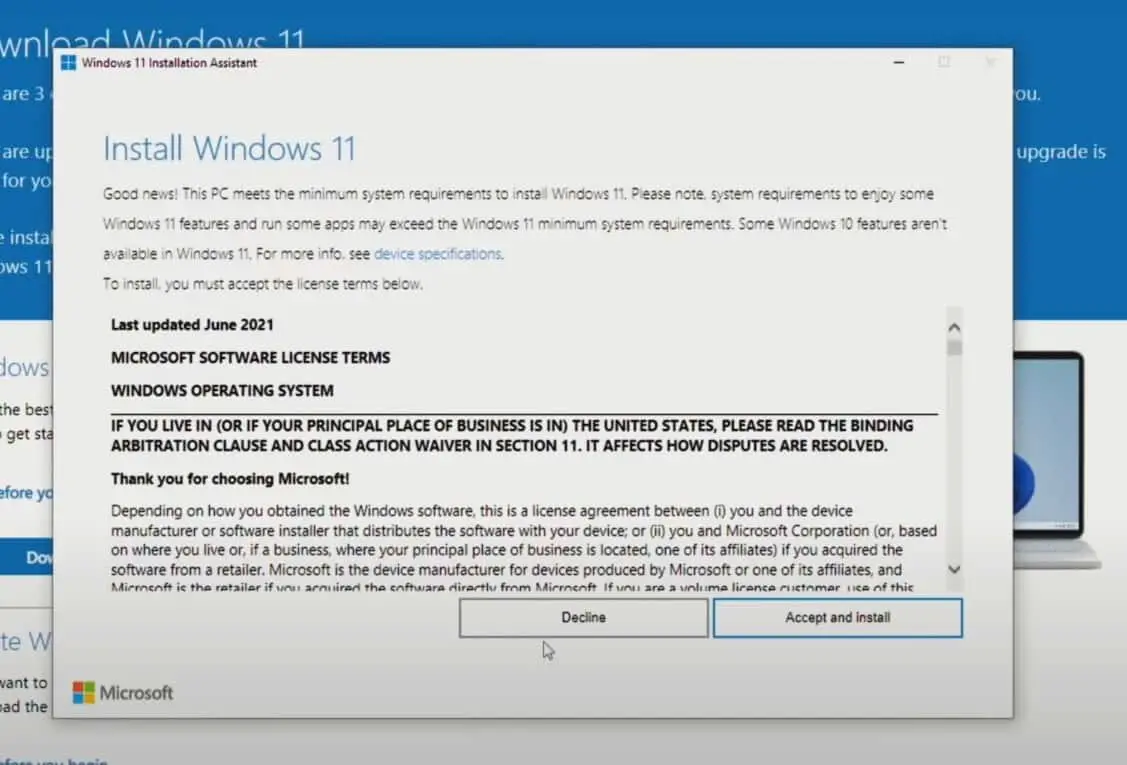
- Locate Windows 11 Installation Assistant in the download folder, right-click on it select Run as administrator.
- This will represent the license agreement for you, make sure you read through this install Windows 11 agreement and once you’ve done go ahead and hit the accept and install button.
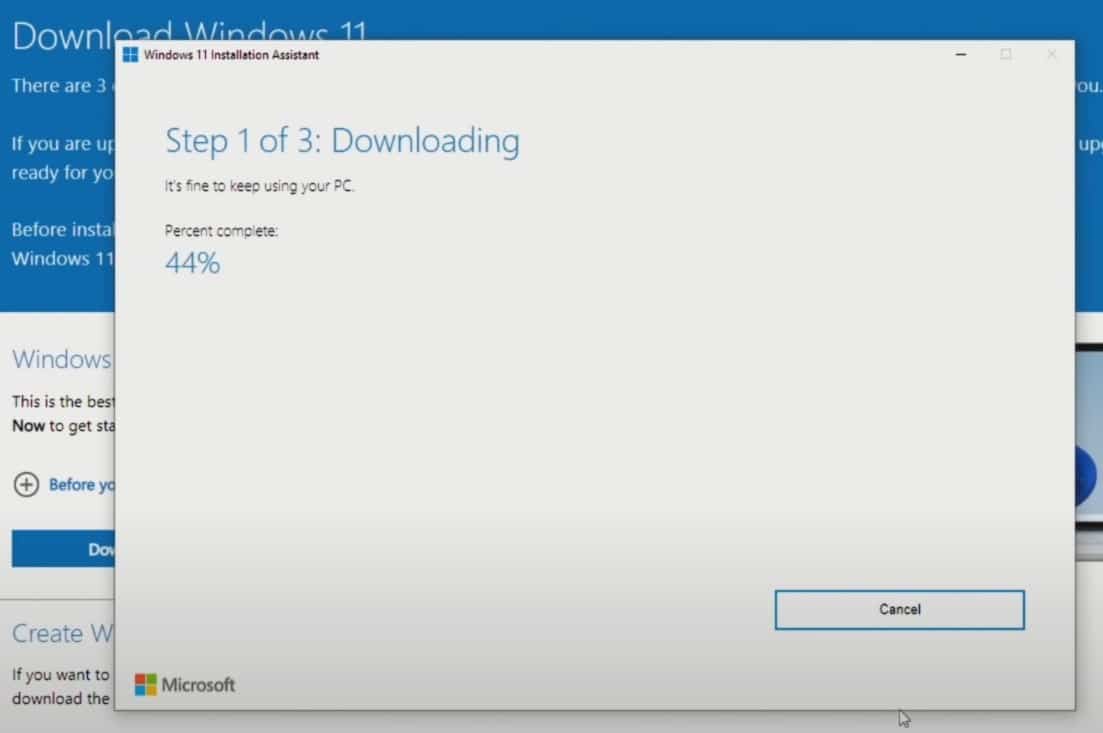
- This will start downloading Windows 11 on your computer, the download time depends on your internet speed.
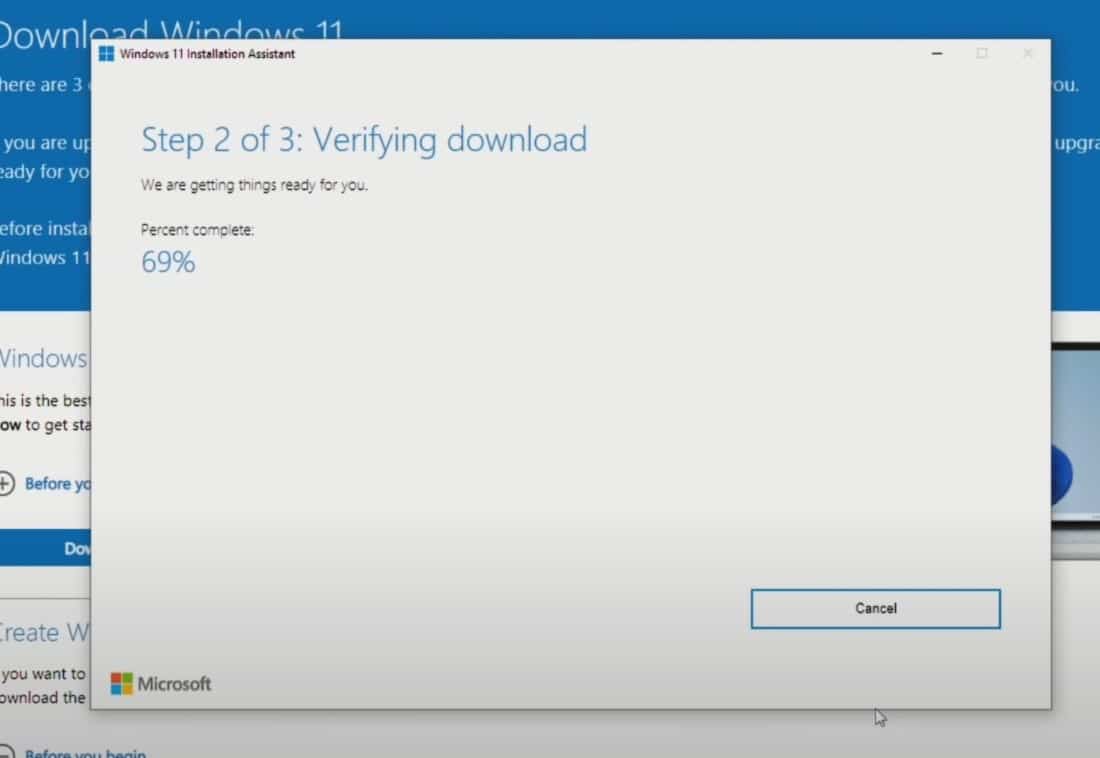
- Once it completes step one of downloading Windows 11 its gonna move over to step two which is verifying the download,
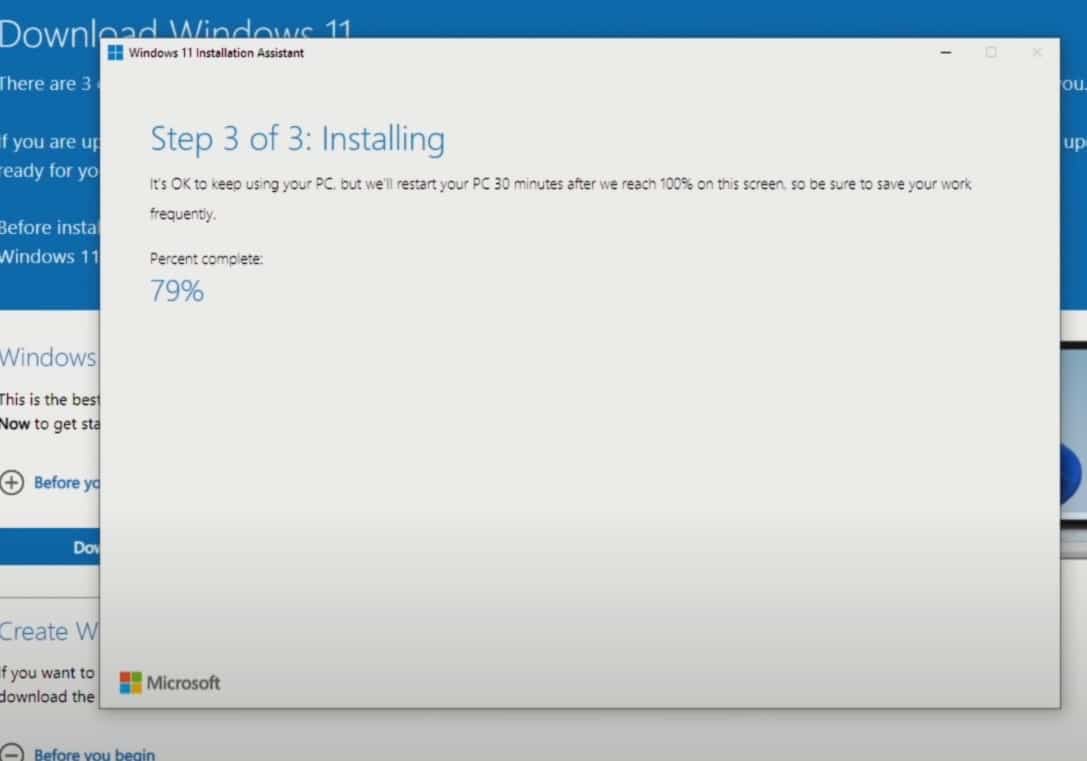
- Once it’s done step three, is actually installing Windows 11. This one took a little bit longer (Around 15 to 20 minutes)
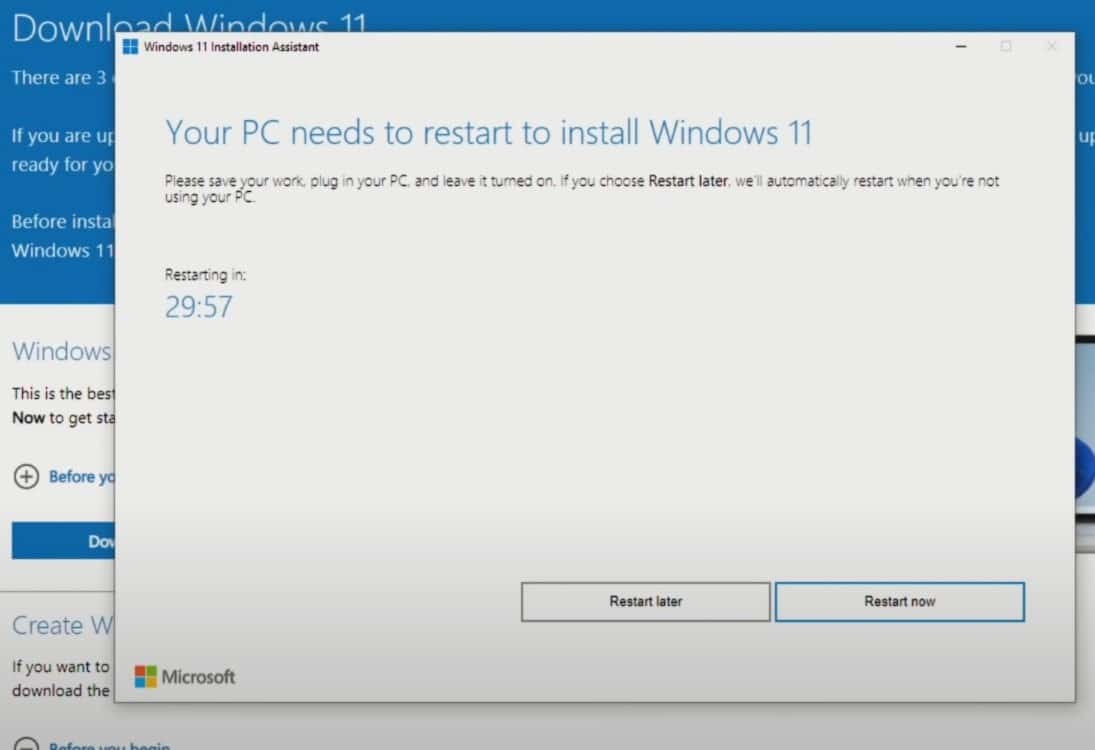
- Once the installation is complete your computer will automatically restart after 30 minutes or also you have the option to restart right now click on restart now and restart your computer so It can load up Windows 11 and configure it for you.
- Once you reboot your computer you will notice it says working on updates make sure to keep your computer on (Don’t turn off your computer during this time) and your computer may restart a few times during this process.
- Once the process completes, you’ll need to click on the screen and type in your PIN or username and password.
- You will notice getting things ready for you, just have to wait for Windows 11 to load up. This may take a few minutes and again don’t turn off your PC.
That’s all you have successfully upgraded to the latest Windows 11.
Microsoft also lets you use the Media Creation Tool to upgrade to Windows 11 and offers a Windows 11 disk image.
Also read:
- Windows 10 Laptop Overheating While Playing Game? Here is how to cool it down
- Why Windows 10 Computer Is Running Slowly? (6 Reasons with solutions)
- What is FileRepMalware and How to deal with FileRepMalware?
- Discord installation has failed in Windows 10 (5 solutions to fix)
- Solved: kernel Security Check Failure Windows 10 Blue Screen Error
