Microsoft regularly releases Windows updates to enhance the security, stability, and performance of Windows 11 devices. Downloading and installing Windows updates are straightforward processes, only you need to restart Windows to apply change. However, sometimes you may notice Windows update keeps downloading and applying the same patches that you already have. Users report Windows 11 Update trying to install an update that’s already installed on my device. This issue usually means, either the update is not installed properly or Windows 10/11 is unable to detect the installed or partially installed update. This article explores common reasons why Windows 11 keeps installing the same updates, and how to fix it.
Contents
Why Same Update Keeps Installing on Windows 10/11
There are several possible reasons why Windows 11 keeps installing the same updates. It may be the update is not installed properly or might get interrupted by a power outage, network issue or system crash and Windows tries to install it again when you restart your PC.
Again Corruption in update files or components can cause Windows to perceive the update as incomplete, prompting it to try installing it again.
Sometimes, updates may not be compatible with certain system configurations or third-party software, resulting in installation failures and repeated attempts.
Windows may require a reboot to finalize an update installation. If the reboot is not completed successfully, the system may continue to try installing the update upon subsequent restarts.
Sometimes, an update might not register correctly in the Windows registry. The registry is a database that stores information about your system settings and preferences. If the registry entry for an update is missing or incorrect, Windows 10 might not recognize that the update is already installed and will try to install it again.
Depending on the cause of the problem, there are different ways to fix Windows 10 installing the same updates. Here are some of the most effective methods:
Run Windows Update Troubleshooter
The Windows Update Troubleshooter is a built-in tool designed to automatically diagnose and resolve common issues with the update process. It can identify problems such as update download errors, corrupted files, and service disruptions, providing users with specific guidance on how to fix them. Running the troubleshooter offers a quick and efficient way to resolve Windows update problems without technical knowledge.
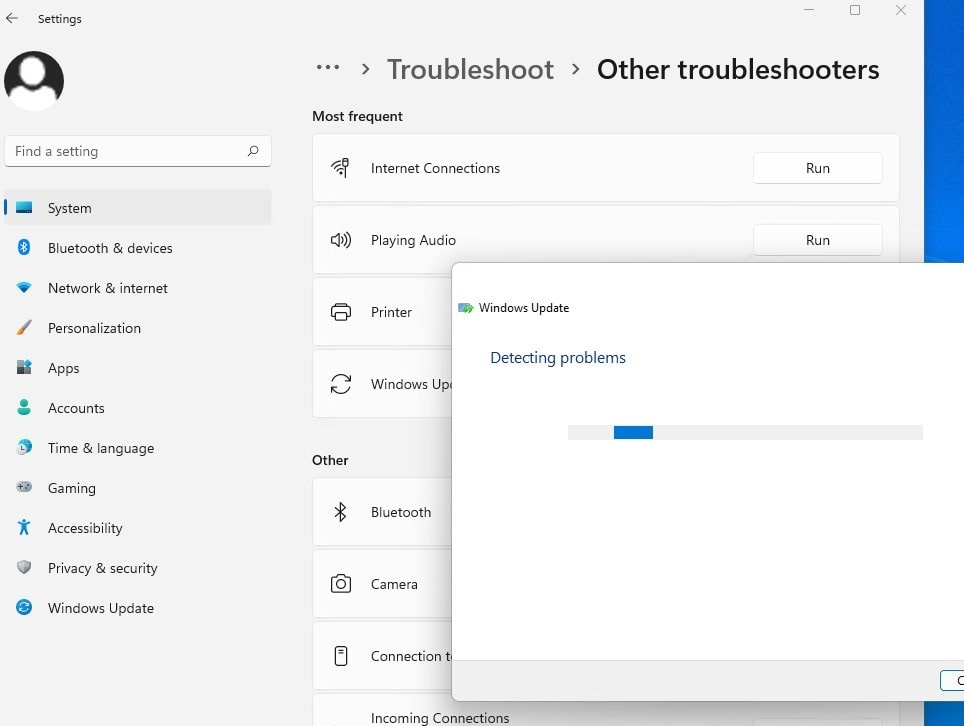
- Press the Windows key on your keyboard or click on the Start button, then type “Troubleshoot” and press Enter.
- In the Troubleshoot settings window, select “Other troubleshooters”
- Scroll down and find “Windows Update” and select “Run” next to it
- Wait a few minutes and let Windows update the troubleshooter Diagnose and fix the problems if there are any. Then restart Windows to take effect the changes.
 Clear Update Cache
The SoftwareDistribution folder is where Windows 11 stores the downloaded update files. If for some reason Windows update file or database gets corrupted, it may result update failure, not installed properly or Windows being unable to detect the installed or partially installed update result Windows 10 keeps trying to install the same update again. In such situations, Clearing the Windows Update cache removes potentially corrupted update files and probably helps bypass the problem.
- Press the Windows key + R, and type services.msc and click OK to open the services window,
- Locate the Windows Update service. Right-click on it and select Stop.
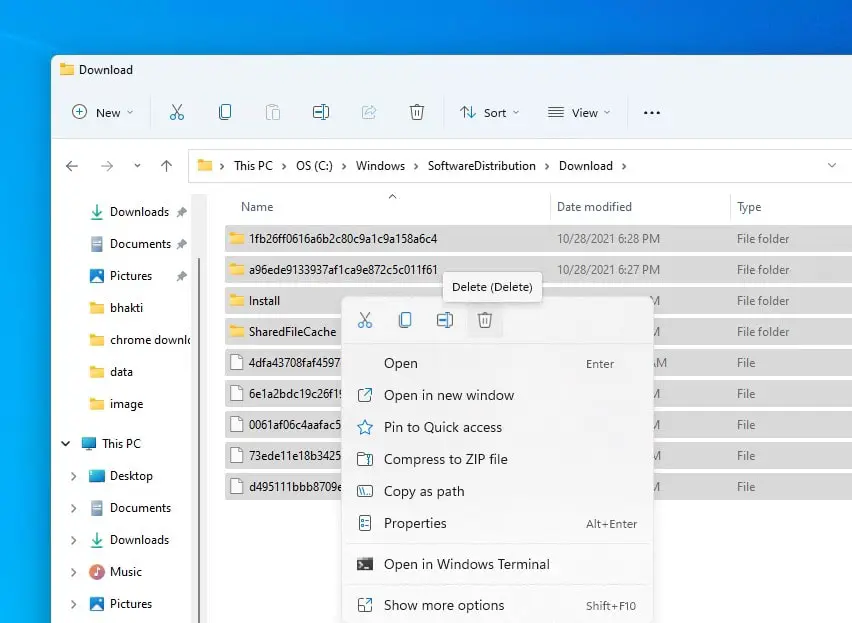
Now press the Windows key + E to open File Explorer, and navigate to C:\Windows\SoftwareDistribution\Download. Here delete all files and folders inside the Download folder.
Return to the Services window, right-click on Windows Update, and click Start. Now reboot your computer and try to install updates again. This action ensures that Windows fetches fresh update files, mitigating the risk of installation failures caused by damaged or incomplete update packages.
Uninstall and reinstall the problematic update
Sometimes, Uninstalling and reinstalling a problematic update can help resolve issues with repeated update installations in Windows 10 for several reasons.
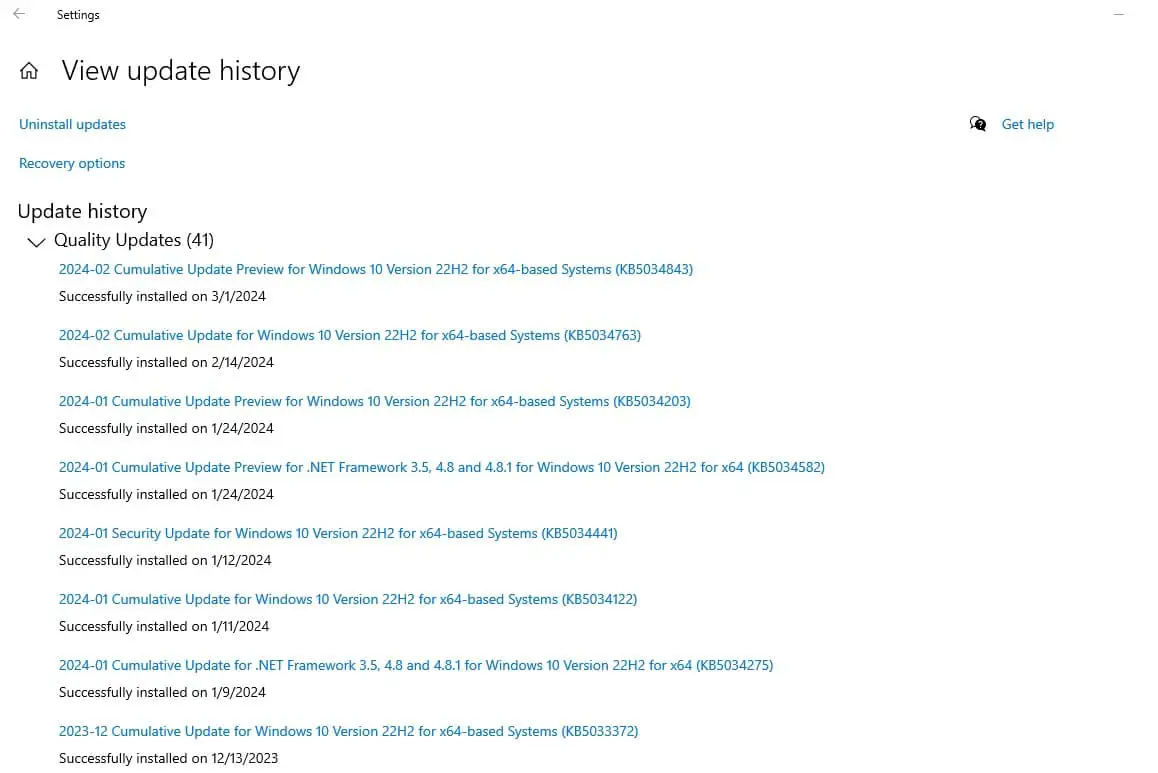
First, open Windows settings -> update and security -> Windows update -> view update history and note down the KB number that Windows keeps offering or installing on your device.
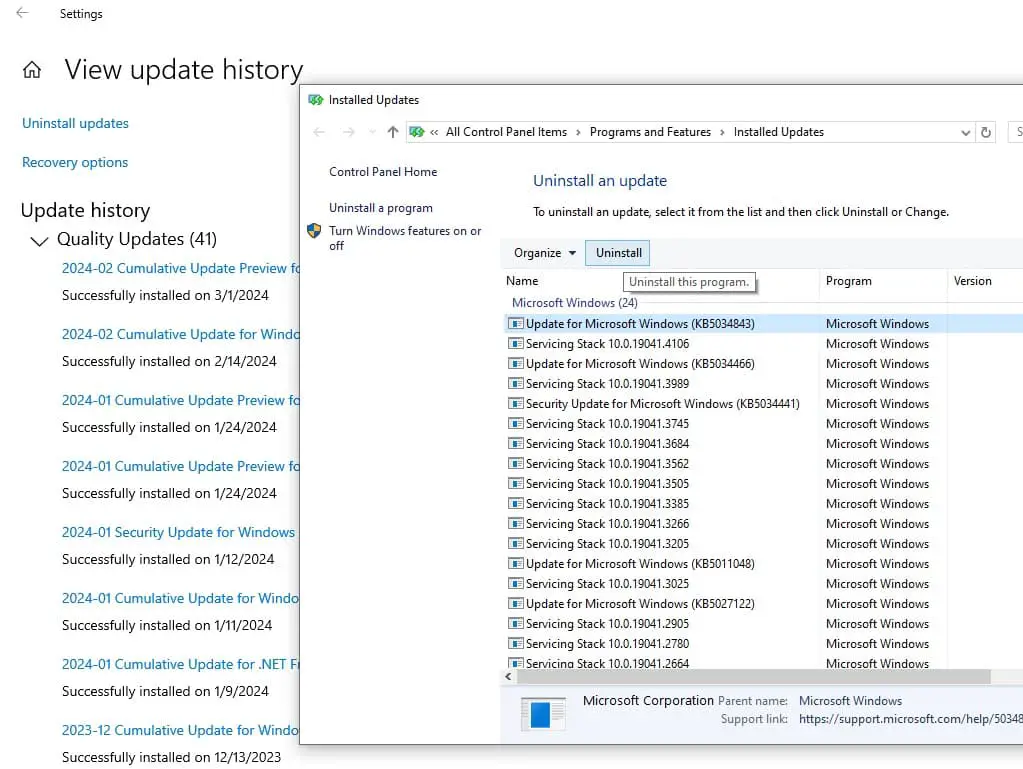
- Here click on uninstall updates, Locate the problematic update in the list of installed updates.
- Right-click on the update and select “Uninstall.” Follow the on-screen instructions to complete the uninstallation process.
If you are windows 11 user, here a video explain how to uninstall problematic update on your device.
Once you Uninstall the Problematic Update, restart your computer and check for updates again to download and instlal the fresh update files from Microsoft server.
Check System Integrity
Sometimes corrupt windows files are the reason why windows updates repeating on your device. Run the System file checker utility to check and make sure corrupted, missing system files not causing windows updates to install again and again.
- First Open command prompt as administrator,
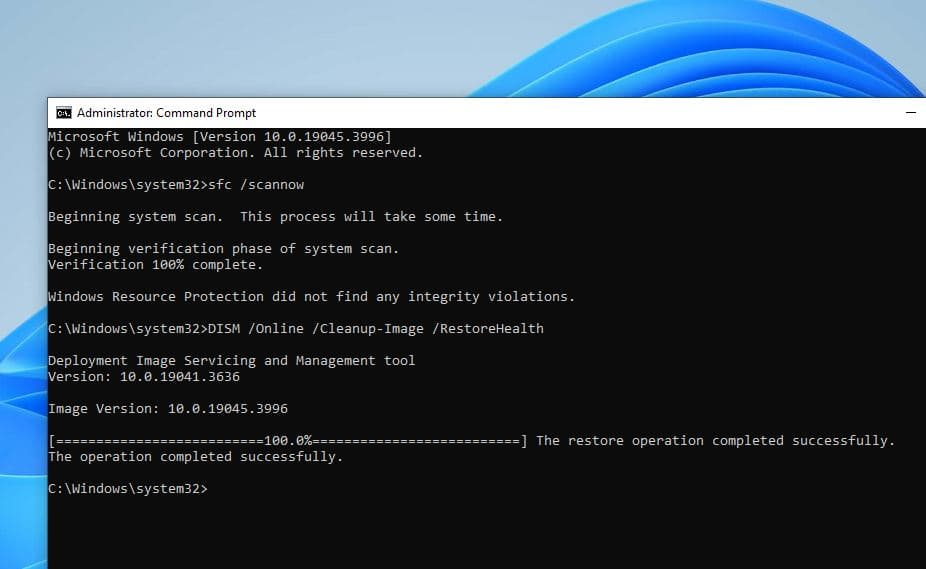
- Run system file checker command SFC /scannow to scan and repair corupted system files.
- Next run DISM command DISM /Online /Cleanup-Image /RestoreHealth to repair windwos image.
The System File Checker (SFC) and Deployment Image Servicing and Management (DISM) tools are designed to scan and repair corrupted system files. Running these tools ensures that the essential components related to the update process are in a healthy state, prevent potential conflicts and errors during update installations.
Sometimes third-party applications also cause Windows updates to fail to install or install the same Windows update again and again. Start Windows into a clean boot state to check and identify if any third-party application causing the issue.
Manually Install Updates
If specific updates consistently fail through the standard Windows Update process, manually downloading and installing them from the Microsoft Update Catalog can be helpful. This method bypasses potential issues with the automated update process, and allow you instlal the update without any problems.
- Visit the Microsoft Update Catalog or the official Microsoft website.
- Search for the specific update by its KB number.
- Download the appropriate update package for your system architecture (e.g., x86 or x64).
- Double-click the downloaded update file to start the installation process and follow the on-screen instructions.
Mostof time remove the problematic update and check for windows updates help fix the problem.
Also, Read

 Clear Update Cache