Windows Spotlight is stuck on one image or Windows 10 Spotlight is not working after the recent update? You have selected Windows 10 Spotlight feature for the lock screen but it doesn’t change images regularly, rather it only shows one picture? let’s see how to fix the windows spotlight not working on windows 10.
What is Windows Spotlight?
Windows Spotlight is a feature included with Windows 10 that uses Bing to automatically download and set new background images on the Lock screen, to keep your experience fresh every time you sign in. But sometimes Especially after recent windows 10 upgrade users experience Windows Spotlight is stopped working, or you’ll notice that it gets stuck on the same image. Unfortunately, Windows 10 doesn’t include an option to reset this feature. But it’s possible to fix the Windows 10 Spotlight with a simple workaround.
Fix windows spotlight stuck on one picture
Note: The spotlight feature is available only when your PC is connected to the internet. The pictures on the lock screen change automatically every day to day if you are connected to the internet.
Turn off metered connection
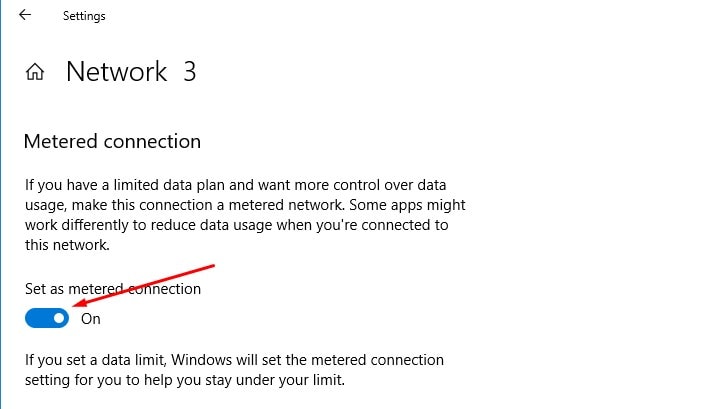
When your PC is connected to a metered network, it might not download spotlight images to reduce the data usage. Its recommended to check and turn off if metered connection is enabled. To do this
- open settings using windows key + I,
- Go to the network and Internet then Status
- Click on change connection properties, scroll down and toggle off button under set as metered connection.
Disable and re-enable windows spotlight
Also Before trying out any solutions, we recommend turn off Windows Spotlight and then turn it on again.
- Open Settings using Windows key + I,
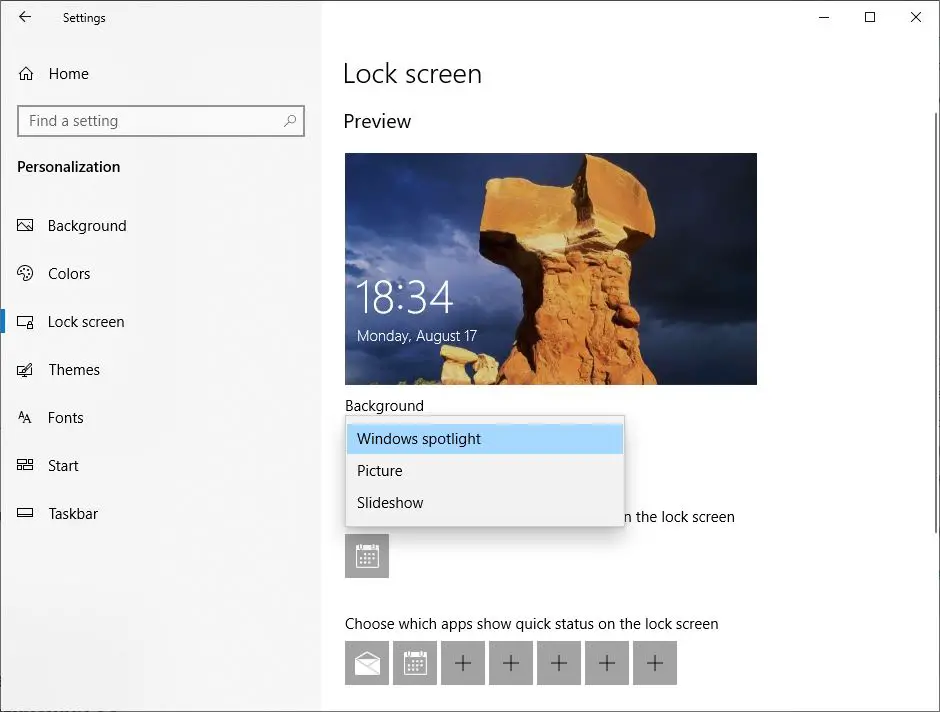
- Click Personalization then Lock screen,
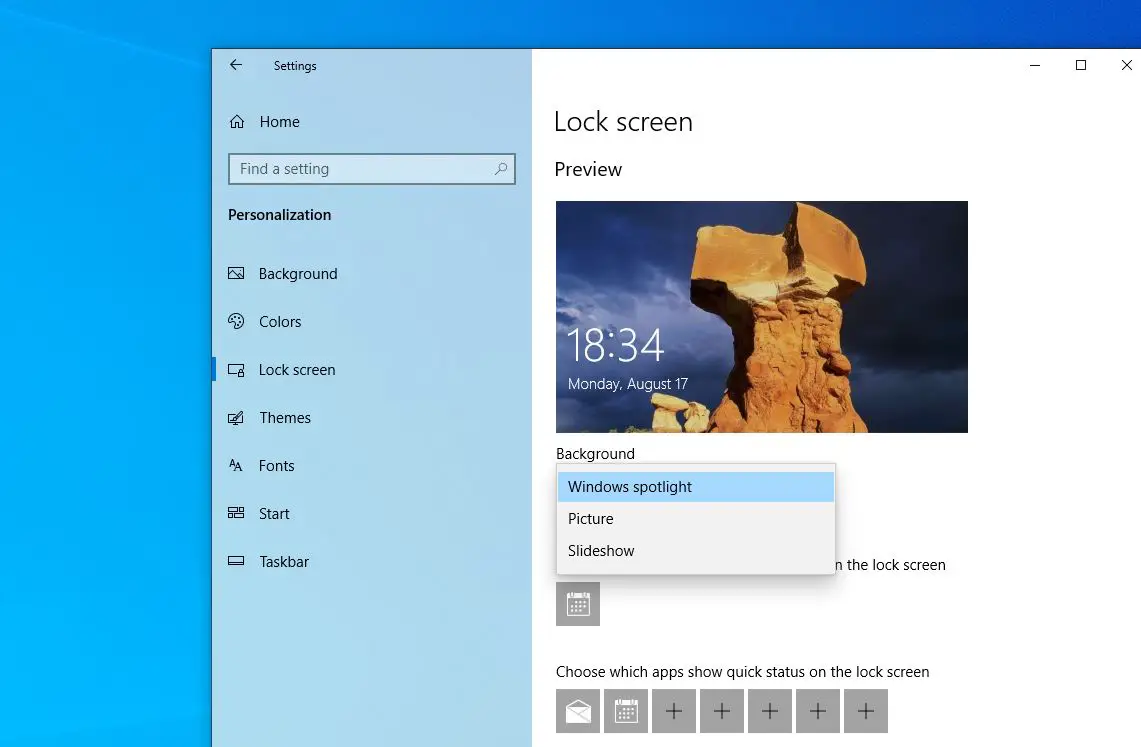
- Select the Picture option as background (this will turn off the feature) and then select Windows Spotlight.
Tweak from File Explorer
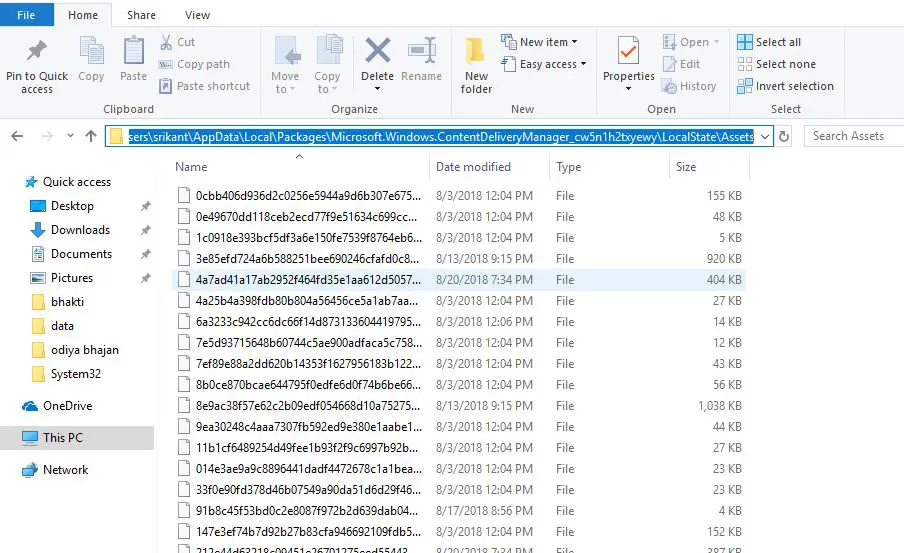
Open the File Explorer using Windows key + E, switch to the View tab, checkmark on Hiden items and Now navigate to
C:\Users\UserName\AppData\Local\Packages\ Microsoft.Windows.ContentDeliveryManager_cw5n1h2txyewy\LocalState\Assets
In the above path, replace “C” with the drive letter of the drive where Windows 10 is installed and replace “UserName” with your actual username.
Here press Ctrl+ A to Select all files and then hit the Delete key. Next, navigate to the following folder:
C:\Users\UserName\AppData\Local\Packages\ Microsoft.Windows.ContentDeliveryManager_cw5n1h2txyewy\Settings
Here again, Under the Settings folder, you should find two files: roaming.lock and settings.dat. Select both files and delete them. Reboot your PC now, Windows Spotlight feature should start working again now.
Re-register Spotlight App
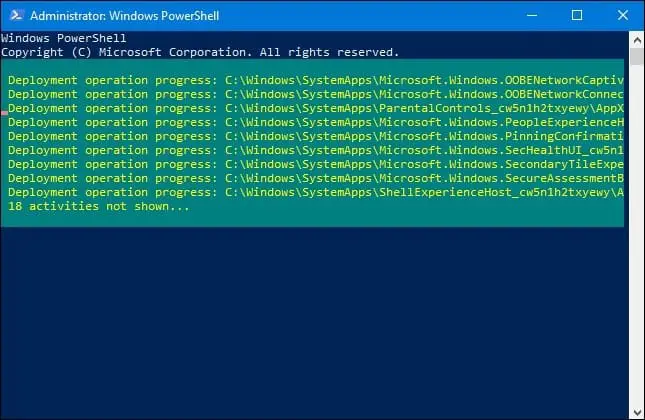
Right-click on the Windows 10 start menu and select PowerShell (Admin). At the PowerShell window, copy and paste the following command and then hit Enter key:
Get-AppxPackage Microsoft.Windows.ContentDeliveryManager -allusers | foreach {Add-AppxPackage -register “$($_.InstallLocation)\appxmanifest.xml” -DisableDevelopmentMode}
After completely execute the command restart your PC. Windows Spotlight must start working now by showing a new picture on the lock screen.
Run System file checker
If the issue still persists try to check the system files using SFC utility that scans all protected system files and replaces incorrect versions with correct Microsoft versions.
- Open Command Prompt as administrator
- In the command prompt, type sfc /scannow and hit Enter.
- Exit command prompt.
Wait until 100% complete the scanning process, after that restart windows and check this helps.
Did these solutions help to fix the Windows spotlight not working after the windows 10 update? Let us know on the comments below,
Also Read
- How To Find and Save Windows Spotlight Lock Screen Images in Windows 10
- Fix windows installer service could not be accessed Error On Windows 10
- How to Reset Windows 10 password without any Software
- Cannot install apps from Microsoft store – Windows 10 Version 21H2
- Simple Tweaks to Speed up Windows 10 computer for free
