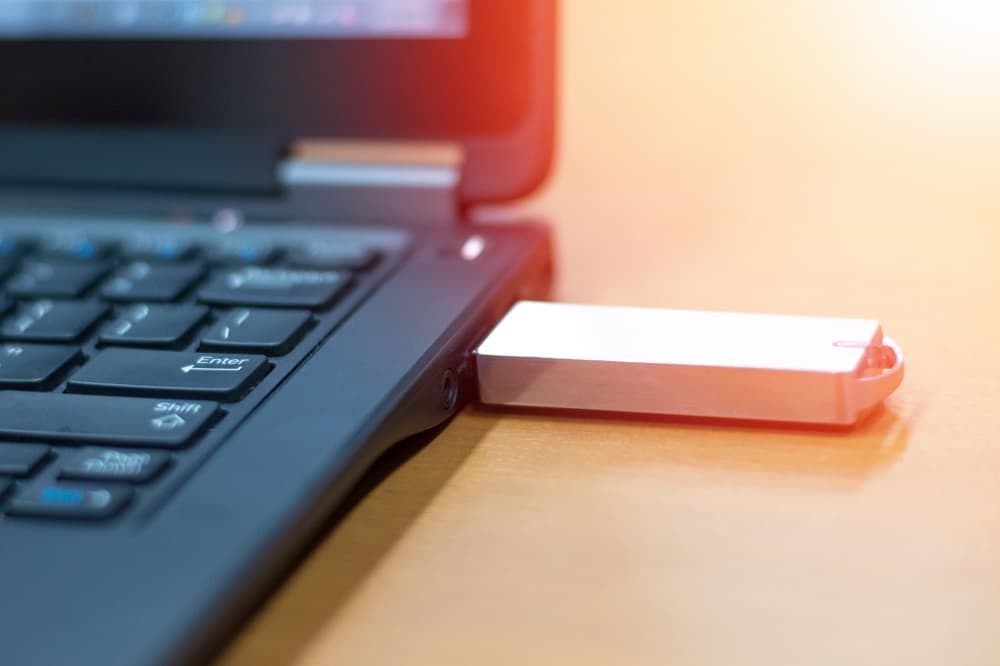
Windows 11 installation media or Bootable USB is primarily used to install Windows 11 on a new computer or to upgrade from an older version of Windows. In addition to installation, the Windows 11 bootable USB can be used to repair or recover an existing Windows 11 installation. With the help of installation media, you can access advanced troubleshooting tools and utilities to diagnose and fix various issues, such as startup problems, corrupted system files, or boot errors. You can create Windows 11 installation media using the official Media creation tool or third-party utility Rufus (also bypass Windows 11 requirements) that can be used for repair or installation of Windows 11.
Contents
Create Windows 11 Installation media
You can create Windows 11 bootable USB Using the Media Creation Tool (Official Method), and Rufus (Third-Party Tool). Before diving into the methods it’s essential to ensure you have the necessary requirements:
- A USB drive with at least 8 GB of storage space, Make sure to backup data because the drive was formatted before making it bootable.
- If you prefer Media creation tool A stable internet connection is required to download Windows 11 files from Microsoft server.
- If you prefer the third-party tool Rufus to create a bootable USB, you need Windows 11 ISO image. And you can get it from the official Microsoft website.
To download Windows 11 ISO
- First, visit the official Microsoft page to download Windows 11
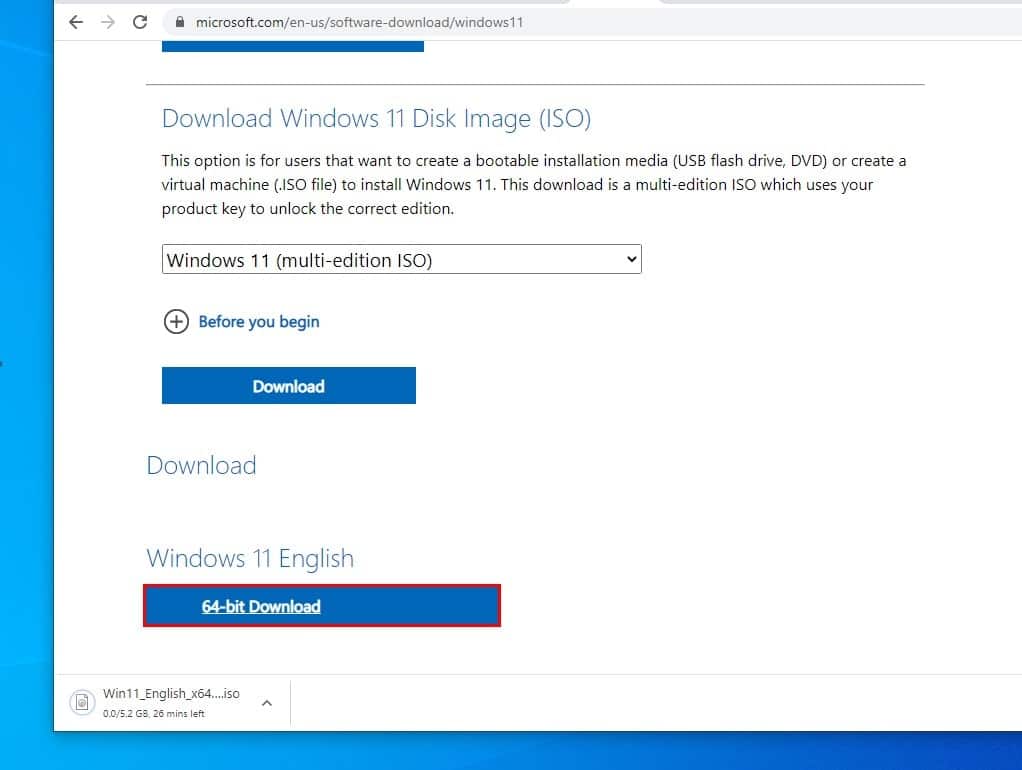
- Scroll down to locate the ‘Download Windows 11 Disk Image (ISO)’ section.
- From the drop-down menu, select Windows 11, then click the Download button,
- The page will load additional information here you need to Choose your preferred language from the drop-down menu labeled “Choose one”. and click confirm
- Once the download section loads, click the 64-bit Download button.
Using Rufus (Third-Party Tool)
This is one of the most popular and open-source utility help formate and make bootable USB drives for the Windows operating system. Also, this tool help you create Windows 11 installation media that bypass Windows 11 system requirements it means you can use the Windows 11 bootable USB drive to install Windows 11 on an unsupported device.
- First Download the latest version of the Rufus tool from its official website.
- Next, locate the installer file, right-click on it select run as administrator and click “Yes” if prompted by UAC.
- Let’s Connect your USB flash drive to your computer USB port and wait for Rufus to detect it; it should appear under the “Device” section.
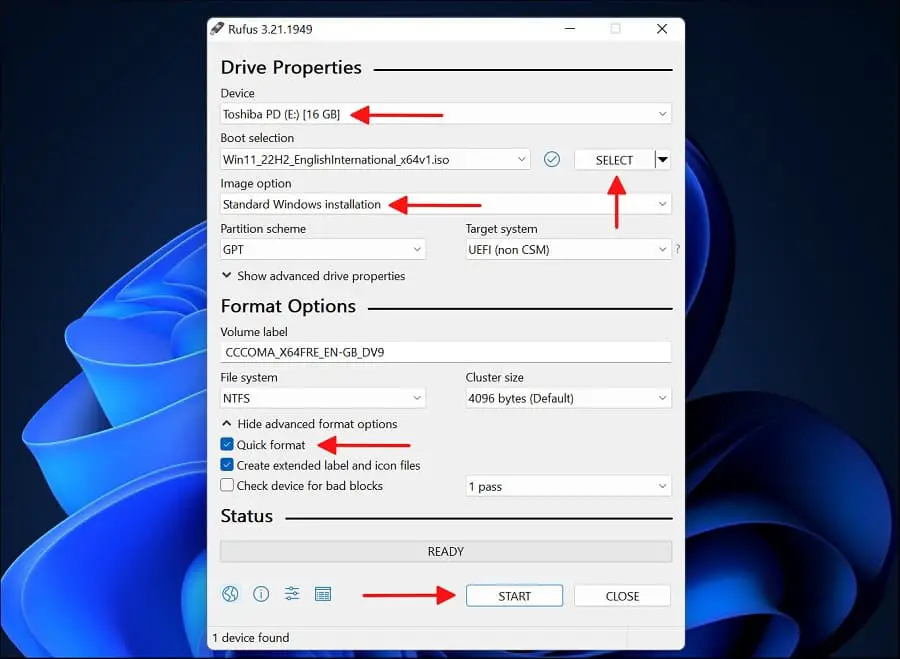
- Now from the “Boot selection” drop-down, select “Disk or ISO image”, click on Select then locate the Windows 11 ISO image.
- From the “Image” drop-down, select “Standard Windows 11 Installation (TPM 2.0 + Secure Boot)” or “Extended Windows 11 Installation (no TPM / no Secure Boot)” if you want to create a bootable drive for an unsupported system.
- Keep the “Partition scheme (GPT)” and “Target system (UEFI)” options as default.
- Next, Enter a name for your USB flash drive under the “Volume label” section.
- Leave the “File system” and “Cluster size” options, as well as any other options, as default.
- Make sure the “Quick format” and “Create extended label and icon files” options are checked.
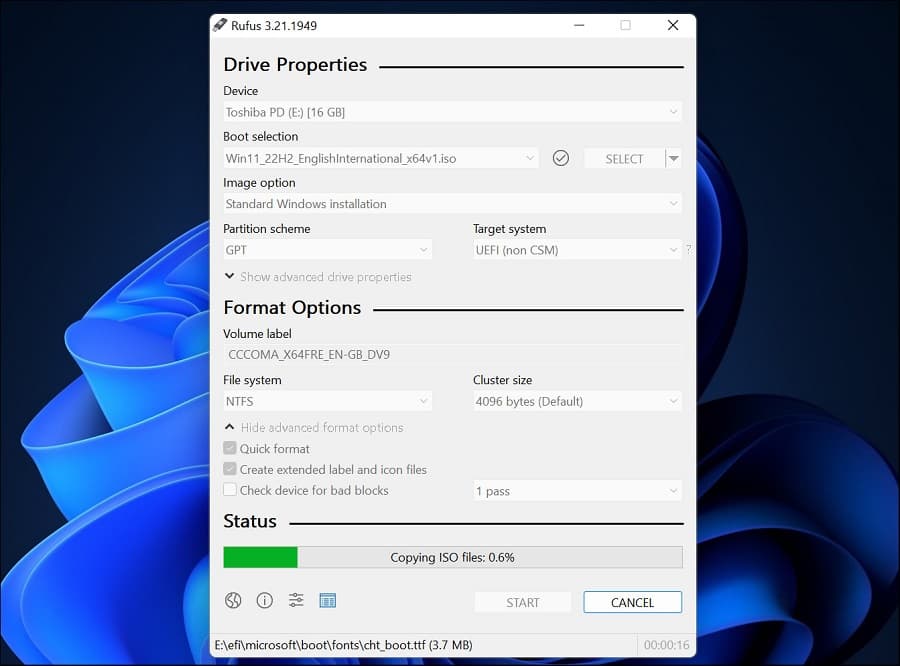
- Click the “Start” button to initiate the creation process for your Windows 11 bootable USB drive.
Using the Media Creation Tool (Official Method)
Also, you can download the Windows 11 Media creation tool and use it to make Windows 11 bootable USB. This is the official tool developed by Microsoft to help users create installation media or download the latest Windows 11 ISO image easily without any problem.
The Media Creation Tool provided by Microsoft is the most straightforward way to create Windows 11 installation media.
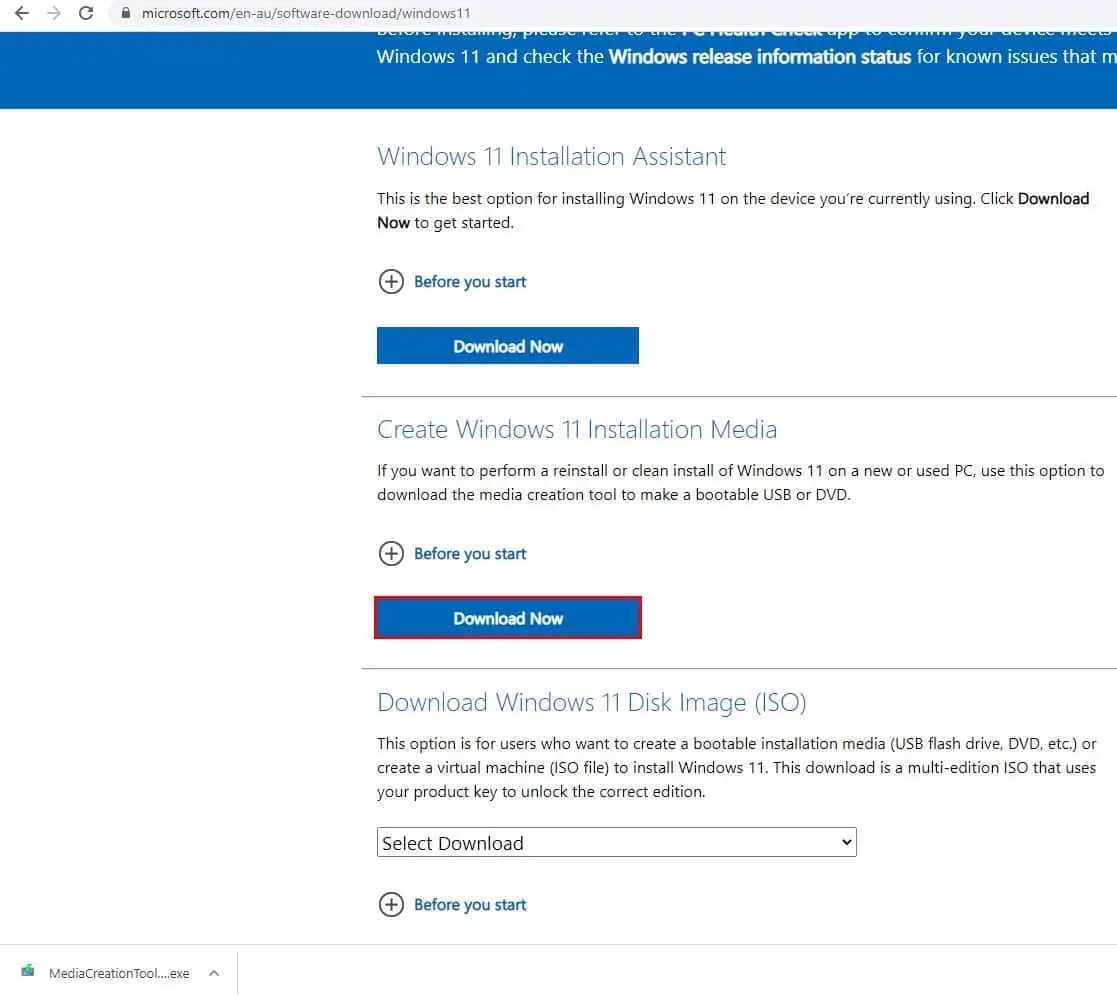
- Let’s first visit the Microsoft download center page and next to Create Windows 11 Installation Media click Download now to get the latest Media creation tool.
- Now connect a USB flash drive with at least 8GB of storage to your PC. (Make sure to backup USB drive data, the process will erase all data on the drive)
- Locate the MediacreationtoolW11.exe file on the download folder, right-click on it select run as administrator,
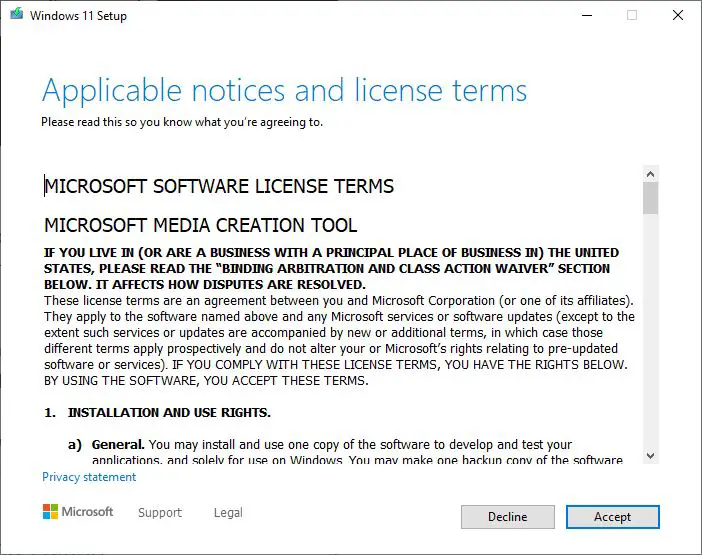
- You must agree to the terms by clicking the Accept button, Scroll down and read the license terms before clicking on Accept.
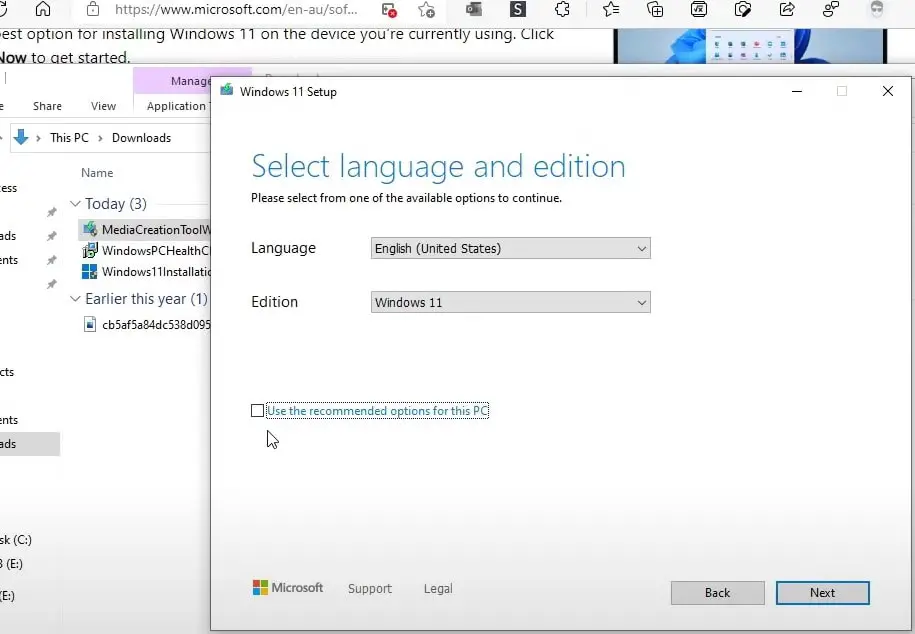
- Next, select your preferred language, you need to clear the “use the recommended option for this PC” option then select the language or leave it default,
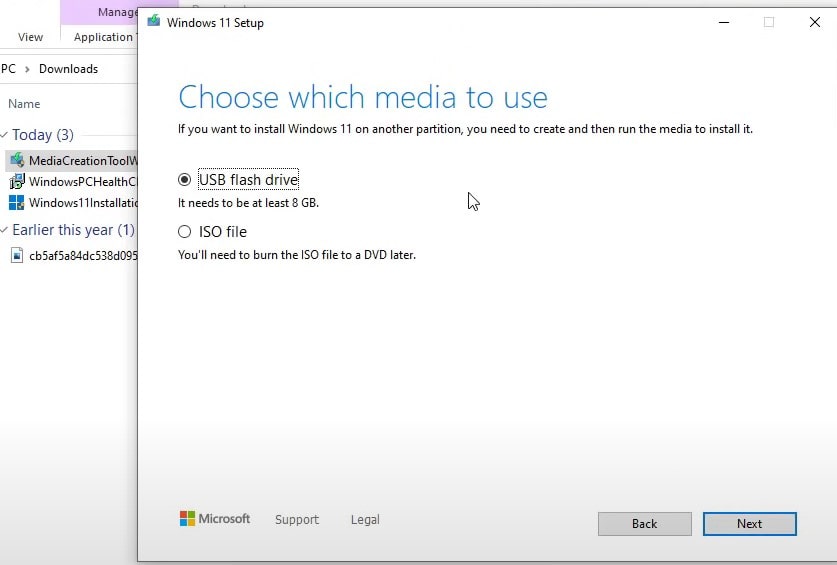
- Next Select the USB flash drive as the media to use and Choose your USB drive from the available list, and click next.
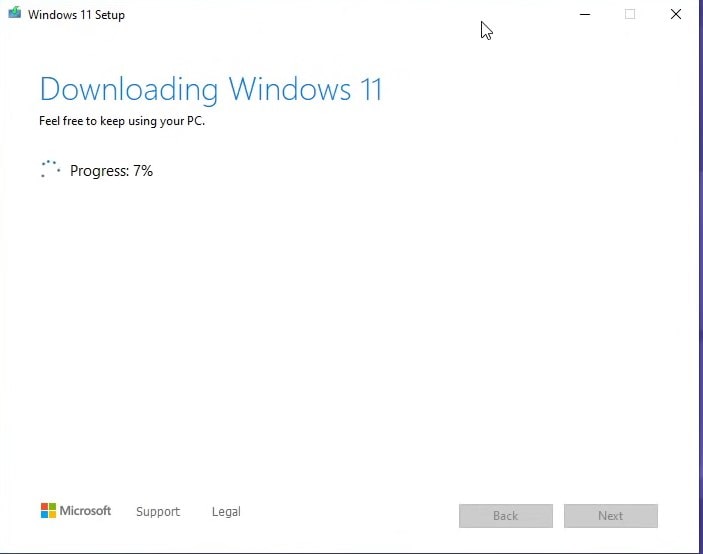
- Wait while the Media Creation Tool downloads the Windows 11 necessary files and creates the installation media. It may take sometime, depending on your Internet speed
- Once it’s done, the message “your USB flash drive is ready” appears, click Finish to close the setup wizard.
- You can boot using the USB drive to perform a clean install of Windows 11.
Also, you can refer to this video explain the steps to create Windows 11 bootable USB flash drive.
Also read:
- How to make Windows 10 bootable USB From ISO Images (Two official ways)
- How to install Windows 11 from scratch (Install using USB)
- Windows 11 update not installing? 8 solutions apply to fix it
- Windows 11 not detecting the second monitor after update? 5 solutions
- Solved: Minecraft won’t launch or stuck on loading screen

