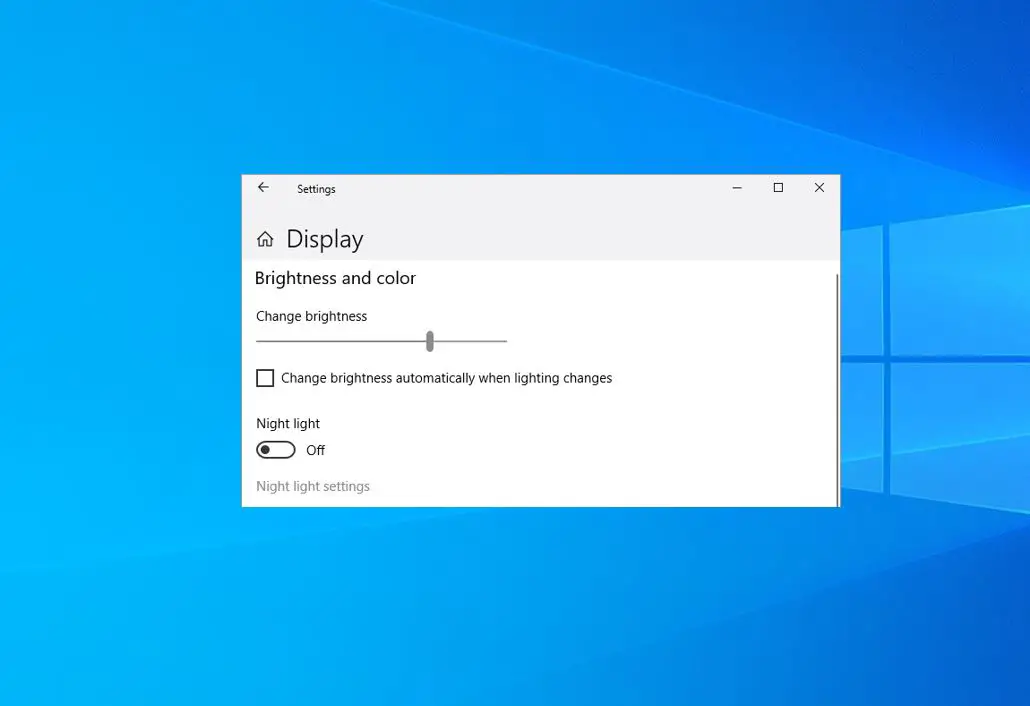
The laptop’s brightness setting has been screwed after Windows 10 Update? While trying to adjust it (Screen Brightness) in the brightness setting, the 0% brightness and 100% brightness yield the same amount of light (laptop brightness won’t change)? You are not alone, Several users report, Brightness Control not working on Windows 10. The brightness control bar grayed out, didn’t allow to change it Or can’t adjust screen brightness by holding the Fn key and pressing f5 or f6 to lower or raise it.
why is my brightness not working? This issue might be occurring because of Outdated, incompatible or corrupted drivers Graphics/Display drivers installed on your computer. Again sometimes incorrect power configuration, third-party applications, and Windows update bug cause “windows 10 brightness not working“. If you are also facing issues in adjusting the brightness of your laptop after installing the Windows 10 operating system, Here are some effective solutions you must apply.
Brightness Control not working Windows 10
If the problem started after install windows 10 version 21H2, then make sure you have installed the latest Cumulative Update. You Can check And install the latest updates from
- Settings ( Windows + I )
- Update & Security
- windows update
- And check for updates.
Restart windows and check This will fix “can’t adjust brightness ” bug.
Enable Generic PnP Monitor
Sometimes Generic PnP Monitor had somehow got disabled and was causing the issue. Here are the steps to fix it:
- Click on Start and search for Device Manager. Open it
- In the list of devices, locate Monitors and double click on it
- Right-click on it and click on Enable
Change brightness settings
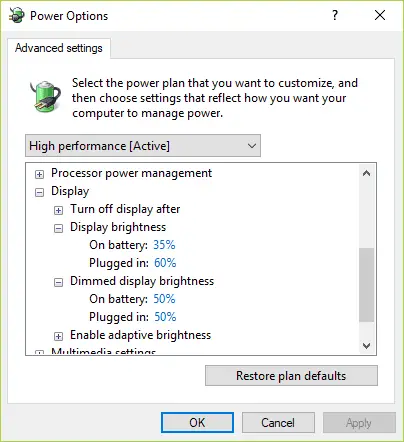
- Go into “Control Panel” search and select “Power Options”
- Click the “Change plan settings” link next to whichever plan you are currently using and then click “Change advanced power settings”.
- In this new window click “Display” to open up the listings under it.
- Now locate and click each of the following. “Display brightness”, “Dimmed display brightness” and”Enable adaptive brightness”.
- Change each of these to the settings you wish, then click the “Apply” button and finally the “OK” button.
That’s all, restart your system and check on the next login window that allows to adjust screen brightness.
Note: some users report Turnoff Adaptive brightness option from power options, which allows them to customize the screen brightness. you can also try this “Turnoff Adaptive brightness ” and check it may help you.
Update the Display driver
As discussed Outdated, incompatible or corrupted drivers are usually the cause of Windows 10 screen brightness control problems. Update or Reinstalling the display (Graphics) driver is the ultimate solution to fix the screen brightness not working/increasing issue.
Follow the steps to update the Display driver:
- Press Windows Key + X key and click Device Manager.
- Expand ‘Display Adapters’.
- Right-click on the Display Adapter listed and click on ‘Update Driver Software.
- Select the option to automatically search for the updated driver software.
- Restart the computer after its updated and verify brightness control working now.
Reinstall the display driver
Also, try to access the computer manufacturer website and download and install the latest display and chipset, drivers. To do this
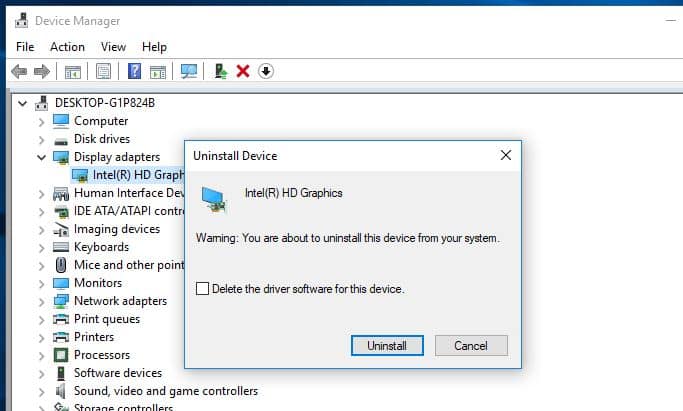
- Open device manager using devmgmt.msc
- Expand display driver,
- Right-click on installed graphics driver and select uninstall.
- Click ok When asking for confirmation
- Restart windows to completely uninstall the display driver.
Now on the next login install the latest graphics driver which previously downloaded from the device manufacturer website. Again restart windows and check this time you can adjust screen brightness.
Follow the steps to install the drivers in compatibility mode.
- Download the drivers from the manufacturer’s website.
- Right-click on the installer and click on “Properties”.
- Click on the ‘compatibility tab and check the box “Run this program in compatibility mode for” and select the previous Operating System from the drop down.
- Click on ‘Apply’ and click ‘OK’ and run the file to install it.
Update Generic PnP Monitor Driver
- Press Windows Key + R then type devmgmt.msc and hit Enter.
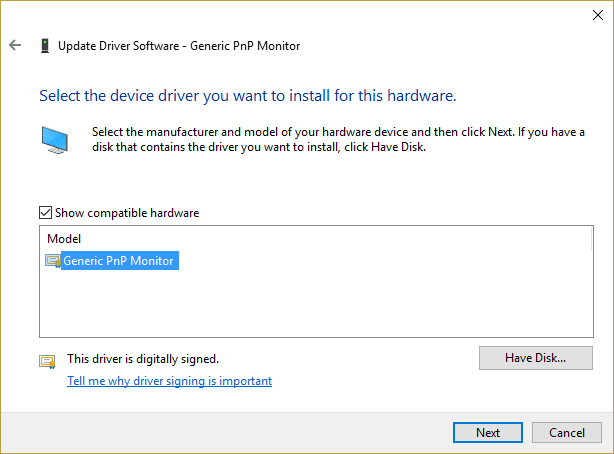
- Expand Monitors and then right-click on Generic PnP Monitor and select Update Driver. ( Also right-click on Generic PnP Monitor and select Enable)
- Select Browse my computer for driver software.
- Click on Let me pick from a list of device drivers on my computer option at the bottom.
- Now select Generic PnP Monitor and click Next.
- After performing this action restart your system and check it helps to fix “can’t adjust brightness windows 10”
Did this help to fix adjusting the brightness problems on your laptop? Let us know which option worked for you. Also, Read


