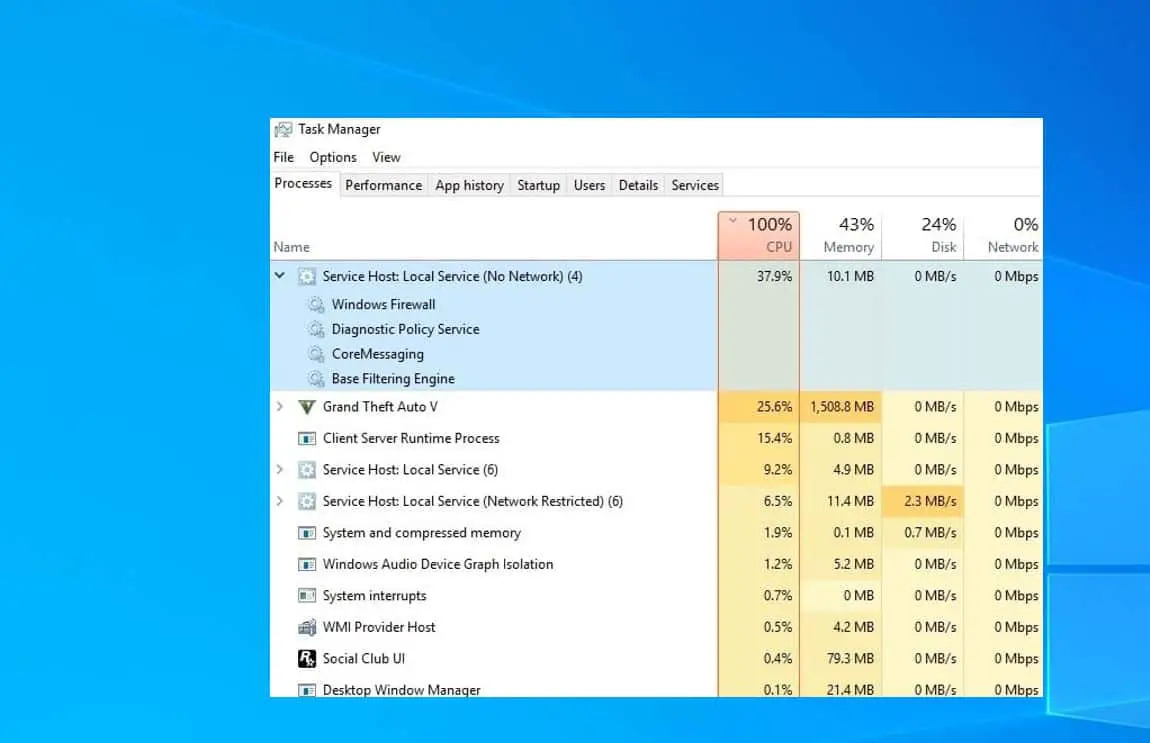
Windows Updates are essential for your computer’s stability, security, and performance. They provide security patches, and bug fixes, and sometimes bring new features, ensuring a smooth and safe computing experience. Regularly installing Windows 10 updates keeps your system optimized and protected from potential threats. However, at times you may notice Windows Update causes abnormally high CPU usage, which slows down the Windows 10 performance. Users report “service host windows update high CPU usage” which makes the Windows 10 computer unresponsive. Let’s understand what Service Host (svchost.exe) do and why it’s causing High CPU usage while downloading Windows updates.
What Service Host (svchost.exe) do?
Service Host (svchost.exe) is a crucial process in the Windows operating system responsible for hosting multiple Windows services. One of these services is Windows Update. The reason why Service Host (svchost.exe) may cause high CPU usage in the context of Windows Update is due to the workload and complexity involved in handling the updating process.
This process is responsible for downloading, installing, and managing Windows updates
Common reasons for high CPU usage by Service Host (Windows Update) include:
Pending Updates: When there are pending updates, the Windows Update service tries to download, install, or configure them, leading to increased CPU usage.
Update Errors or Stuck Updates: Failed updates or updates stuck in a loop can cause the Windows Update service to repeatedly attempt installations, resulting in sustained high CPU usage.
Corrupted Components: If Windows Update components become corrupted, the service may struggle to function correctly, causing higher CPU usage.
Third-Party Interference: Third-party software, especially security applications or firewalls, can interfere with Windows Update processes and create conflicts that lead to increased CPU usage.
Update Stuck in Queue: Occasionally, an update may get stuck in the queue, leading to the CPU repeatedly trying to process it without success.
Windows update high CPU usage
Well sometimes High CPU usage may occur if the Windows update is struggling to download the required files due to a slow internet connection, the first thing you need to ensure your device has a stable internet connection.
Also, lack of system storage could be the reason why Windows updates won’t complete and consume high system resources consider deleting unnecessary files or programs to free up space.
Allow Windows to Complete the Update Process
Before attempting any troubleshooting, it’s essential to allow Windows Update to complete its current tasks. Sometimes, high CPU usage is temporary and will subside once the update process finishes.
Let the system run for some time, preferably for a few hours, to see if the CPU usage returns to normal after the updates are installed.
Restart Your Computer
If the high CPU usage persists after the update installation is complete, a simple system restart might resolve the issue. Restarting your device can help resolve any temporary issues and allow the system to optimize its resources properly.
- Save your work and close all open applications.
- Click on the “Start” button.
- Click on the power icon.
- Select “Restart.”
After your computer restarts, check if the CPU usage has returned to normal.
Run window update troubleshooter
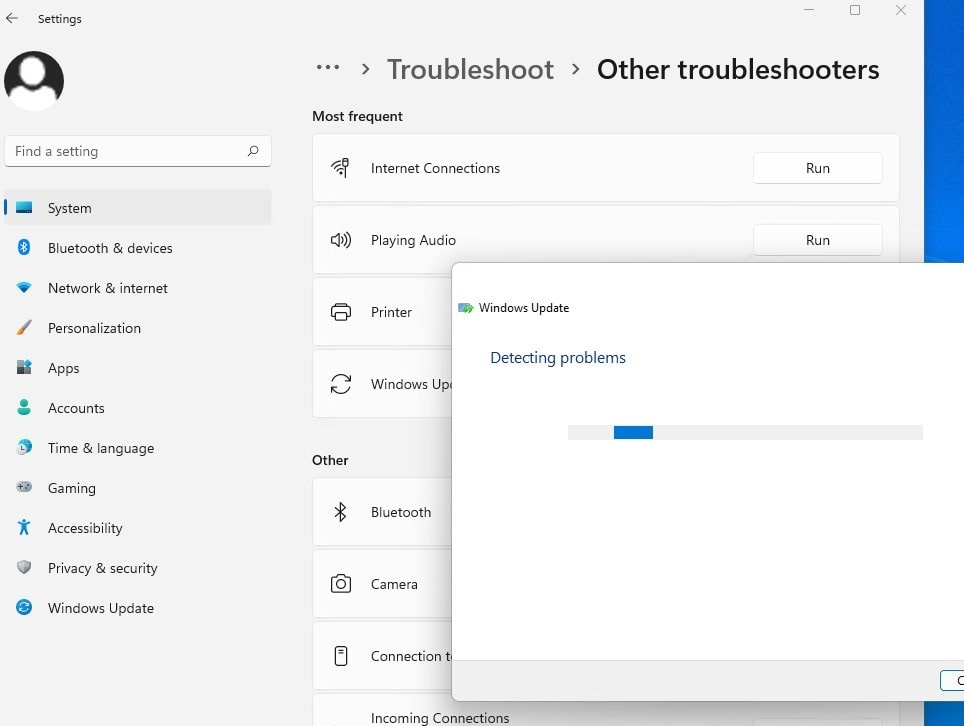
Windows provides a built-in troubleshooter that can identify and fix issues related to Windows updates. Let’s run the Windows update troubleshooter to check if it helps fix service host Windows update high cpu usage.
- Press the Windows key + X and select settings
- Go to System then troubleshoot and click on other troubleshooters,
- Click Run next to Windows Update and follow the on-screen instructions.
The troubleshooter will then attempt to detect and resolve any problems related to Windows Update. Once done reboot your computer and check if this helps fix the service host Windows update high CPU usage on Windows 11.
Reset Windows update components
Clearing the Windows Update cache may resolve issues related to stuck updates. This is another best solution to fix most of the Windows update problems include service host Windows update high cpu usage on Windows 11.
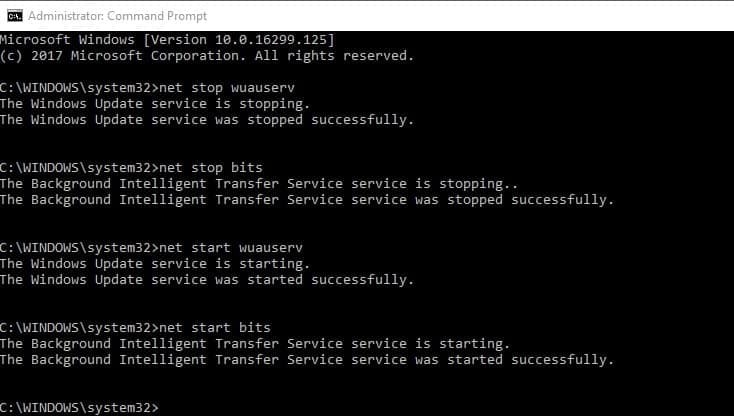
Open the command prompt as administrator and run the following command to stop Windows update and its related service.
net stop wuauserv” (To stop Windows update service)
net stop bits” (To stop BITs service.)
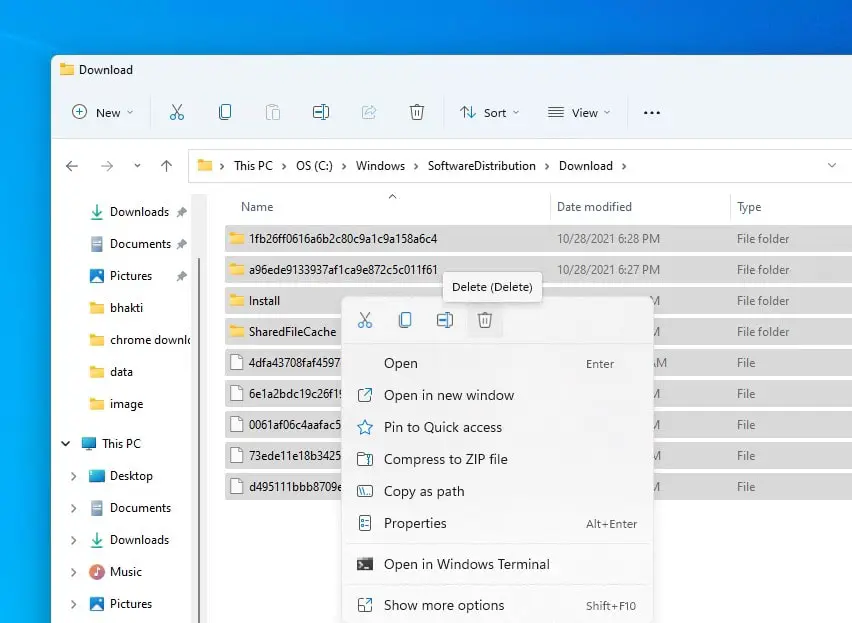
Then press the Windows key + I to open File Explorer and navigate to C:\Windows\SoftwareDistribution\download
Delete all files and folders inside the download folder. To do this use the keyboard shortcut ctrl + A to select all and hit the del key to delete them.
Again open the command prompt (admin) and perform the command
- “net start wuauserv” (to start Windows update service)
- “net start bits” (To start BITS service) that which you previously disabled.
Restart windows and check There is no more high system resource usage.
Install Windows Updates Manually
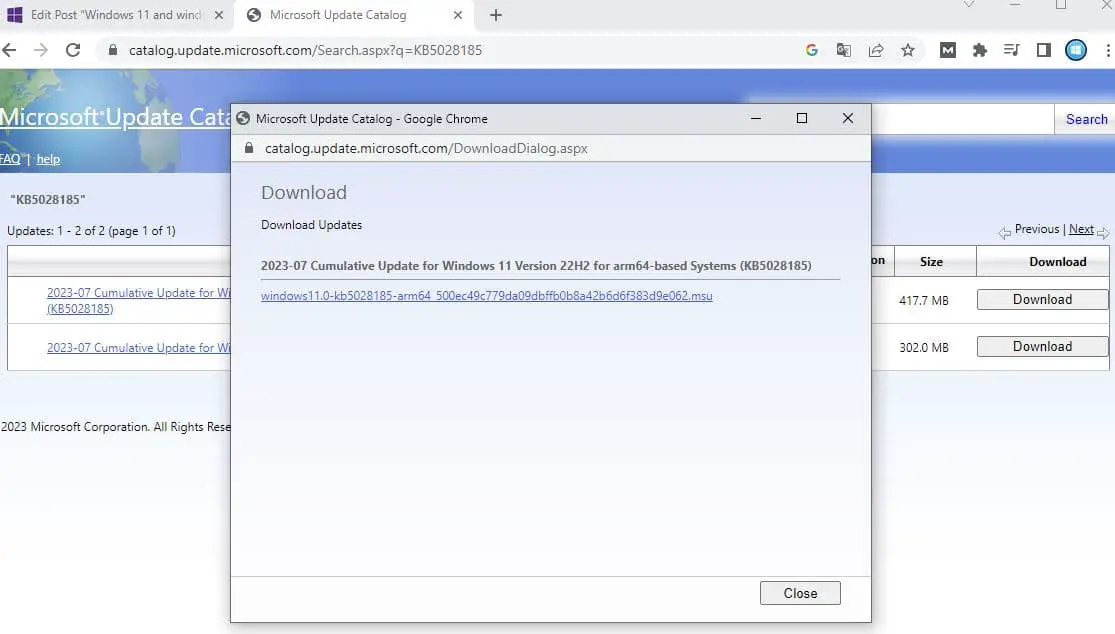
If the “Service Host: Windows Update” process is continuously causing high CPU usage, you can try manually installing Windows updates using the Windows Update Catalog. This method can sometimes bypass issues that occur with automatic updates.
- Open a web browser and go to the Microsoft Update Catalog website (https://www.catalog.update.microsoft.com/).
- Search for the latest updates available for your Windows version.
- Download the updates manually from the catalog.
- Double-click on each downloaded update file to install them one by one.
- Restart your computer if prompted.
Stop Windows update service
If none of the methods above works for you, you can temporarily stop the Windows update service and check if the service host Windows update high cpu usage problem is resolved. This will free the computer resources it uses for the time being. Then you can install the system updates manually or wait until Microsoft releases the next updates.
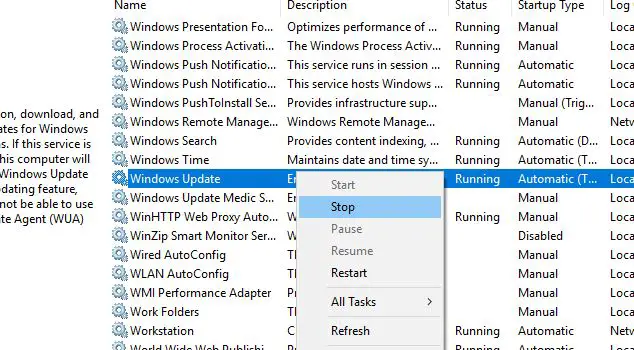
- Press the Windows key + R type services.msc and click ok to open the Windows service console,
- Scroll down and locate the Windows update service, right-click on it select stop.
Now check if the CPU usage is back to normal.
Or you can Right click on Windows update service select properties, Change startup type Disable and stop the service next to service status to disable Windows update permanently.
Run system file checker (SFC) and DISM scan
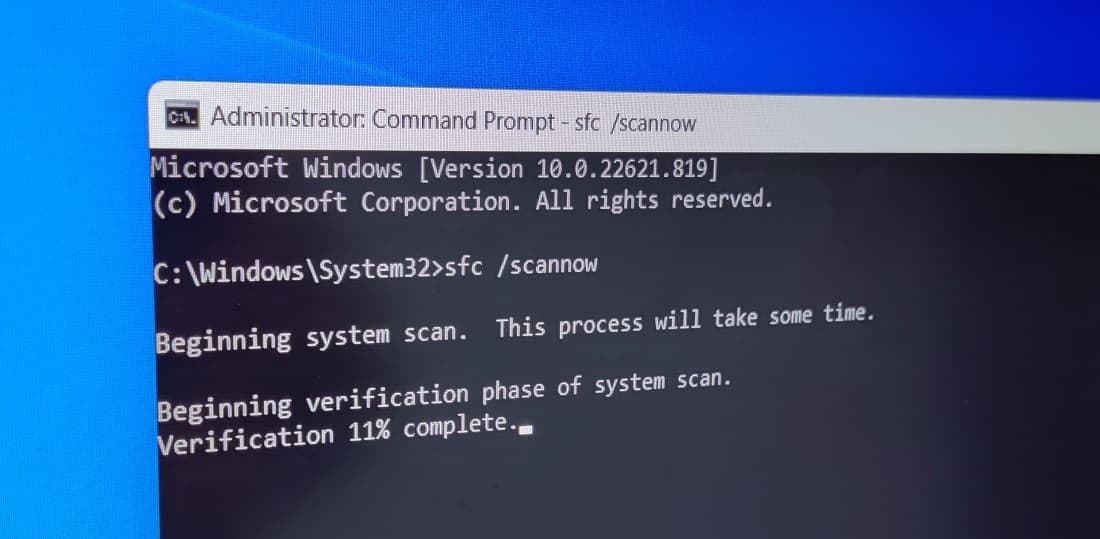
Sometimes corrupt system files are the reason why service host Windows updates high cpu usage on Windows 11. If the above solutions didn’t fix the problem you should consider run the System file checker and DISM command that help to verify and repair the integrity of system files, as well as the Windows image itself.
- Open a Command Prompt with administrative privileges:
- Type sfc /scannow and hit the enter key.
- The SFC tool scans for and repairs corrupted or missing system files
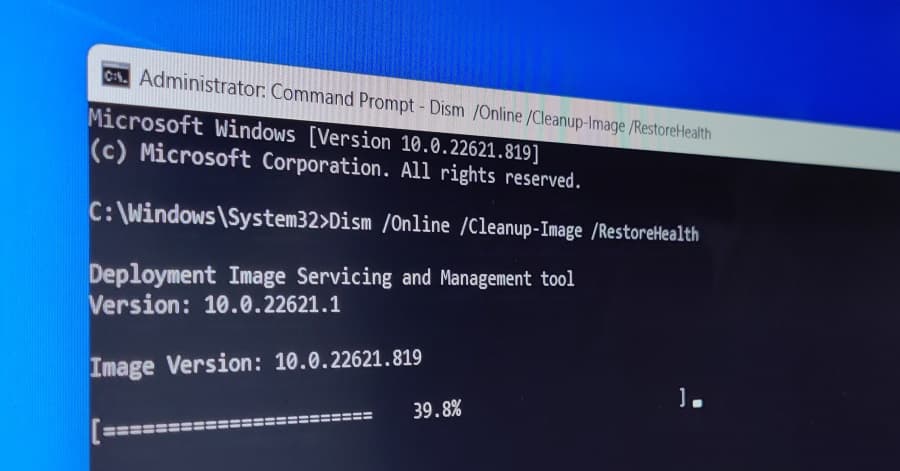
- If the system file checker fails to repair corrupt files run DISM command DISM /Online /Cleanup-Image /RestoreHealth
- The DISM tool is used to repair the Windows image when the System File Checker is unable to fix some problems.
- Allow the tool to run and complete 100%. It may take a while, especially if it needs to download repair files from Windows Update.
- Once the process is complete, check the results. If any issues were fixed, restart your computer.
Check for Malware and Unwanted Software
Malware or unwanted software running in the background can interfere with Windows Update, causing high CPU usage. Perform a full system scan using a reliable antivirus program. If malware is detected, follow the instructions provided by the antivirus software to remove it.
Also read:
