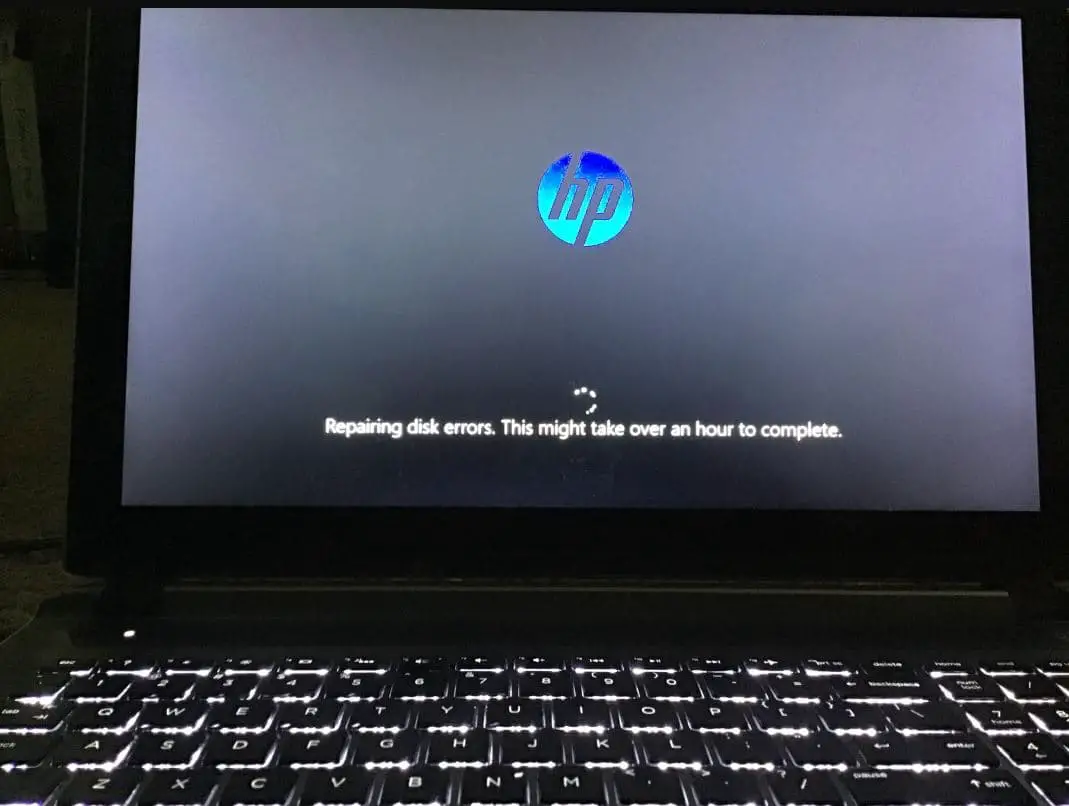
Sometimes, when you turn on your Windows 11 Laptop it may be stuck Repairing Disk Errors for hours. This can be frustrating as it prevents access or use of the computer, causing delays and potential data loss. A number of users report being unable to access their PC as the ‘Repairing disk error‘ screen stuck for hours “Windows 11 Repairing disk errors This might take over an hour to complete“. Well, Power interruption, system file corruption, Hard disk failure or storage disk on your PC has bad sectors are some common reasons why the Laptop is stuck on the ‘repairing disk error’ screen for hours. Here in this article, we have different solutions you can try to resolve the “Repairing disk errors” problem on Windows 11 and get your system running smoothly again.
Contents
Windows 11 Stuck Repairing Disk Errors
Usually, when Windows detects problems with the hard drive it automatically try to repair and fix the problem at startup and it’s very helpful. But if it remains to repair disk errors for hours after hours to complete the process, there are additional problems preventing the repair. Most of the time corrupted system files could be a reason, again HDD or SSD failure, bad sectors on the disk or third-party app conflict also cause such problems on Windows 11.
Perform Automatic Repair
If your PC or laptop is Stuck Repairing Disk Errors:
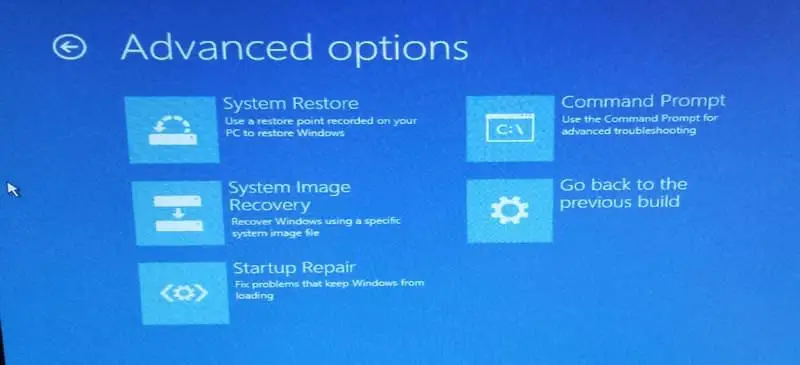
First, shut down your PC using the power button, then disconnect all external devices (including Secondary HDD, USB flash drive) connected to your PC and start your PC normally. Check if Windows 11 start normally without disk repair at start. If Windows fails to start normally you need to access the advanced option and perform startup repair.
The startup repair / Automatic repair will scan system files, Registry settings, configuration settings, and more and try to fix the problem automatically.
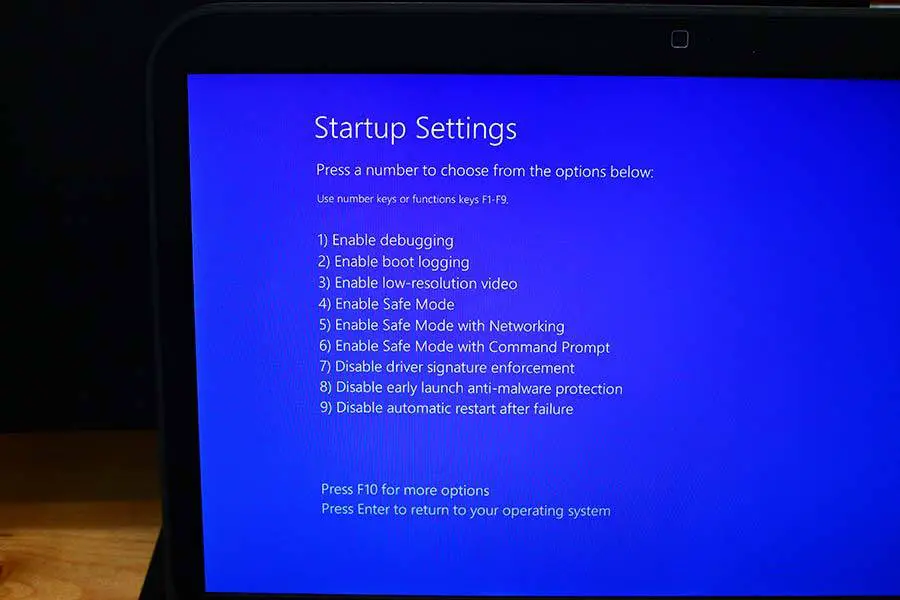
Repair Disk in safe mode
This problem “Scanning And Repairing Drive” Windows 11 usually occur because your computer’s disk has bad sectors. If startup repair didn’t fix the problem, then Boot Windows 11 to Safe Mode and run CHKDSK from the File Explorer window.
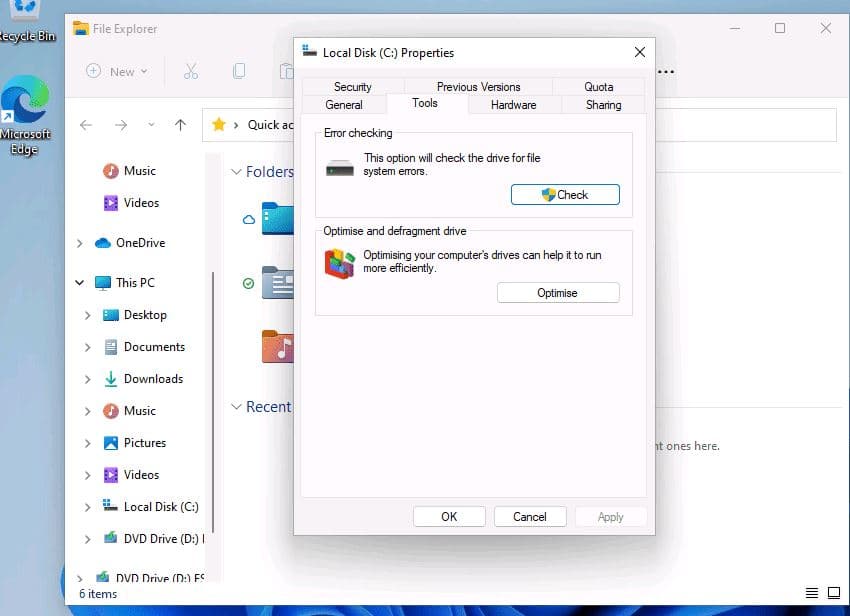
- Press Windows key + E to open file explorer
- On the left pane of File Explorer, expand This PC.
- Right-click on system Drive (C drive) and select properties,
- Move to the Tools tab, and click the Check button on the Error checking section.
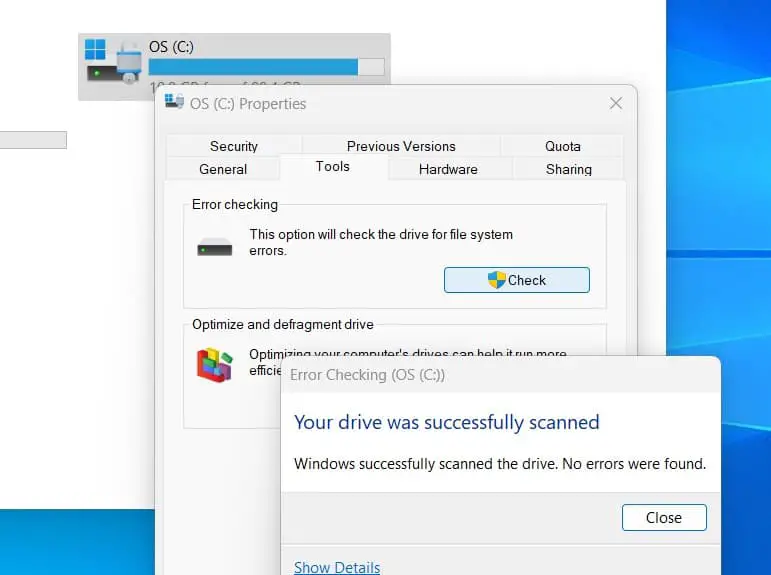
Next, click on scan drive, this will start scanning the drive for errors, if found any Windows will allow you to select to repair the errors. Select the option to repair the error.
Repair system files
If Windows 11 is Stuck Repairing Disk Errors it may be corrupted files prevent the tool complete its job. And you need to repair the system image and corrupted system files with DISM restore health and system file checker command.
- Again start Windows 11 in safe mode,
- Press Windows key + S, type cmd, and select run as administrator,
- First, run the DISM command DISM /Online /Cleanup-Image /RestoreHealth
- Next, run the system file checker command sfc /scannow
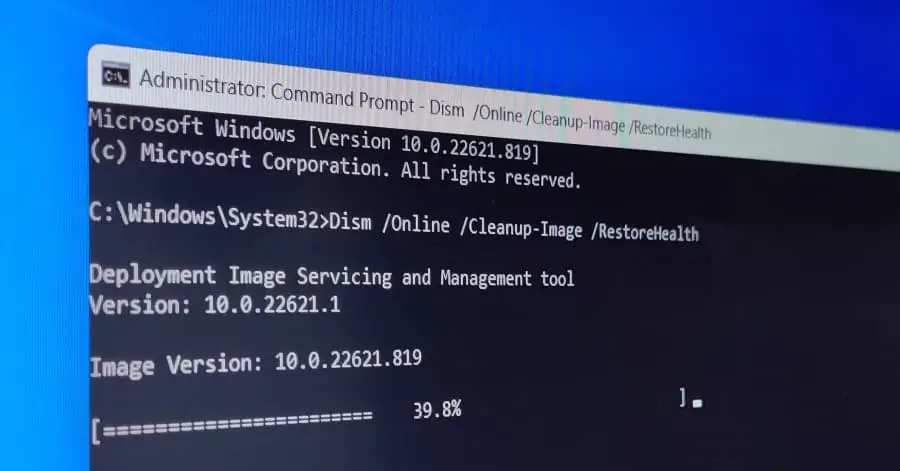
The above command repair the system image, scan all protected system files and replace corrupted files with a cached copy that is located in a compressed folder at %WinDir%\System32\dllcache.
Run CHKDSK Command
Now again open the command prompt as administrator and run the CHKDSK command with /F and /R parameters. CHKDSK searches the file system and metadata for problems affecting the data or files’ integrity. The /R parameter tells chkdsk to locate bad sectors and recover any readable information from them and /F will fix any errors found on the disk.
- Press Windows key + S type cmd and select run as administrator,
- Type command chkdsk C: /f /r and press enterkey
- Press Y and hit enter, when it will ask to schedule run chkdsk on the next start and reboot your PC.
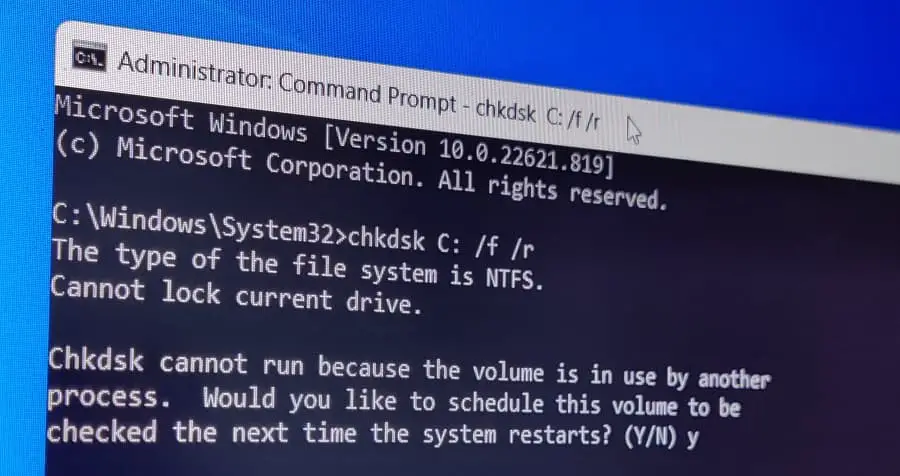
- That’s it, You have successfully checked the driver.
Run the Repair volume command
Few users report, run the repair-volume command using Windows PowerShell helps them fix such issues on Windows 11. If the above solutions didn’t fix the problem, open Powershell as administrator and run the following commands.
- repair-volume drive-letter -scan
- repair-volume drive-letter -offlinescanandfix
- repair-volume drive-letter -spotfix
Note – Replace drive-letter with system drive letter it’s usually C drive.
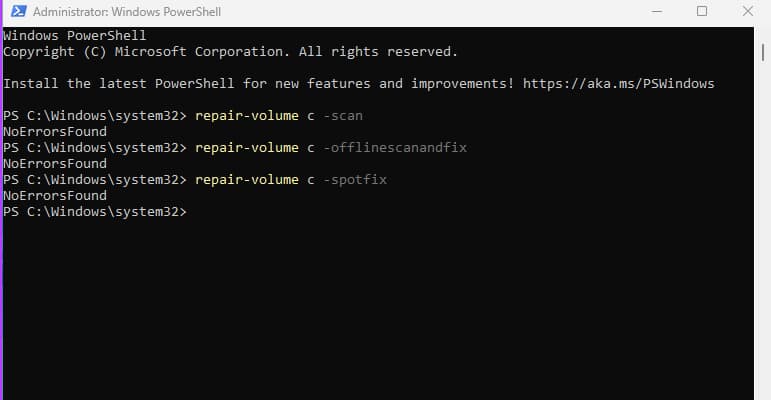
Let it scan for errors once the scanning is complete, reboot your PC.
In addition, you can perform a system restore to bypass such issues on Windows 11.
If the above solutions didn’t fix the problem, you need to check your Hard Disk and see if it has malfunctioned. you can run third-party tools like HDD Scan, GSmart Control to scan for errors. If your PC is not booting, you have to plug your Hard Disk into a different system and check its health. If you find any problem, follow their instructions. Other than that, take help from a technical person if you can’t handle the situation.
Also read:
- Use of CHKDSK, SFC, and DISM diagnostic tools in Windows 11
- Windows 10 Photos app not working File system error -2147219196
- How to Enable and use remote desktop connection Windows 11
- 5 ways to Reset Audio Settings on Windows 11 (Fix No Audio Problem)
- Solved: Network adapter not working Windows 11 (Error 39)

