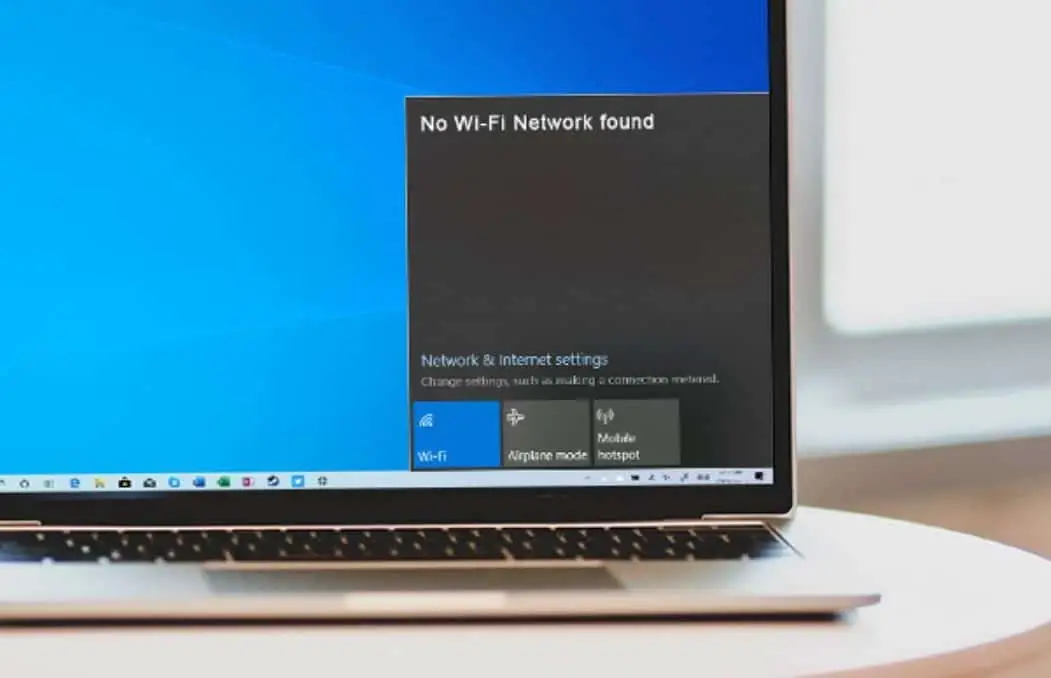
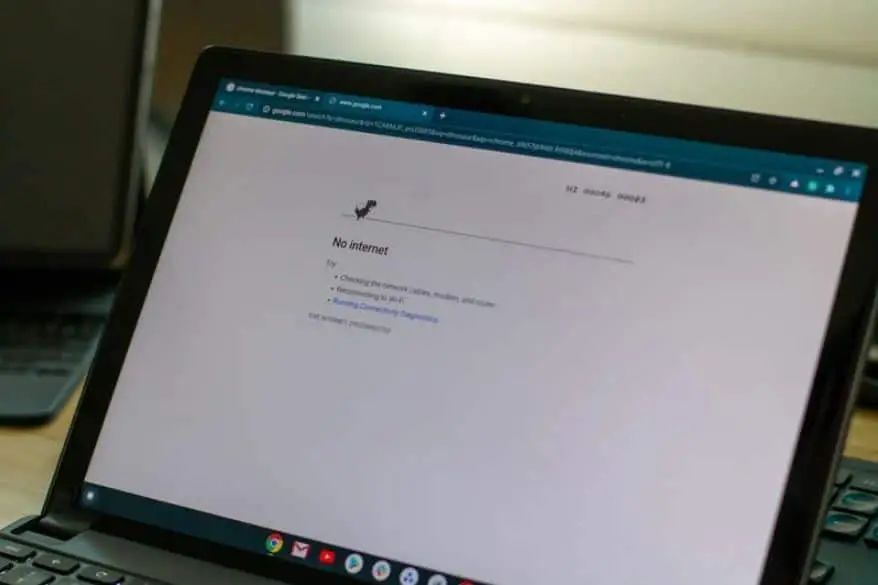
Are you trying to connect to a Wifi network but getting an error message that shows “No Wifi network found“, or have previous Wifi connections just vanished after Windows 10 update? It’s usually because of a faulty router or problem with WLAN network card driver, either the drivers are not compatible or they are corrupt. Here in this post guide on how to fix Wifi connectivity issues and restore internet access on your laptop or PC
Contents
No wifi Networks Found on Windows 10
If this is the first time you have noticed this problem, we recommend restart both the WiFi router and laptop,
Make sure your laptop is closer to Router, and Wi-Fi is turned on in your system. To do this, go to Start> Settings> Network & Internet, and check if the Wi-Fi is turned on.
Check your laptop is not on Airplane Mode. Go to Start > Settings > Network & Internet, and turn off Airplane Mode if it was on.
If you have VPN (Virtual Private Network) installed, it might be the reason behind WiFi not working or No WiFi network found. Try uninstalling the VPN software and restarting your PC to see if the missing Wi-Fi is now showing
Access your router admin panel and check if the wireless radio is enabled
In addition, temporarily disable your third-party antivirus, which might prevent your laptop from connecting to WiFi.
Run Network Adapter Troubleshooter
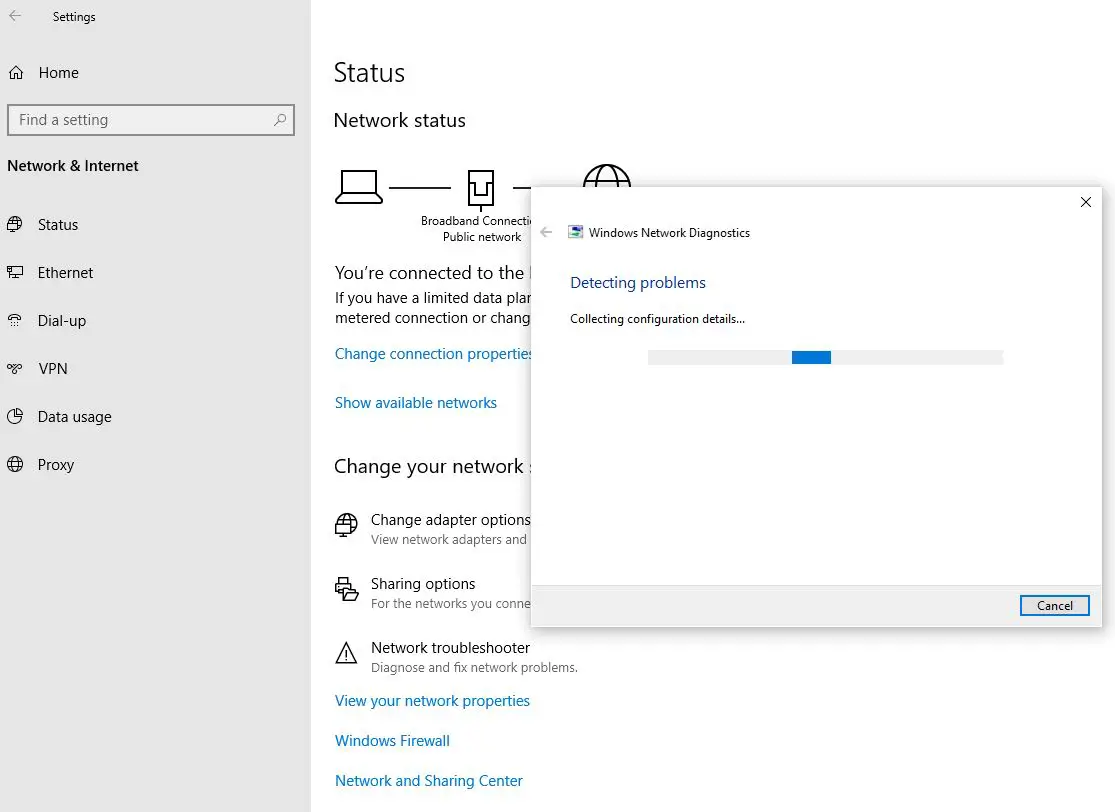
Windows 10 has a built-in Network Adapter Troubleshooter that automatically detects and fixes problems that might be causing WiFi connectivity issues.
- Click on the start menu then settings (The gear icon)
- Go to Network & Internet then click on Network Troubleshooter, select your Wi-Fi adapter and click Next
- This will start detecting problems, check for driver errors and try to fix them itself.
- Once the network diagnostics process completes, restart your laptop and check if your laptop able to find and connect to WiFi networks.
Reset Network adapter
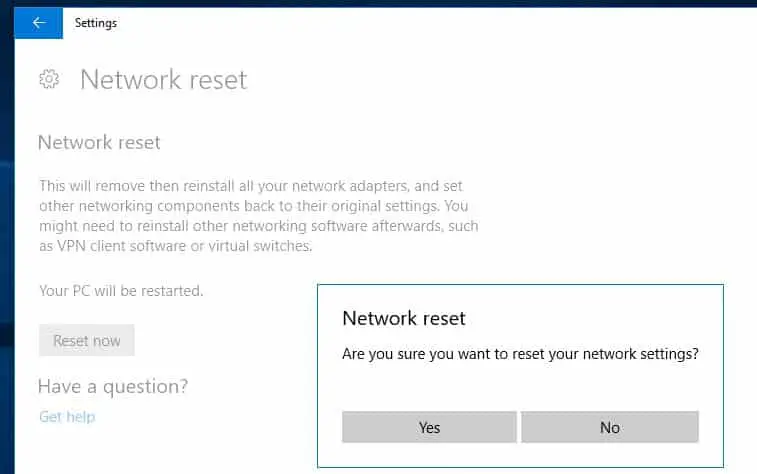
Your network adapter might be having trouble that a system restart is unable to fix. In this case, resetting it is a good solution. Several users report, reset the WiFi network adapter helps them fix different WiFi problems on their Windows 10 laptop.
- Press the Windows key + I to open the Settings app,
- Go to Network and Internet then select the status tab,
- At the bottom click, the network reset link,
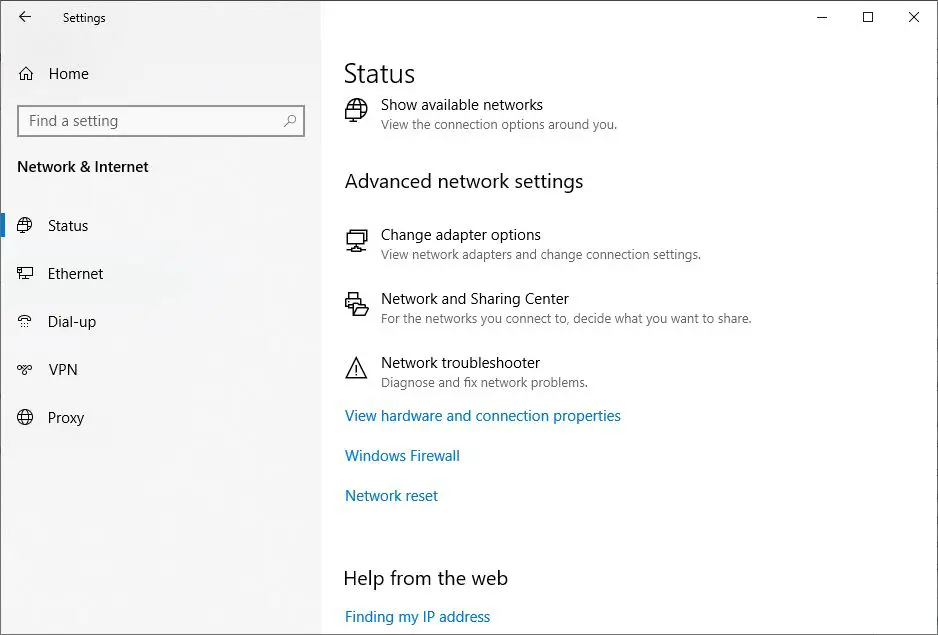
- Next click on the reset now button then Yes when it prompts to confirm
Note: Performing this action, the system will automatically remove and then reinstall the network adapter and set other network settings to their original settings.
- This will restart your computer and refresh your network settings,
- Let’s try to connect WiFi network again, hope this helps.
Update network adapter driver
As discussed before an outdated network driver can also prevent your laptop from seeing available networks. Check for and install any driver updates that are available for your network adapter.
- Press Windows key + R, type devmgmt.msc and click ok to open the device manager,
- This will display all installed device driver lists, locate and expand the network adapter section,
- Right-click your network adapter and select Update driver from the context menu.
- Click on Search automatically for updated driver software and follow on-screen instructions to let the computer search for the drivers and install them.
Note: if you didn’t see WiFi network here, its probably not installed on your device. Visit your manufacturer’s website and download the correct Wi-Fi card version. Install it.
Rollback WiFi adapter drivers
If the problem started after a recent Windows update, or your previous drivers were working correctly before you update them. In that case, you will have to roll the driver back to an older version.
- Again open the device manager using devmgmt.msc
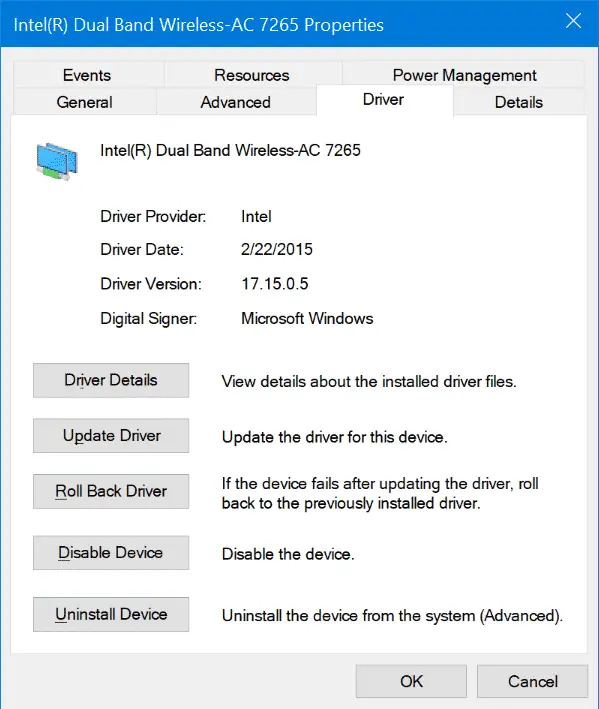
- Locate and Expand network adapters, right-click on the WLAN card device select properties,
- Go to the Driver section and choose the Rollback Driver option.
- Select a reason, why you roll back the driver and follow on-screen instructions, This will take you back to the previous drivers that functioned fully.
Disable virtual network adapters
When you install some third-party apps such as VMware or VirtualBox, it install a virtual network adapter on your system. Removing them, or disabling them can fix your network problem.
To disable a virtual network adapter:
- Open the Control Panel.
- Go to Network and Internet.
- Select Network and Sharing.
- Click Change adapter settings.
- Right-click the virtual network adapter, and select ‘Disable’ from the context menu.
Reinstall the corrupt Wi-Fi adapter driver
If your Wi-Fi network driver isn’t compatible with the adapter, you have to get rid of it and allow Windows 10 to automatically install the correct version for your computer.
- Go to Device Manager and expand the Network Adapters menu
- Right-click your Wi-Fi adapter and select Uninstall device
- Click Uninstall to confirm
- Open the Action menu and select Scan for hardware changes
- Restart your computer
Did these solutions help fix No Wifi network found on Windows 10? Let us know on the comments below.
Also read:

