Windows 11 is the latest operating system from Microsoft, offer a number of new features and an improved user experience. Also, Microsoft regularly releases Windows 11 updates that bring the latest bug fixes, improve system stability, and enhance overall performance for a smoother user experience. Installing the latest Windows update also ensures compatibility with new hardware and software. But still, Bugs and glitches may present there cause different problems on Windows 11. Sometimes you may experience a Windows update won’t install or System crash with a Blue screen error. Laptop wifi disconnects frequently, slow Internet speeds or Windows 11 not responding and more. Here this article explores how to fix common problems on Windows 11.
How to fix Windows 11 common problems
Restart Windows 11 helps fix common problems by clearing temporary files, refreshing system processes, and reloading drivers.
- If the Windows update is stuck download hours you need to check to ensure the internet connection is working and run the update troubleshooter.
- If getting frequent blue screen errors after Windows 11 update, disconnect external devices and reboot your PC.
- Internet connection is very slow, disconnect the VPN client to restore the internet access, if the wifi disconnects frequently check the wifi signal strength or reinstall the WiFi driver.
- No sound after Windows update, run the audio troubleshooter and reinstall the audio driver.
- Windows 11 search can’t find your files restart the Windows search service and rebuild the search index.
- Laptop is very slow not responding after the Windows update, run the system file checker to repair the system files and fix the problem.
Windows 11 Laptop very slow after Update
Various factors cause Laptop slow after Windows 11 update. Outdated drivers, excessive startup programs, insufficient disk space, malware infection, or system file corruption are common. And to fix the problem and speed up Windows 11.
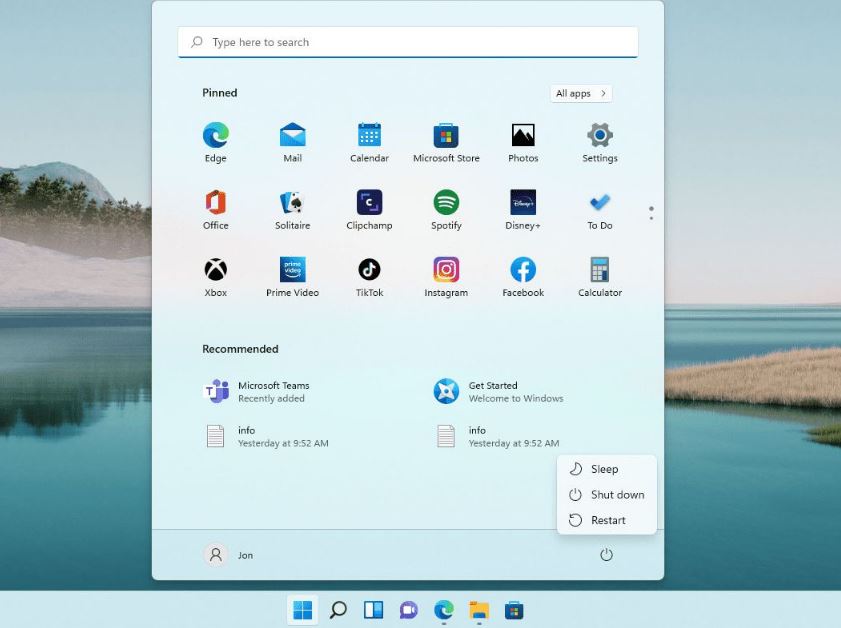
Restart Windows 11: A simple restart can often resolve temporary performance issues caused by the update process. It clears out any lingering processes and refreshes the system.
Click the start menu select the power option then select the restart.
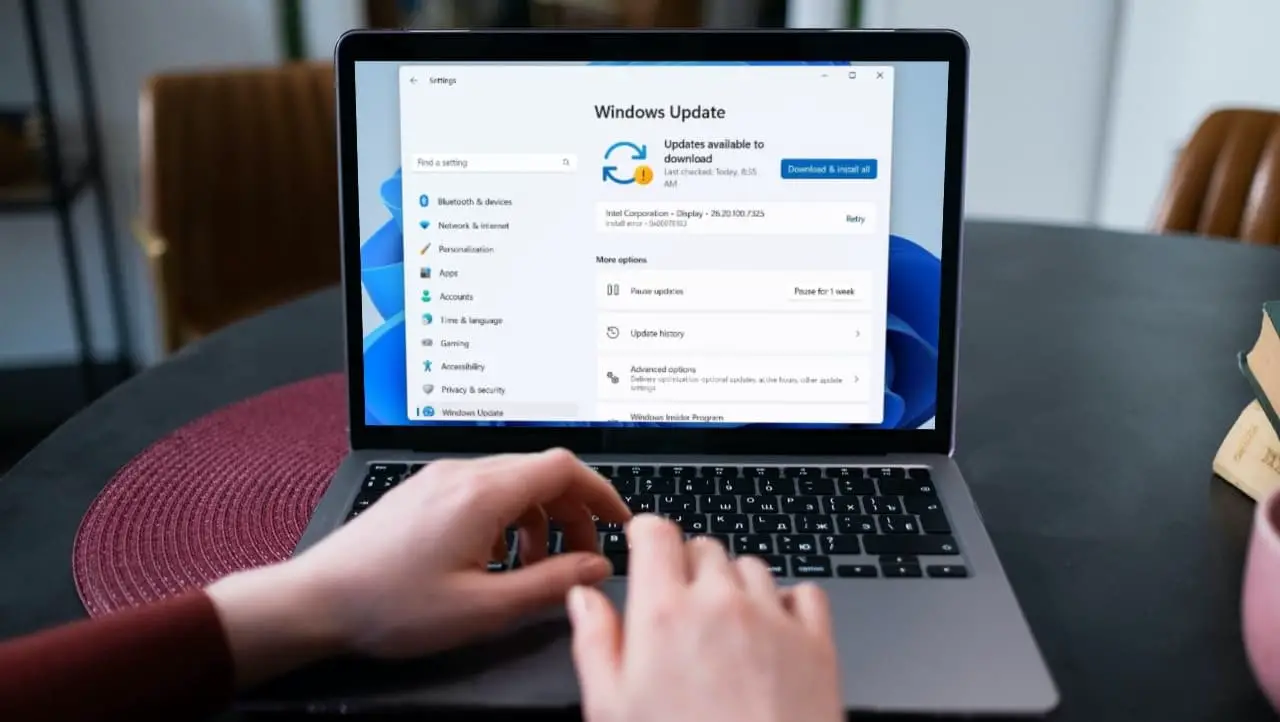
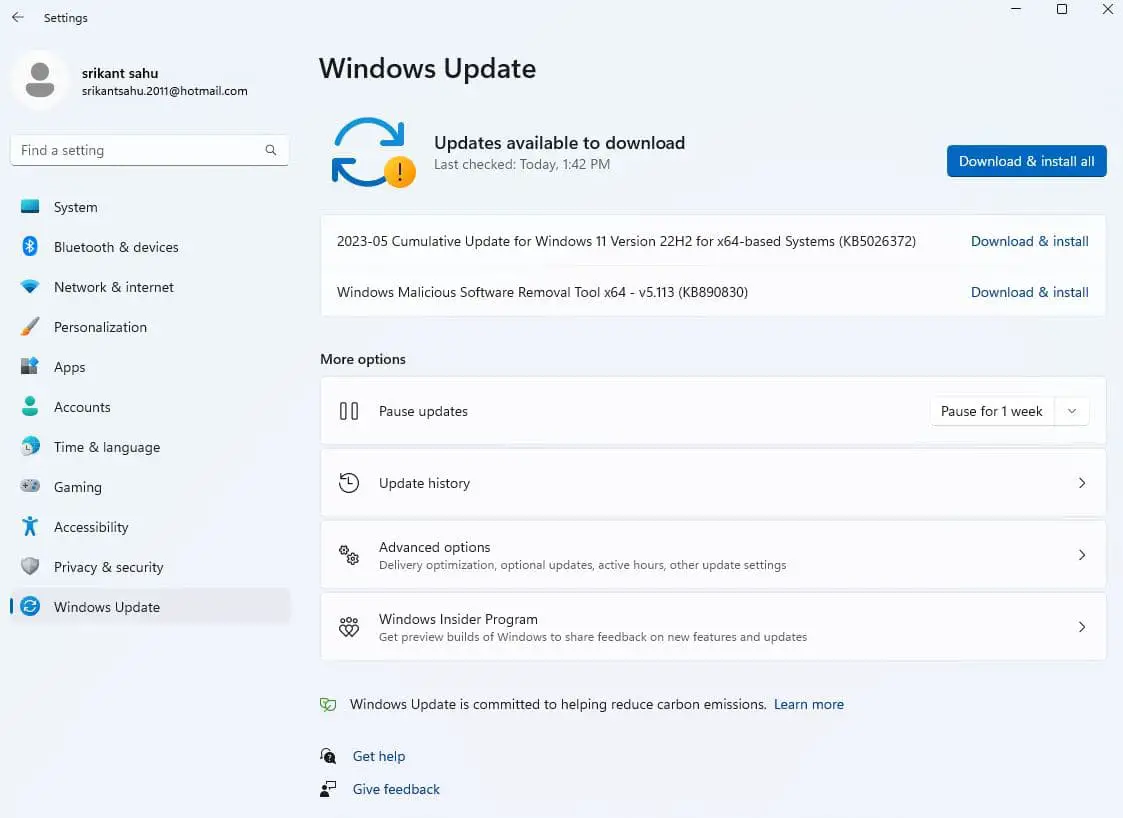
Update Windows 11: Ensure that your laptop is up to date with the latest Windows 11 updates. Microsoft frequently releases updates that include performance optimizations and bug fixes. Press the Windows key + I to open settings -> Go to Windows update -> Check for available updates -> Download and install pending updates -> Restart your PC to apply them.
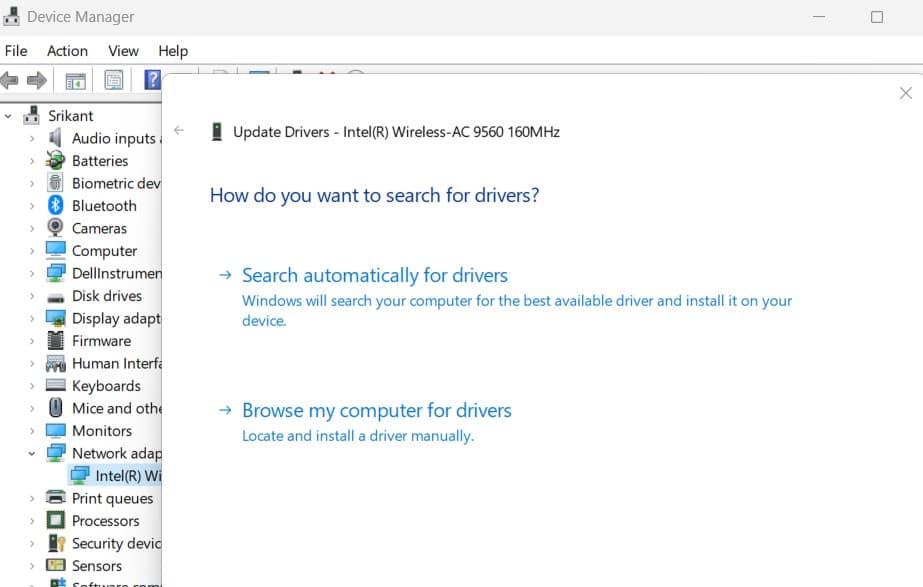
Update device drivers: Outdated or incompatible drivers can cause conflicts and impact system performance. Press Windows key + X and select Device Manager -> expand each section look if any driver is listed with a yellow exclamation mark. Right-click on it and select uninstall.
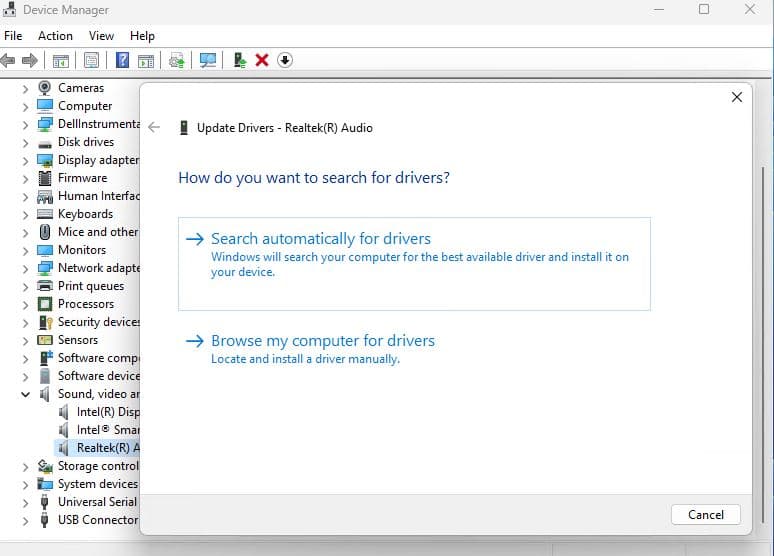
To update drivers, expand the category, for example, display adapter, -> right-click on display driver and select update driver option. Select search automatically or locate the updates driver manually.
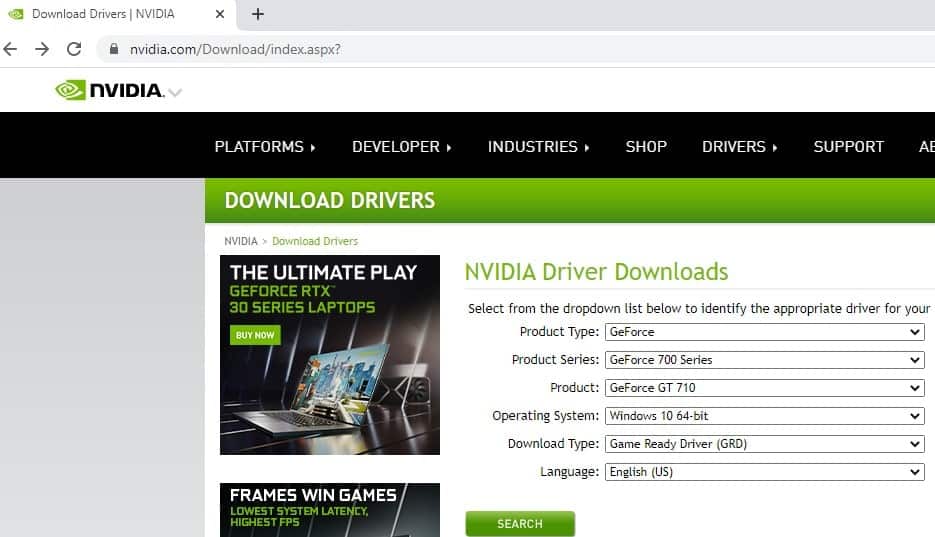
Also, you can visit the manufacturer’s website to download and install the latest device drivers.
Pay particular attention to graphics and chipset drivers, as outdated versions can impact performance.
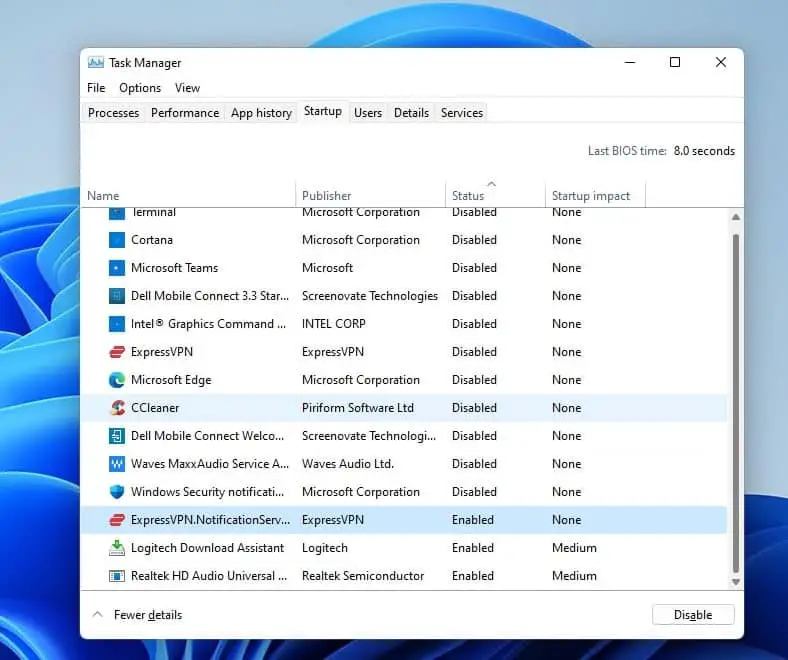
Optimize startup programs: Open the Task Manager (Ctrl + Shift + Esc), navigate to the “Startup” tab, and disable any unnecessary programs from launching during startup. This reduces the load on system resources.
Free Up Disk Space: Delete unnecessary files such as temporary files, old downloads, or unused applications to free up disk space. Use the built-in Disk Cleanup tool or third-party disk cleaning software.
Scan for Malware: Run a full system scan using reliable antivirus software to detect and remove any malware that may be causing performance issues.
Windows 11 update won’t install or stuck
Usually, windows update problems occur when there is a problem with the internet connection, the update database is corrupted or lack of a system driver.
Restart Your Computer: Sometimes, a simple restart can resolve temporary issues that might be interfering with the update installation process. Restart your computer and try installing the update again.
Check Internet Connectivity: Ensure that you have a stable internet connection. Unstable or slow internet connection can cause problems with downloading and installing updates. Consider connecting to a different network or restarting your modem/router.
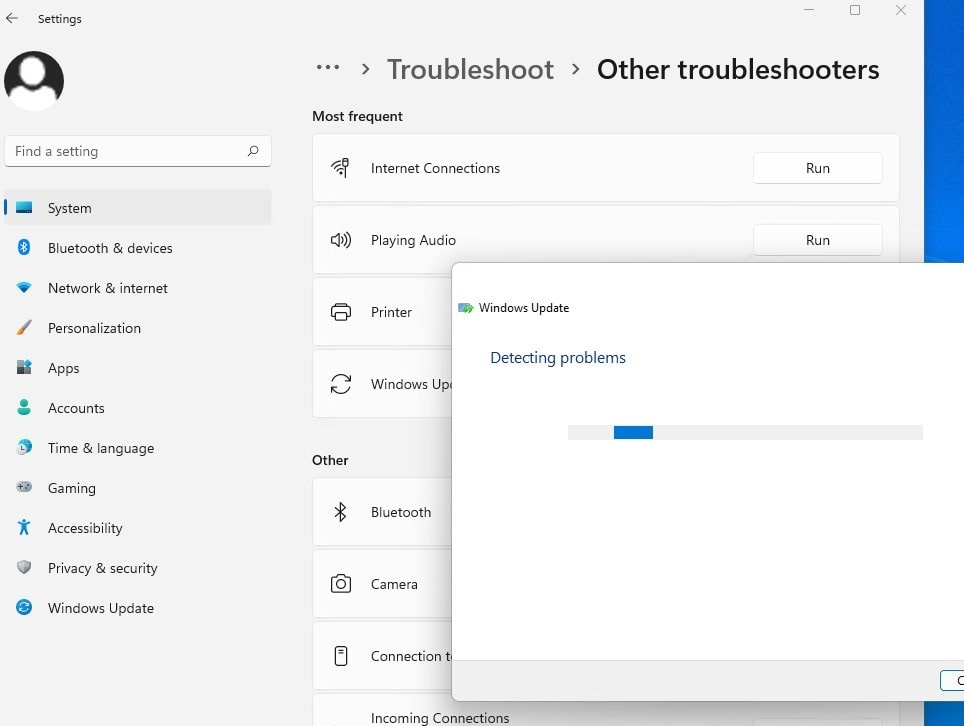
Run Windows Update Troubleshooter: Windows has a built-in troubleshooter designed to identify and fix issues with Windows Update. Open the “Settings” app, go to System then “Troubleshoot,” and click on other troubleshooter. Run the “Windows Update” troubleshooter.
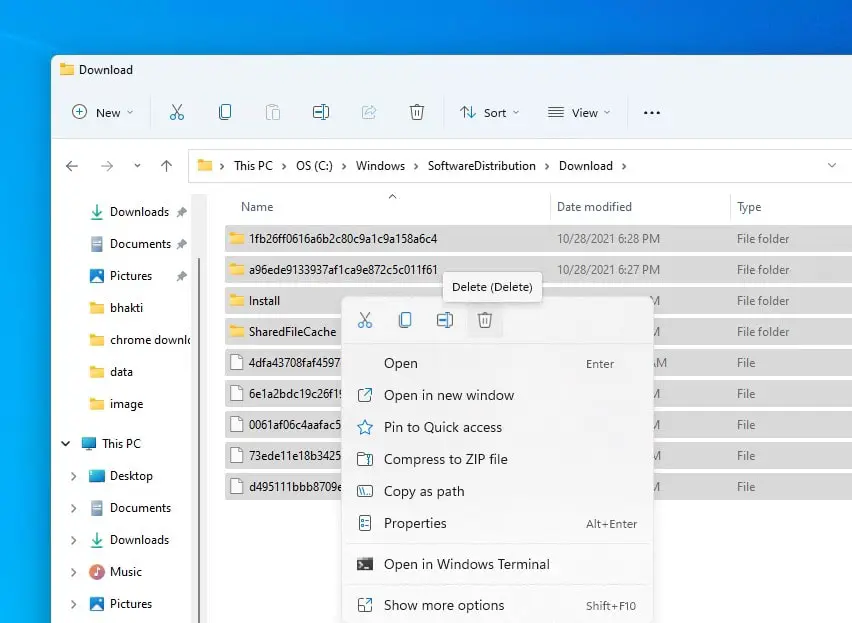
Reset Windows Update Components: Corrupted Windows Update components can cause installation failures. Open Windows services using services.msc right-click on Windows update and select stop. Press the Windows key + E and Navigate to C:\Windows\SoftwareDistribution\Download. Delete all file folders there and reboot your PC. Now try to install the Windows update again.
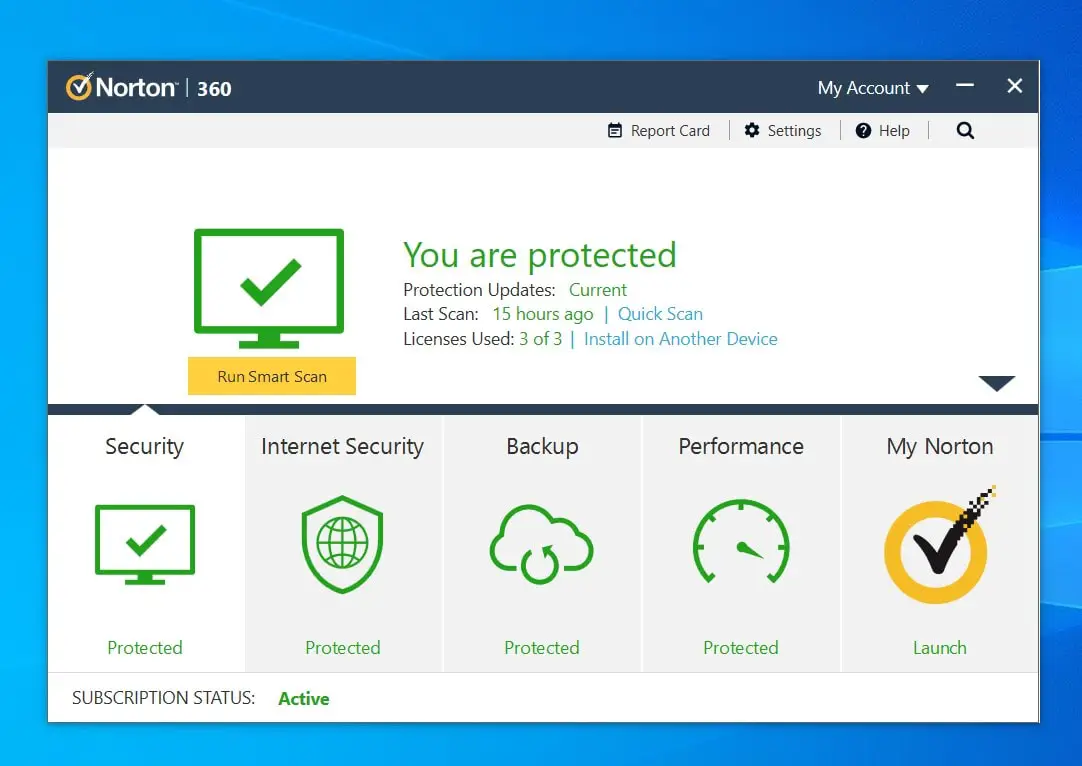
Disable Third-Party Antivirus: Antivirus software can sometimes interfere with the update process. Temporarily disable your third-party antivirus program and attempt the update installation again. Remember to re-enable it afterward.
Windows 11 blue screen error
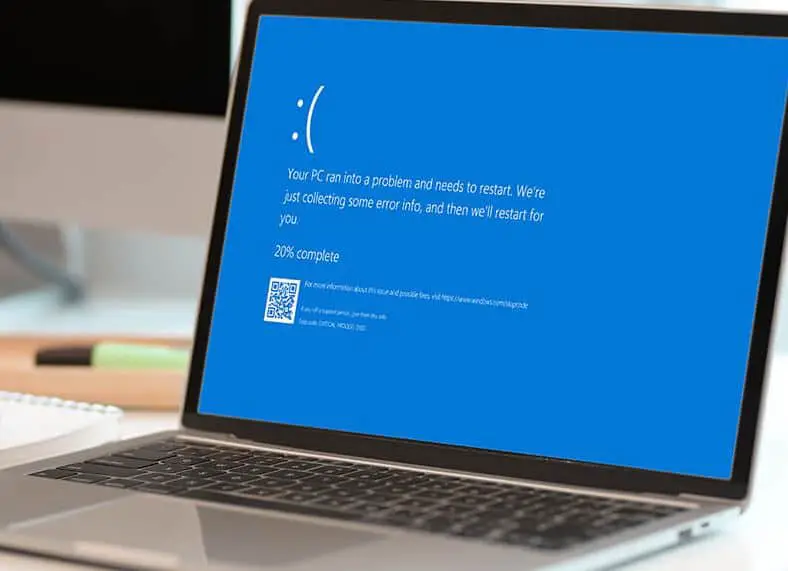
Blue screen errors are usually related to drivers. Again corrupted system files, virus or malware infection or hardware malfunction also cause different blue screen errors on Windows 11.
Most of time disconnecting all external devices and Restarting your computer can help resolve it. If the issue occurs frequently start Windows 11 in safe mode and apply the solutions below.
Update Device Drivers: Outdated or incompatible device drivers mostly trigger blue screen errors. Update your drivers, from Device Manager, especially those related to graphics, chipset, and network adapters. Also, you can visit the manufacturer’s website or use Windows Update to check for and install the latest driver versions.
Check Hardware Connections: Ensure that all hardware components are properly connected to your computer. Loose connections or faulty hardware can trigger blue screen errors. Try reseating components such as RAM, hard drives, and graphics cards.
Check for Windows Updates: Ensure that your Windows 11 operating system is up to date with the latest updates. Microsoft releases updates that include bug fixes and patches for known issues, which may help resolve the blue screen error.
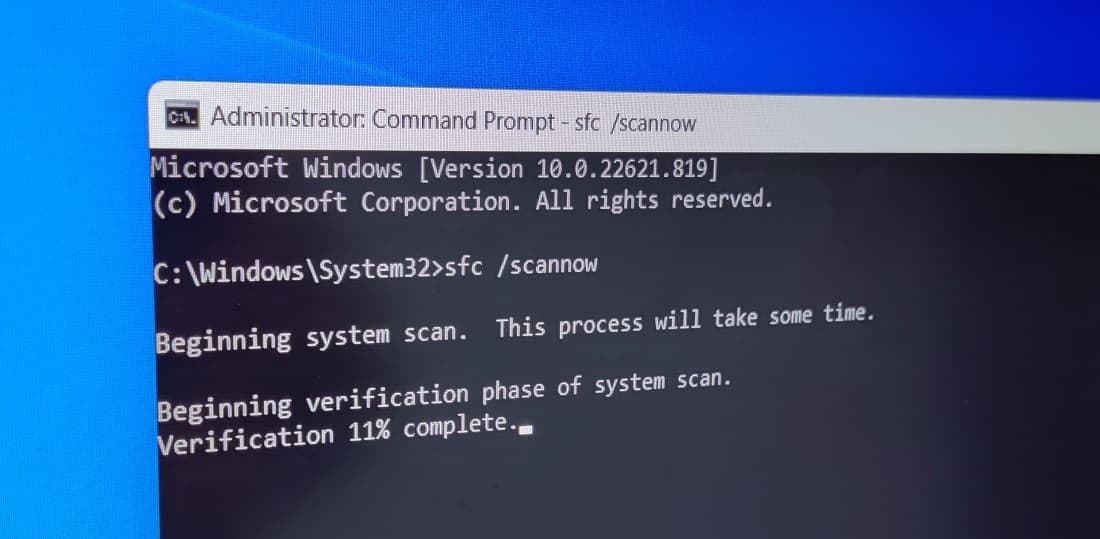
Repair System Files: Corrupted or missing system files can contribute to blue screen errors. Open the command prompt as administrator and run the system file checker command sfc /scannow to repair any corrupted system files on Windows 11.
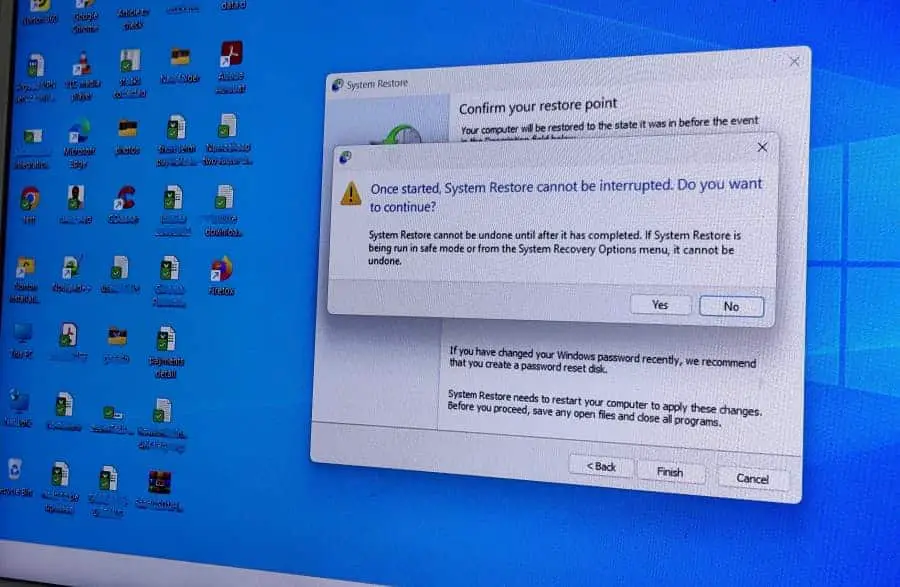
Use System Restore: If you have previously created a system restore point, you can use it to restore your computer to a previous state when it was functioning properly.
No sound after Windows 11 update
Outdated or Incompatible Audio Drivers are common reason behind this problem. Again Misconfigured Sound Settings or Hardware Connection Issues or related services not running cause this issue.
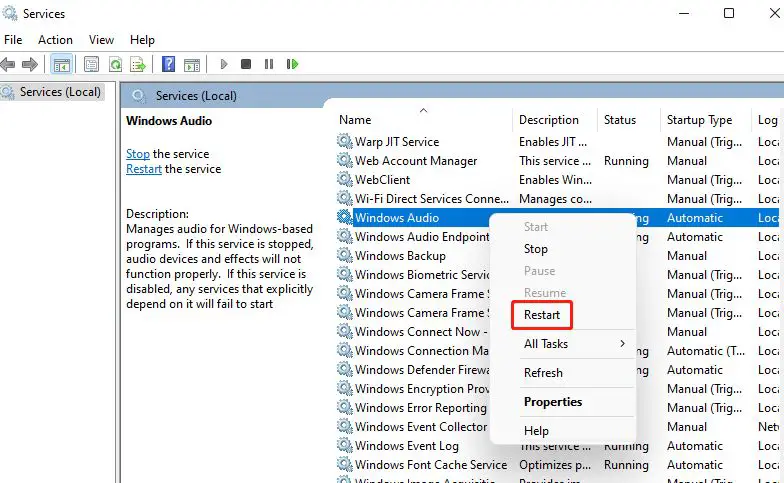
Restart Audio Service: Restarting the audio service can resolve software-related issues that may be causing the absence of sound. Press the Windows key + R, type services.msc and click ok. locate Windows audio service, right-click on it select restart. Similarly, locate and restart the “Windows Audio Endpoint Builder” service.
Outdated or Incompatible Audio Drivers: The update process may have overwritten or modified your audio drivers, leading to compatibility issues or outdated drivers that are no longer compatible with the updated operating system. Open Device Manager and reinstall the audio driver. Or visit the device manufacturer’s website to download and install the latest Audio driver.
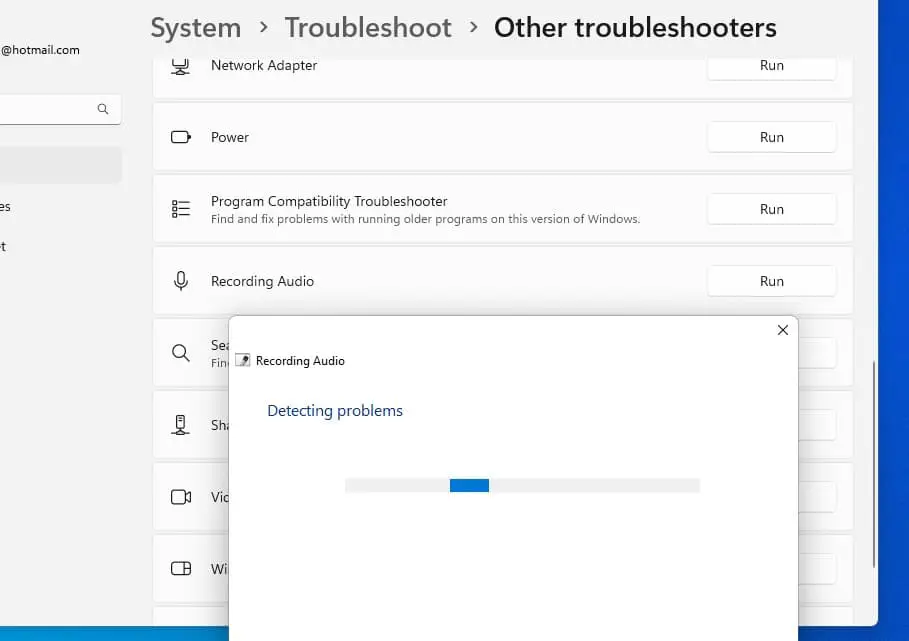
Run the Audio Troubleshooter: Windows 11 includes a built-in audio troubleshooter that can automatically detect and fix common sound problems. To run the audio troubleshooter Open settings. Go to system -> Troubleshoot -> Other troubleshooters. Click Run next to audio and Follow the on-screen instructions to let the troubleshooter identify and resolve any sound-related issues.
Check Sound Device Connection: Ensure that your speakers or headphones are properly connected to the audio output jack or USB port, depending on your setup. Try disconnecting and reconnecting them to ensure a secure connection.
Laptop WiFi disconnect frequently
Outdated or Incompatible Wi-Fi Drivers or Weak Wi-Fi signals are common reasons behind this problem.
Restart Your Router: Sometimes, the issue may be with the router. Restarting the router can help resolve temporary connectivity issues. Simply unplug the power cable, wait for a few seconds, and then plug it back in.
In addition, Weak Wi-Fi signals can cause frequent disconnections. Move closer to the router to ensure a stronger and more stable connection.
Update Wi-Fi Drivers: Outdated or incompatible Wi-Fi drivers can cause connectivity problems. Visit the manufacturer’s website or use Device Manager to check for and install the latest Wi-Fi drivers for your laptop.
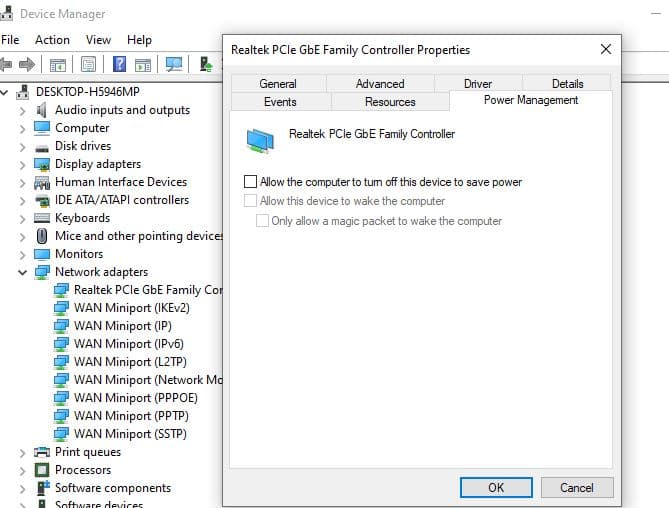
Disable Power Saving for Wi-Fi Adapter: Some laptops have power-saving features that may turn off or reduce the power to the Wi-Fi adapter. Open the “Device Manager,” locate your Wi-Fi adapter, go to its properties, and ensure that the option to “Allow the computer to turn off this device to save power” is unchecked.
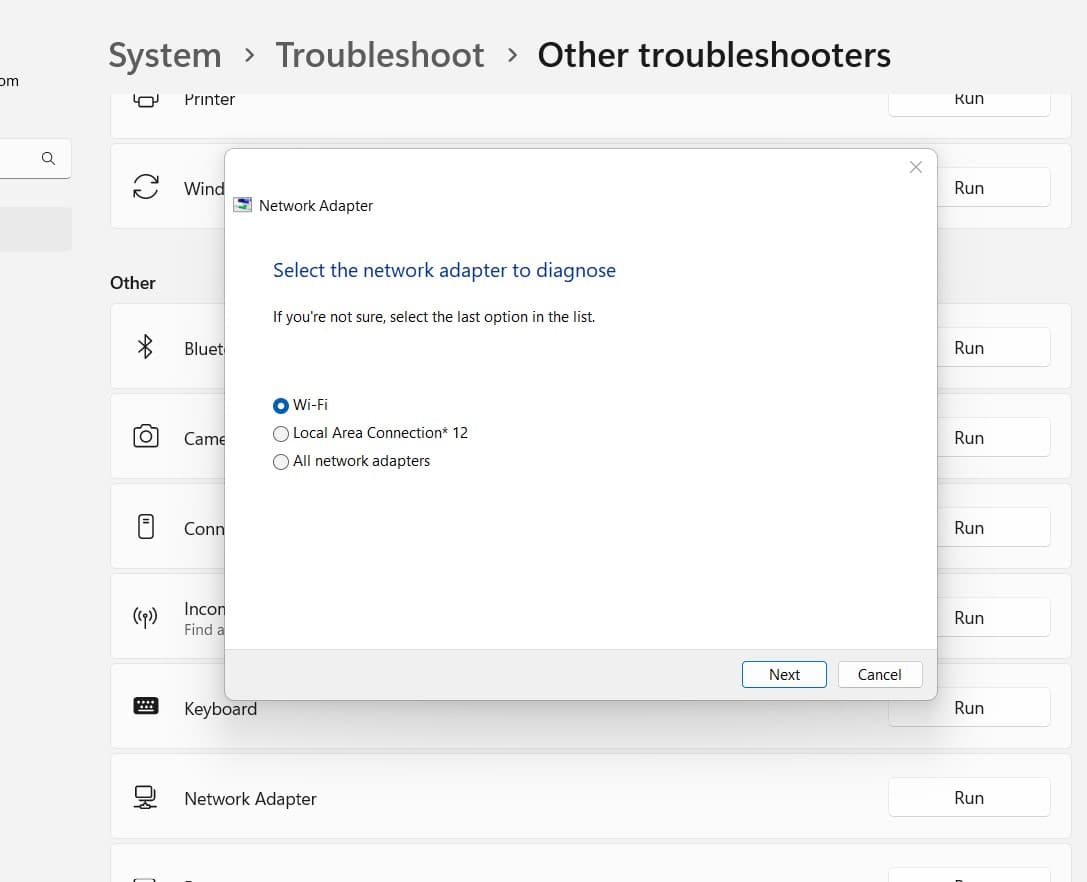
Run Network troubleshooter: Running the Windows 11 built-in troubleshooter can be a helpful step in addressing frequent Wi-Fi disconnections. Open settings Go to system -> Troubleshoot -> Other troubleshooters. Click Run next to the Network adapter and Follow the on-screen instructions to let the troubleshooter identify and resolve any issues.
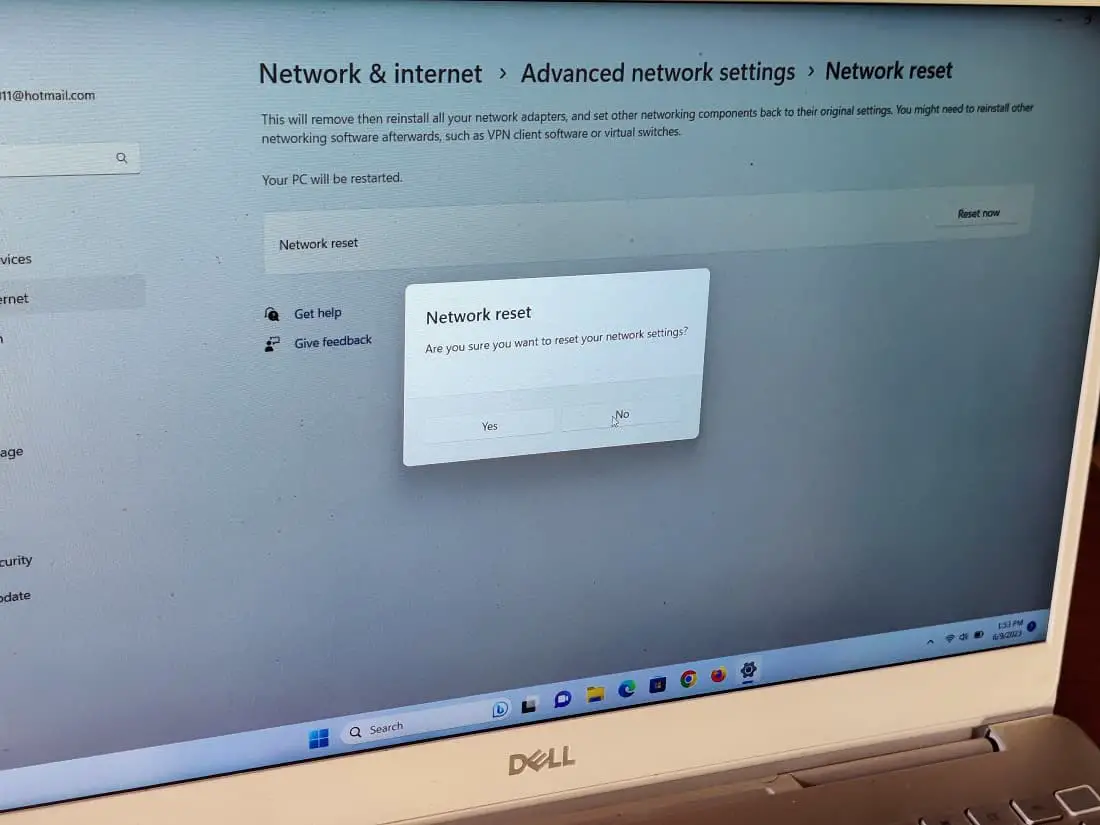
Reset Network Settings: Resetting the network settings can help fix underlying network configuration issues. Open the “Settings” app, go to “Network & Internet,” select “Advanced network settings,” and click on the “Network reset” then Reset Now option. Note that this will remove saved Wi-Fi networks and other network-related settings.
Windows 11 Start menu not responding
It may be due to a Software Glitch or corrupted system files Windows 11 start menu not working.
Software Glitch: Temporary software glitches or conflicts can cause the Start menu to stop responding. This can occur due to various factors, including system updates, incompatible software, or background processes. Restarting your computer resolves temporary glitches and restores the functionality of the Start menu.
Corrupted System Files: System files associated with the Start menu can become corrupted, leading to its unresponsiveness. This can happen due to issues like improper shutdowns, malware infections, or hardware problems. Run the system file checker command sfc /scannow to repair corrupt system files and fix the problem.
User Account Issues: Problems within the user account profile, such as damaged or misconfigured settings, can impact the performance of the Start menu. Open the “Settings” app, go to “Accounts,” select “Family & other users,” and click on “Add account.” Follow the prompts to create a new user account. Sign in to the new account and observe if the Start menu works correctly.
Clear Start Menu Cache: Corrupted or outdated cache files can affect the performance of the Start menu. Open File Explorer and copy and paste the following path into the address bar: %LocalAppData%\TileDataLayer\Database Press Enter to navigate to the folder. Delete all the files present in that folder. This action will clear the Start menu cache, and the system will regenerate the necessary files.
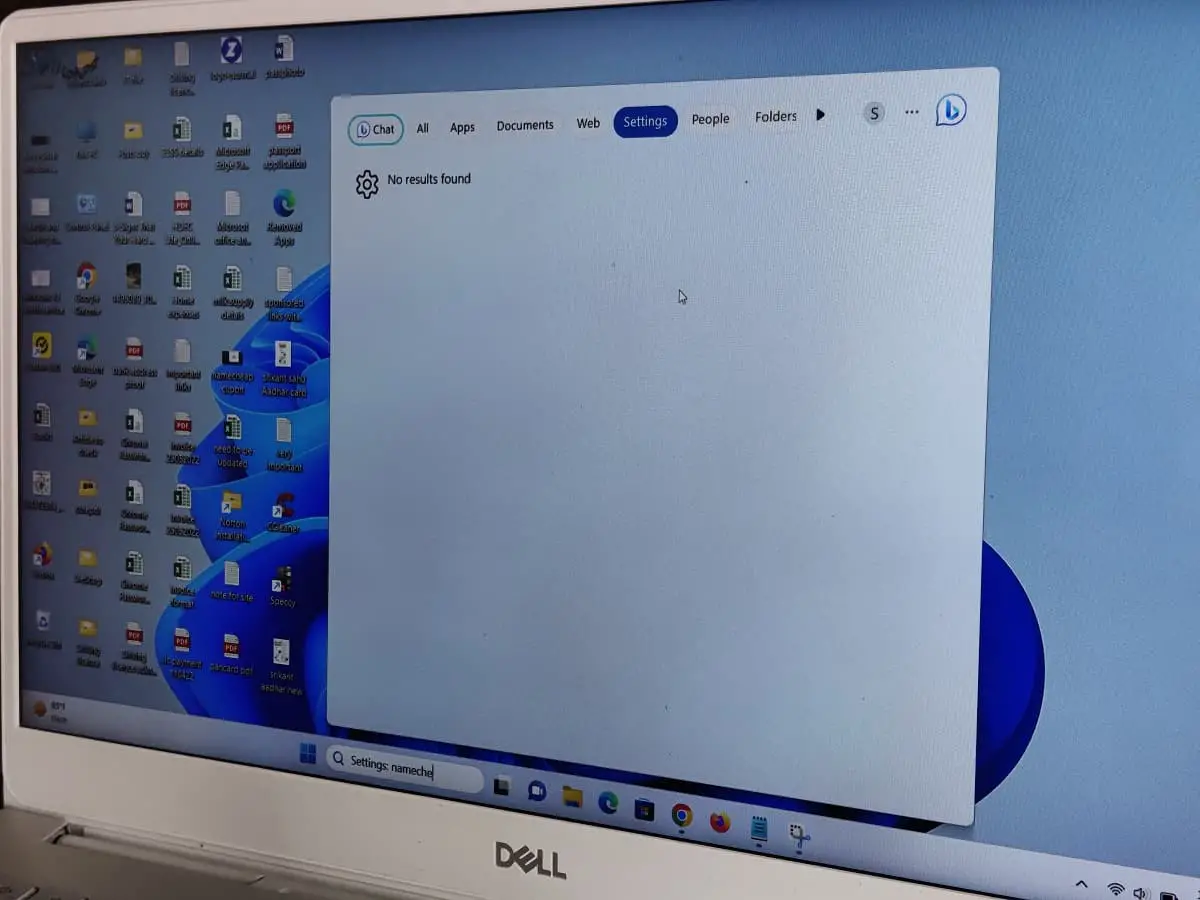
Windows 11 search results not showing
This issue usually occurs if the Windows search service not running or the indexing process is incomplete or corrupted. A simple restart can resolve temporary glitches and restore the functionality of the search feature.
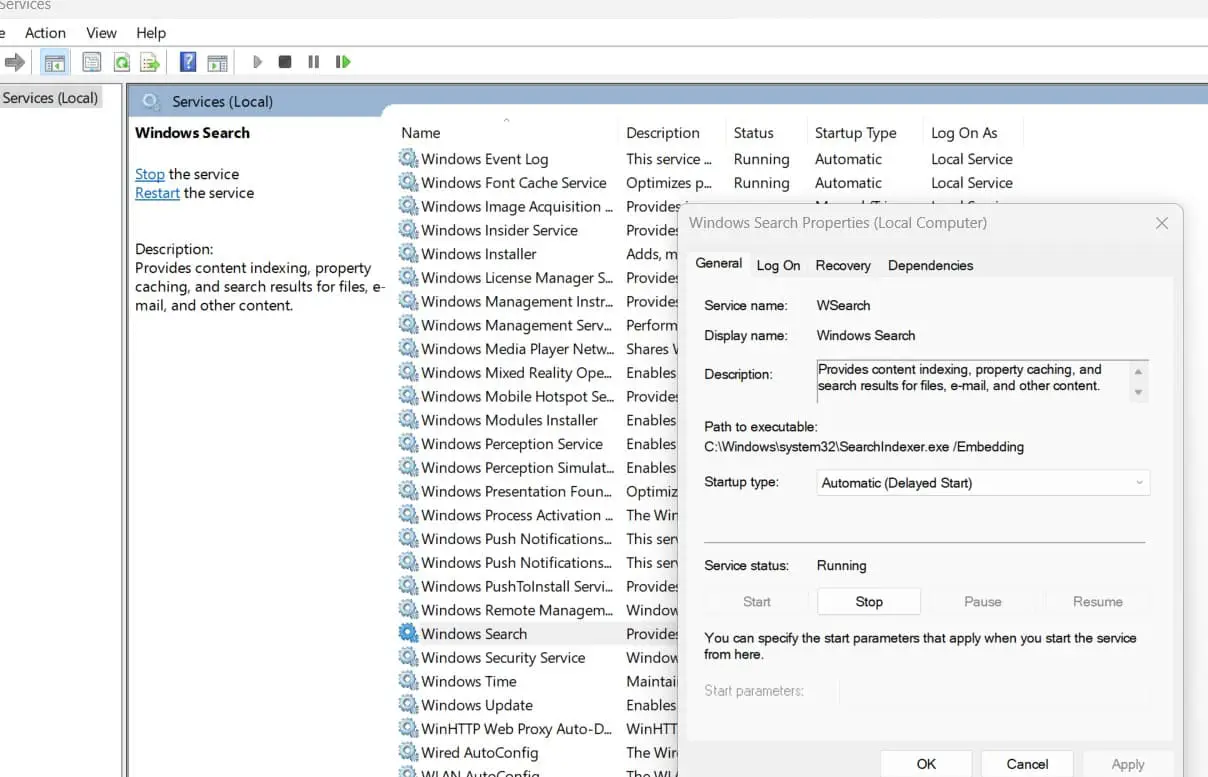
Restart the Windows search service: This will help resolve underlying problems that may be causing the search feature to malfunction. Press the Windows key + R, type services.msc and click ok. Locate the Windows search service right click on it select restart. If the option is grayed out, select “Properties” and click on the “Stop” button, then click on the “Start” button.
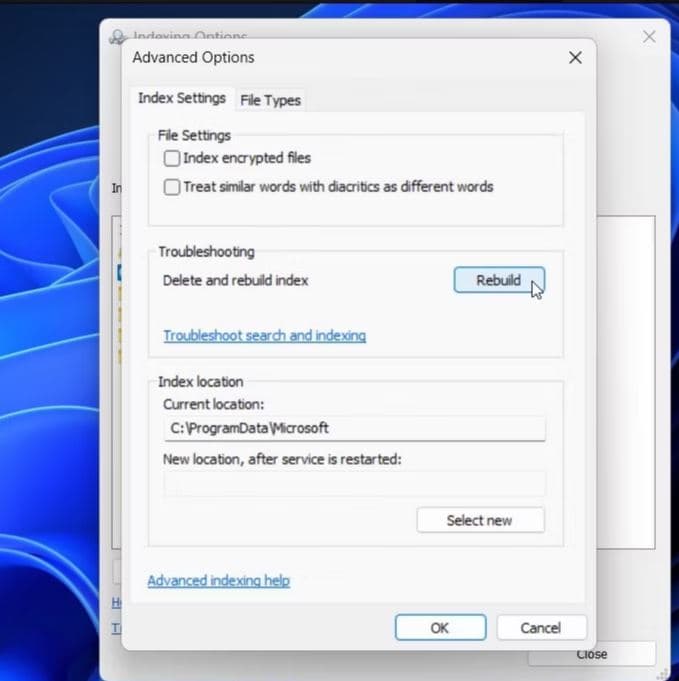
Rebuild the Search Index: If the search index is corrupted, rebuilding it can help resolve search-related issues. Go to Settings> System then Storage. Click on “Advanced storage settings” and then choose “Indexing options.” Click on the “Advanced” and then “Rebuild” button under the Troubleshooting section.
Check Windows Search Settings: Ensure that the necessary search settings are enabled. Open the “Settings” app, go to “Privacy & Security,” select “Search,” and verify that the following options are turned on:
“Allow search to provide enhanced suggestions as you type.”
“Search online and include web results.”
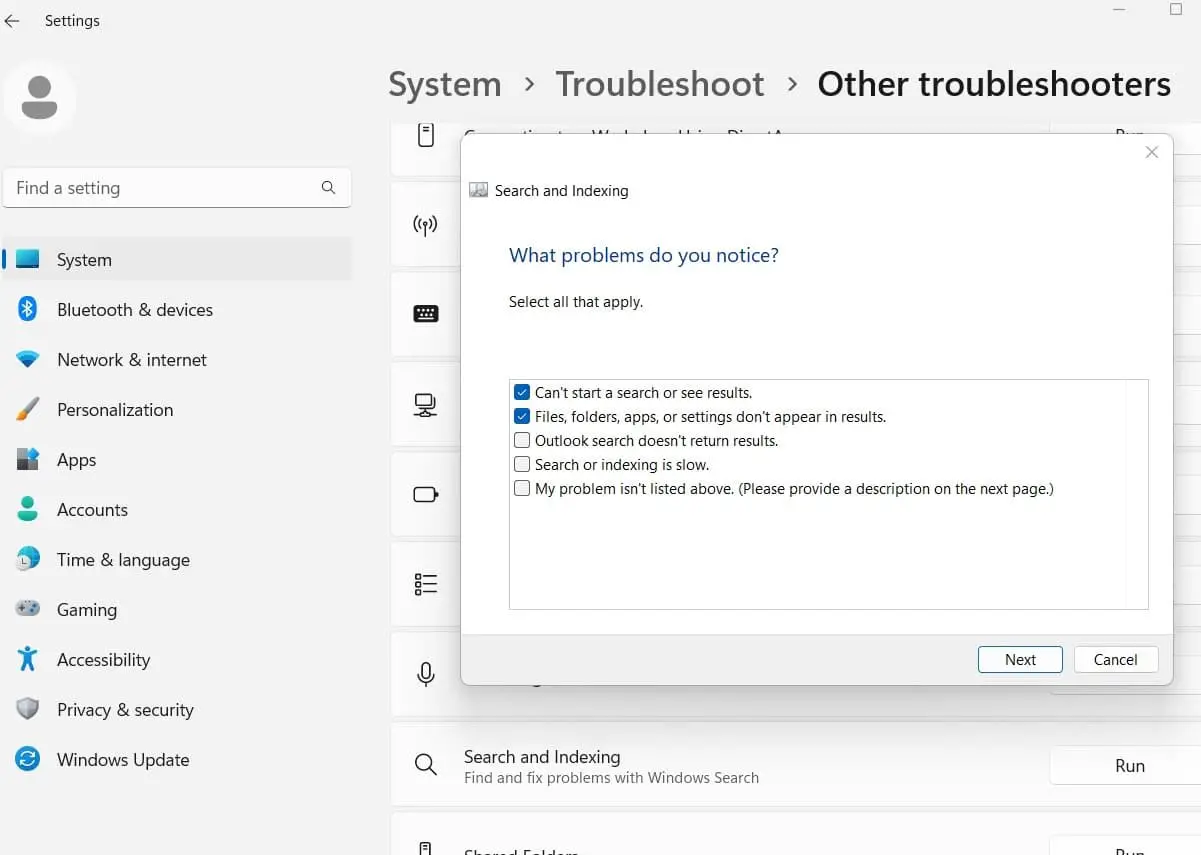
Run Search Troubleshooter: In addition open settings -> Go to system -> Troubleshoot -> Other troubleshooters. Click Run next to search and index, select your problem and follow on-screen instructions.
Create a New User Account: If the search function still doesn’t work, you can try creating a new user account. Open the “Settings” app, go to “Accounts,” select “Family & other users,” and click on “Add account.” Follow the prompts to create a new user account. Sign in to the new account and check if the search feature works correctly.
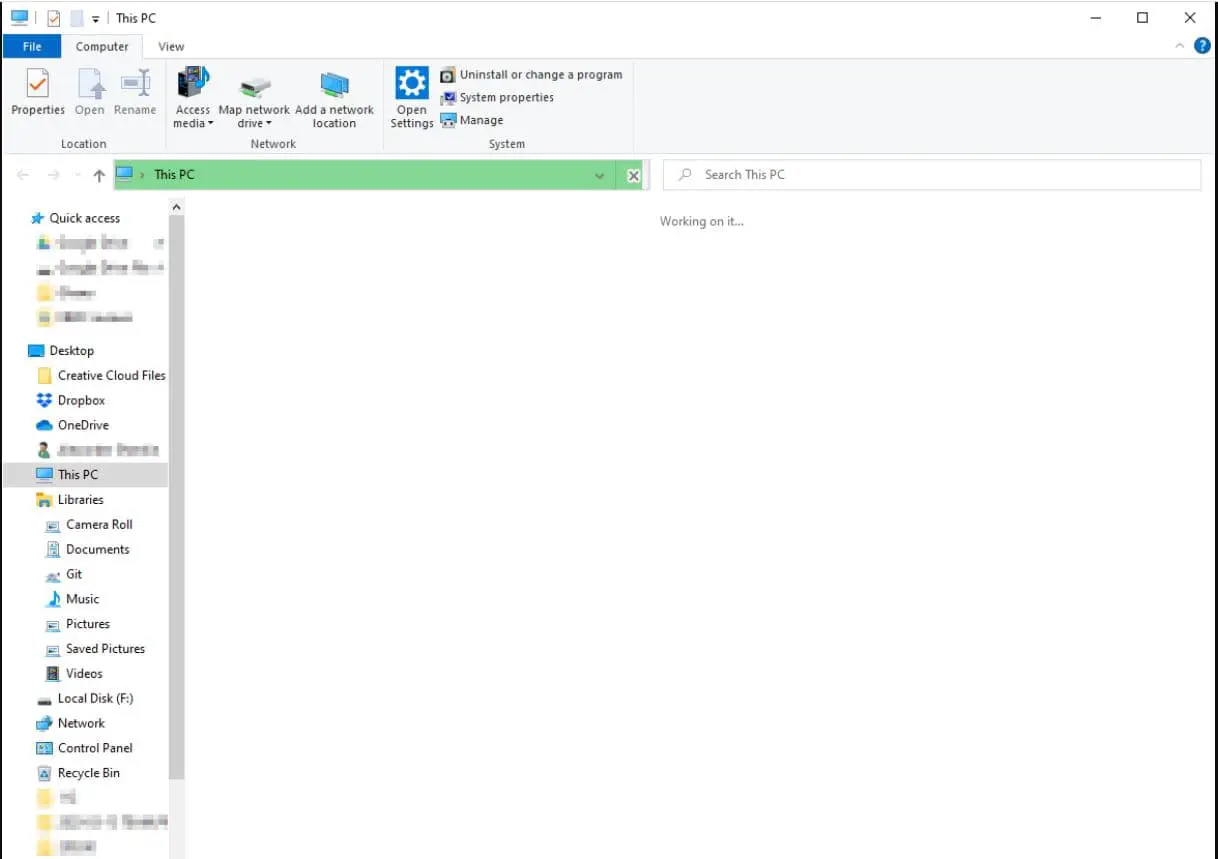
File explorer crashes not responding
Corrupted System Files or Conflicts with Third-Party Shell Extensions are common reasons behind this problem. Restart Windows 11 to resolve temporary issues causing File Explorer problems.
Update Windows and drivers: Keeping your Windows 11 operating system and drivers up to date can ensure compatibility and fix known issues. Use the Windows Update feature to check for available updates. Also, you can update the driver from the Device Manager or download the latest driver from the device manufacturer’s website.
Run System File Checker (SFC): SFC is a built-in Windows tool that scans for and repairs corrupted system files. Open Command Prompt as an administrator, run the command “sfc /scannow,” and allow the scan to complete.
Disable suspicious shell extensions: Use tools like ShellExView to identify and disable third-party shell extensions that might be causing conflicts with File Explorer.
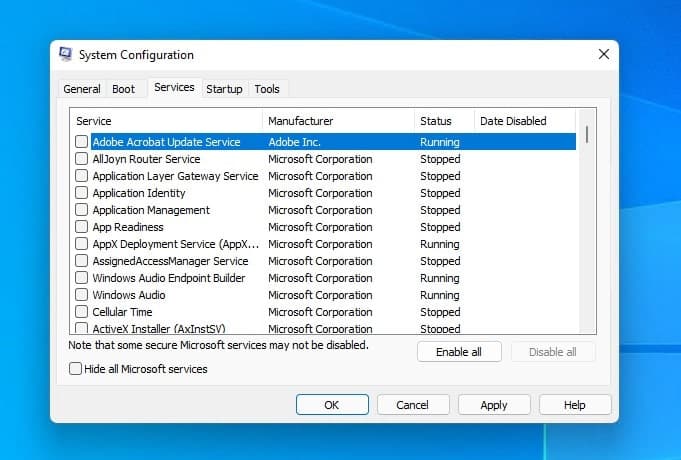
Perform a clean boot: Start Windows in a clean boot state to identify if any conflicting software or services are causing File Explorer issues. Disable non-essential startup items and services using the System Configuration tool.
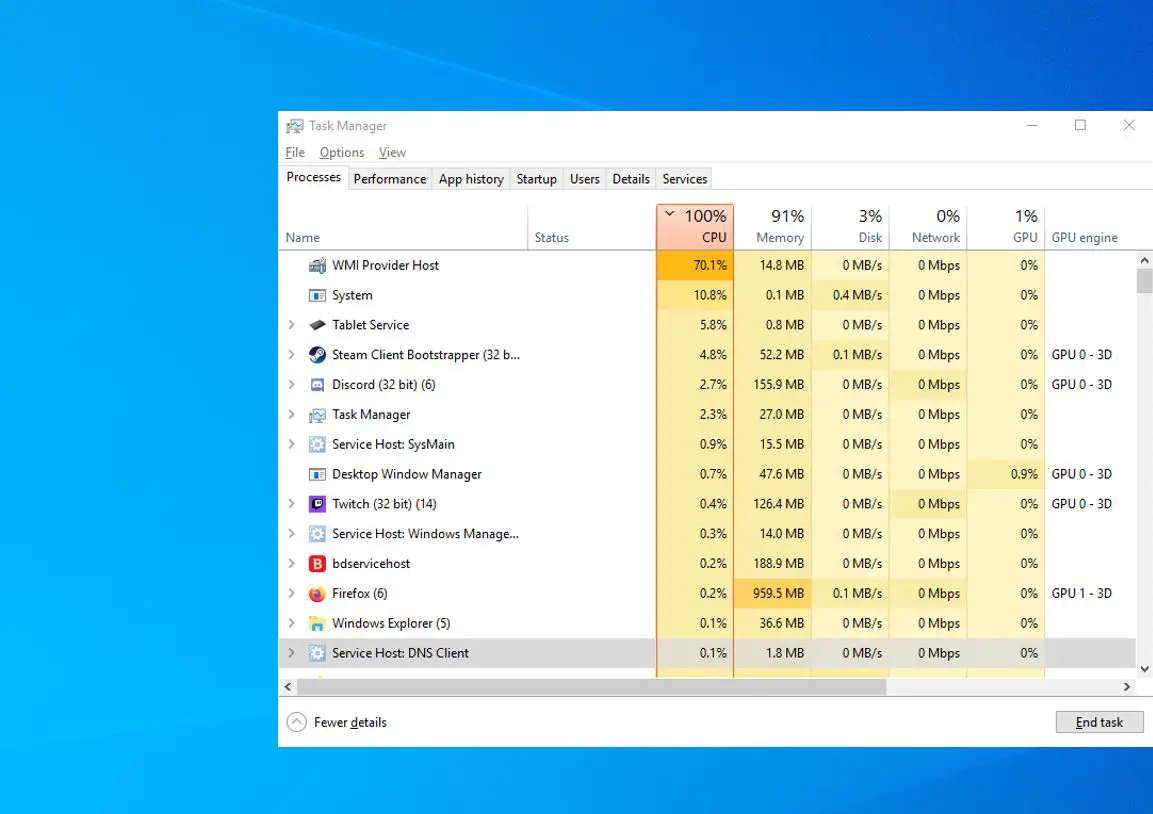
Windows 11 high CPU usage
This issue can impact system performance and responsiveness. Certain background processes or Malware or Virus Infections are common reasons for Windows 11 high CPU usage problems.
Check for Resource-Intensive Programs: Certain programs, such as video editors or games, can utilize high CPU resources. Consider closing or limiting resource-intensive programs when not in use to reduce CPU usage.
Perform a Clean Boot: A clean boot starts Windows with a minimal set of drivers and startup programs, helping to identify if third-party software is causing high CPU usage. Follow the clean boot instructions provided by Microsoft support.
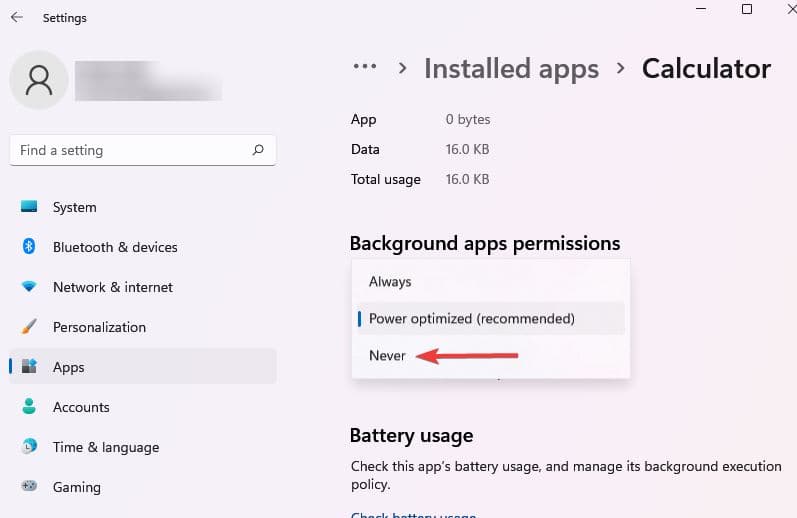
Disable Background Apps: Certain background apps and processes may consume CPU resources unnecessarily. Go to the “Settings” app, select “Privacy,” choose “Background apps,” and disable apps that you don’t need running in the background.
Disable Startup Programs: Some programs may automatically start with Windows and contribute to high CPU usage. Open the Task Manager, go to the “Startup” tab, and disable unnecessary programs from starting automatically.
Scan for Malware: Malware or viruses can significantly impact CPU usage. Use a reputable antivirus or antimalware software to perform a full system scan and remove any detected threats.
In addition, Hardware issues, such as a malfunctioning CPU or inadequate cooling, can cause the CPU to work harder and lead to high CPU usage.
Also read:
- Firefox is very slow loading webpages, How To Make Firefox Faster?
- [solved] System Restore Did Not Complete Successfully Windows 11
- Solved: Your DNS Server Might Be Unavailable In Windows 10
- 5 ways to fix Fingerprint Sensor Not Working in Windows 11
- 6 ways to fix Discord High CPU usage problem in Windows 11
