Windows 11 version 23H2 is the latest operating system from Microsoft, and it is available free Upgrade for compatible Windows 10 devices. The latest Windows 11 comes with a ton of new features like a Centralized Start Menu, Different Widgets, Copilot (AI assistant), snap layouts and snap groups, AI features in Paint, Photos app, snipping tool and more. Also, Microsoft announced stop support for Windows 10 in 2025 and recommended Upgrade Windows 11 for the latest features and enhancements. If yet you have not upgraded, here is How to Download and Install Windows 11 For FREE. The only thing you need to ensure your device meets minimum system requirements for Windows 11 that’s a 64-bit processor, TPM 2.0, and UEFI (Secure boot enabled).
Windows 11 Minimum system requirements
As Microsoft noted on their release note, the Windows 11 Free upgrade is applicable only for compatible devices running Windows 10 version 2004 and later. Before you begin, it’s crucial to ensure that your PC meets the minimum system requirements for Windows 11.
Your Device must have the following specifications to get Windows 11 free upgrade.
- Processor: 1 gigahertz (GHz) or faster with 2 or more cores on a compatible 64-bit processor or System on a Chip (SoC)..
- Minimum 4 gigabytes (GB) of RAM and 64 GB or larger storage device
- Trusted Platform Module (TPM) version 2.0 and System firmware UEFI, Secure Boot capable.
- A graphics card that is Compatible with DirectX 12 or later with WDDM 2.0 driver.
- A display that has a resolution of at least 720p and a diagonal size of at least 9 inches
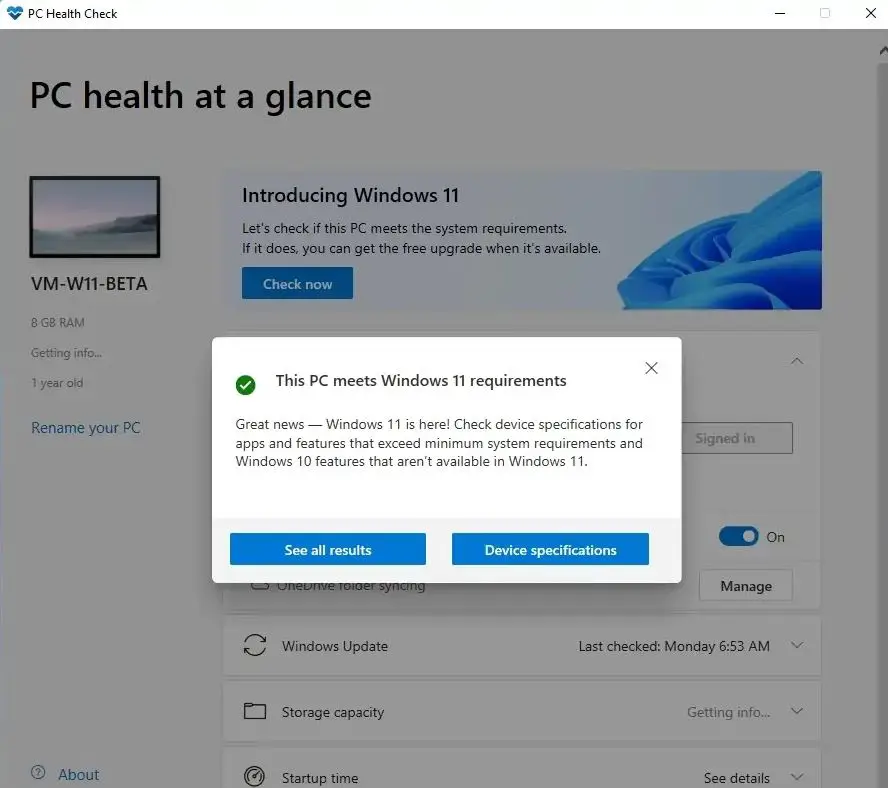
Also, you can run the Official PC Health Check app from Microsoft to check if your PC meets these requirements. You can download it from here: https://aka.ms/GetPCHealthCheckApp.
Download and install the app, open the and click check now to get your device information includes your PC meets Windows 11 requirements or not.
Note: Also, there is a registry tweak to install Windows 11 on unsupported devices.
How to Install Windows 11
If your device meets the above system requirements, here is How to Download Install Windows 11 For FREE. Well before making any major changes to your operating system, it’s always good practice to back up your important data. It’s useful if something goes wrong during the upgrade, you can backup important data to an external drive or cloud storage.
Once you have verified that your PC is compatible with Windows 11, you can proceed to download and install it. There are two ways to do this: either through Windows Update or by using a USB flash drive.
Download and Install Windows 11 through Windows Update
This is the easiest and most recommended way to upgrade your PC to Windows 11. You just need to have a stable internet connection and enough battery power. Here are the steps to follow:
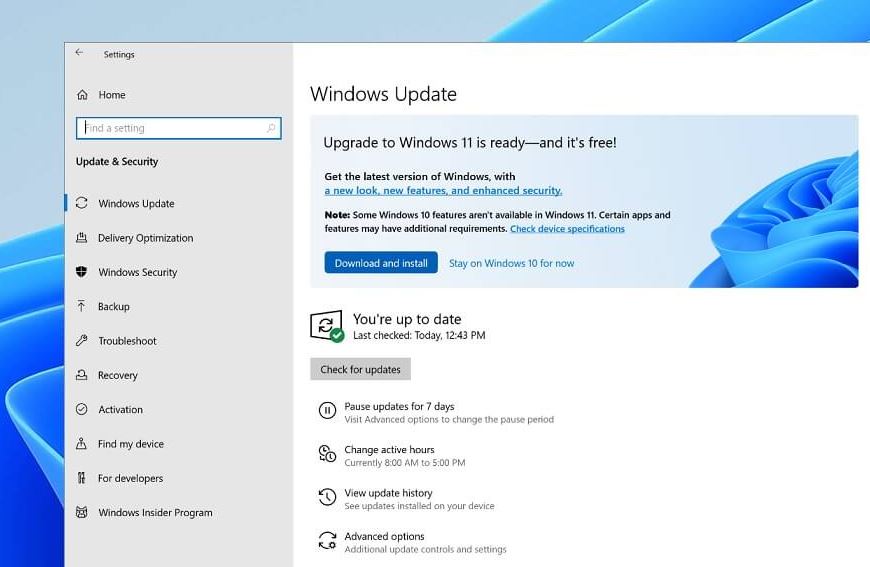
- Press the Windows key + I to open Settings
- Go to Update & Security then Windows Update and Click on Check for updates.
- If Windows 11 is available for your PC, you will see a message saying “The Windows 11 upgrade is ready for your device”.
- Click on Download and install. This will start downloading the Windows 11 installation files in the background.
The update download and installation may take some time depending on internet speed and hardware configuration.
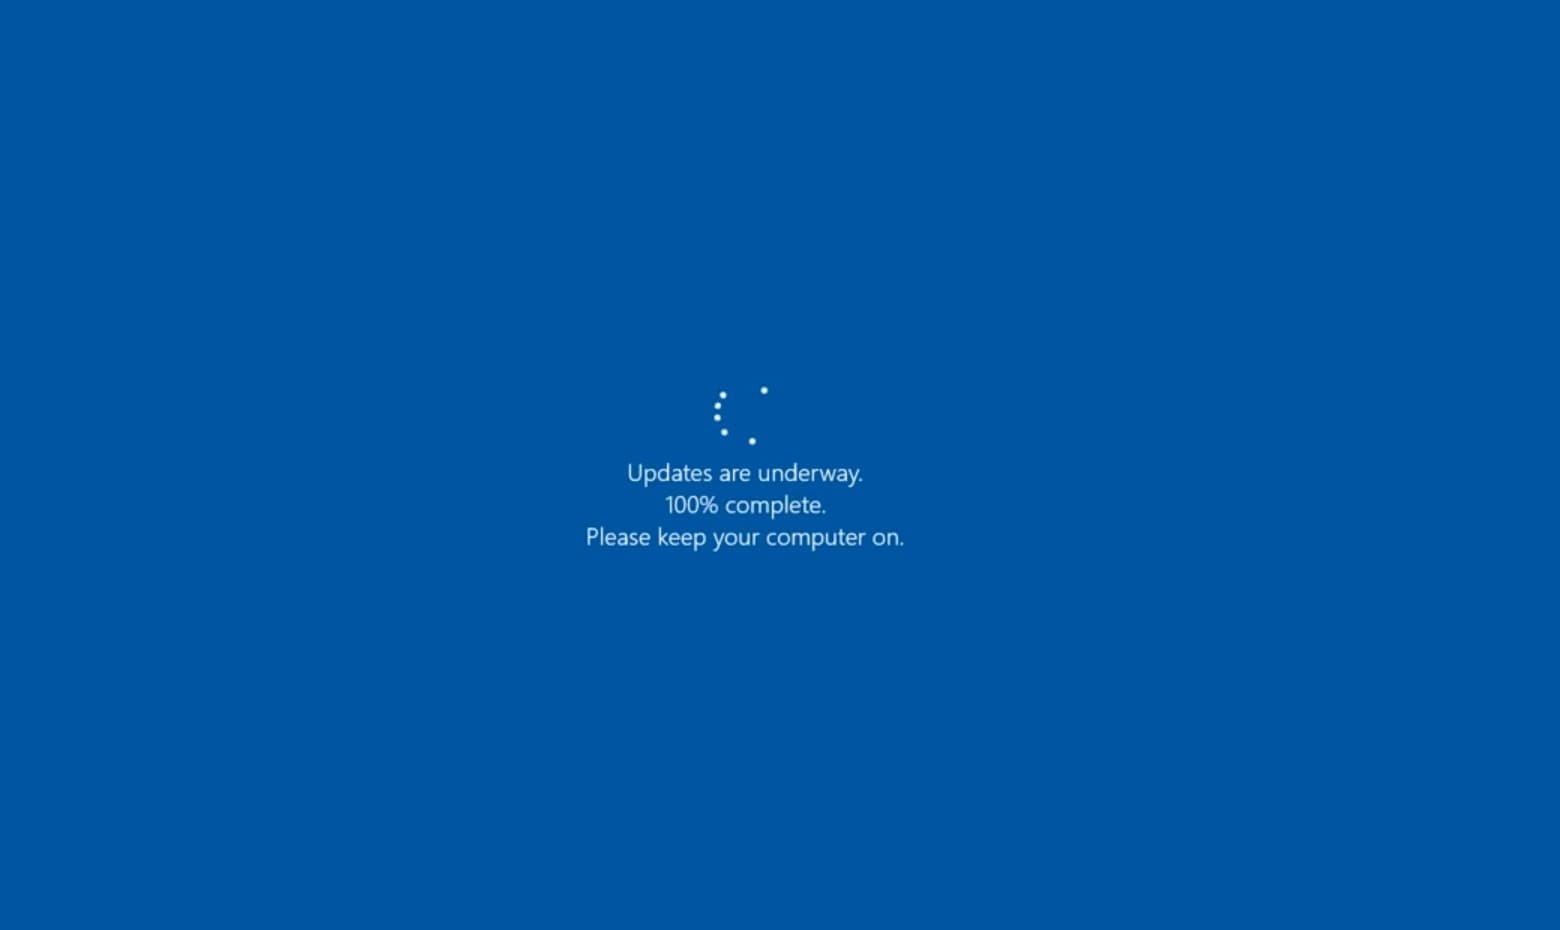
Once the download is complete, you will be prompted to restart your PC to begin the installation process.
- Follow the on-screen instructions to complete the installation. This may take some time, so be patient and do not turn off your PC.
- After the installation is finished, you will be greeted by the new Windows 11 setup screen.
Here you can customize your settings, sign in with your Microsoft account, and enjoy the new features of Windows 11.
Install Windows 11 using the official Installation Assistant
Did you experience difficulty Upgrade Windows 11 via Windows update or get an installation error? In such case you can use the official Windows 11 Installation Assistant to upgrade Windows 10 to Windows 11 for free. Again, using this method, you’ll have to ensure your PC meets Microsoft’s minimum requirements.
First Visit Microsoft’s Windows 11 download website. Look at the top for the Windows 11 Installation Assistant option and click the blue Download now button.
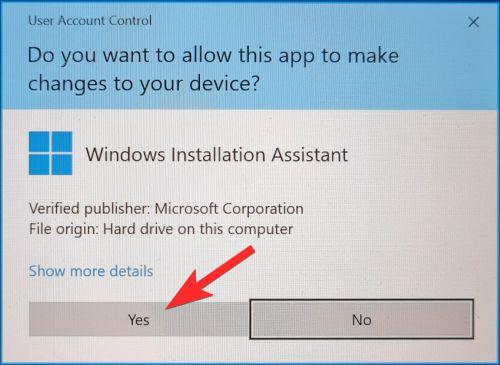
- Locate the installer, right-click on it select run as administrator, and click yes when it prompted.
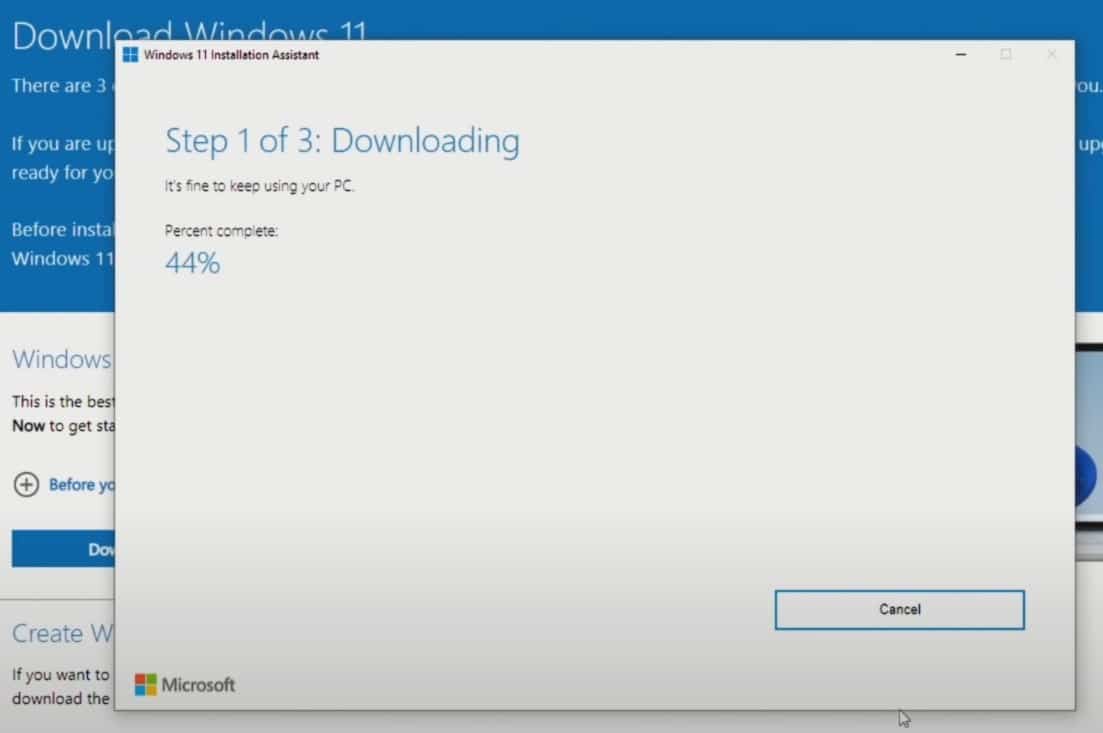
Wait for Windows 11 to download as part of the first step. It could take a while depending on your connection speed. You might be prompted to agree to the Microsoft terms and service.
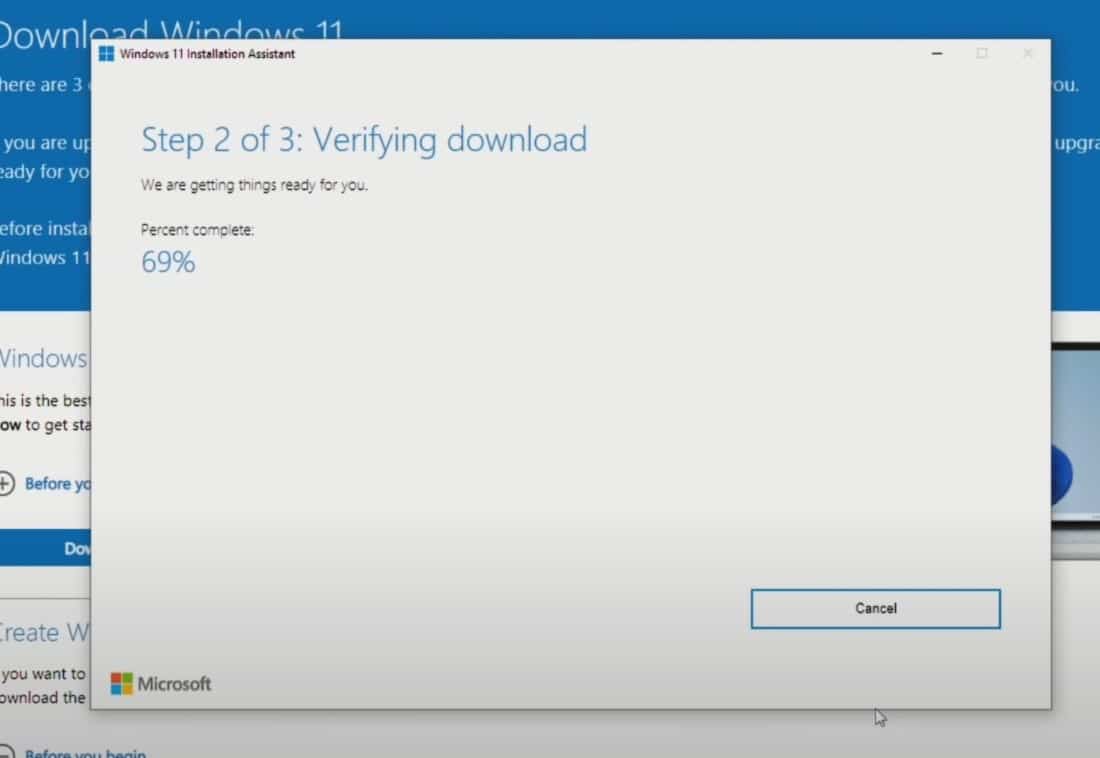
Next Windows 11 will verify the integrity of your download. It should take a few seconds.
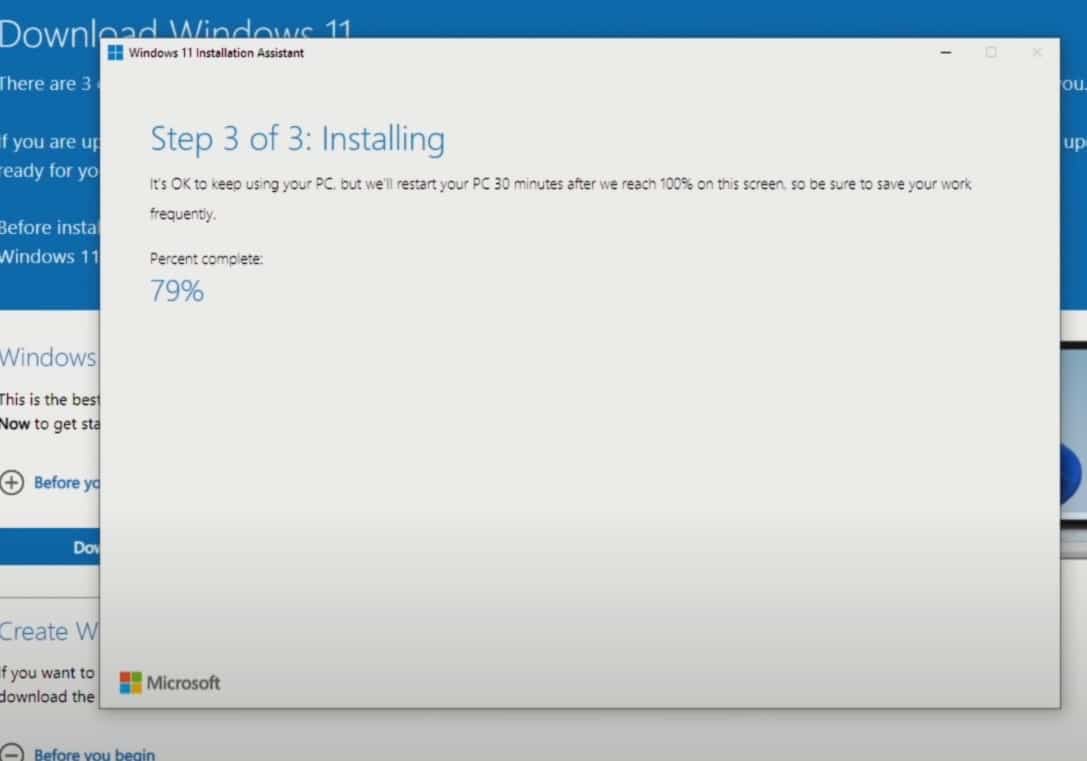
And finally, it will start installing Windows 11 in the background, Let it install and wait it out. Depending on the speed of your PC, it could take a while — usually 30 minutes, tops.
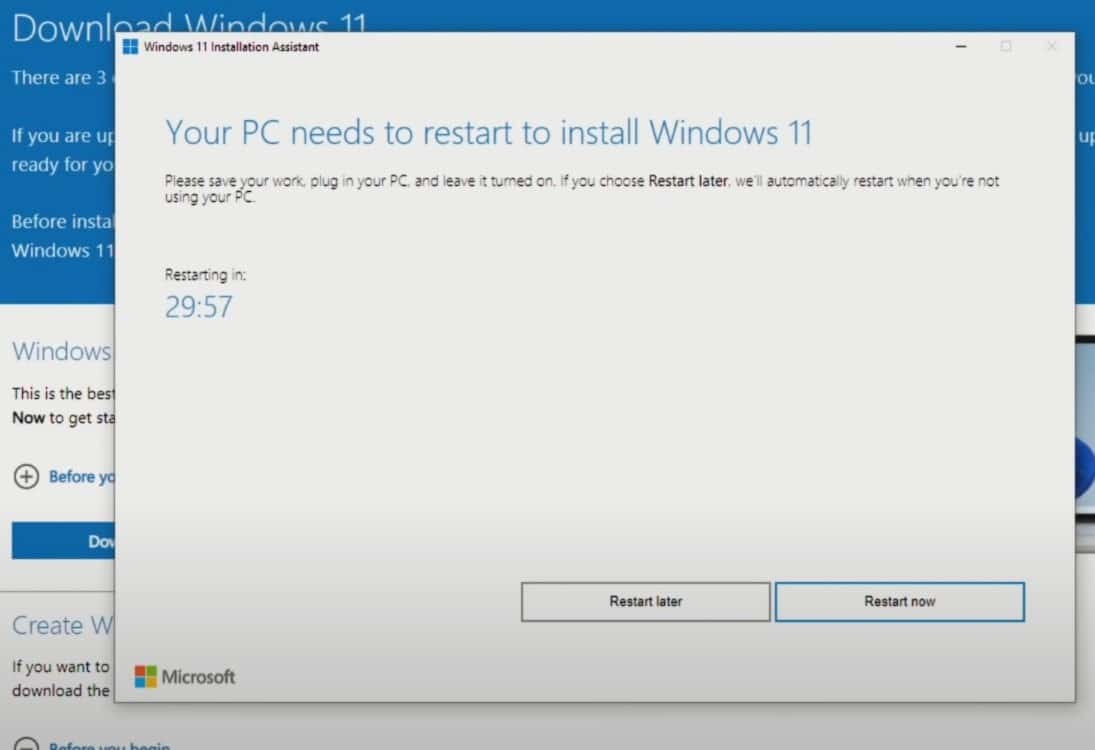
- Once the installation is complete, click the Restart Now button. You’ll be prompted that you are about to be signed out. Wait while your PC restarts and installs Windows 11.
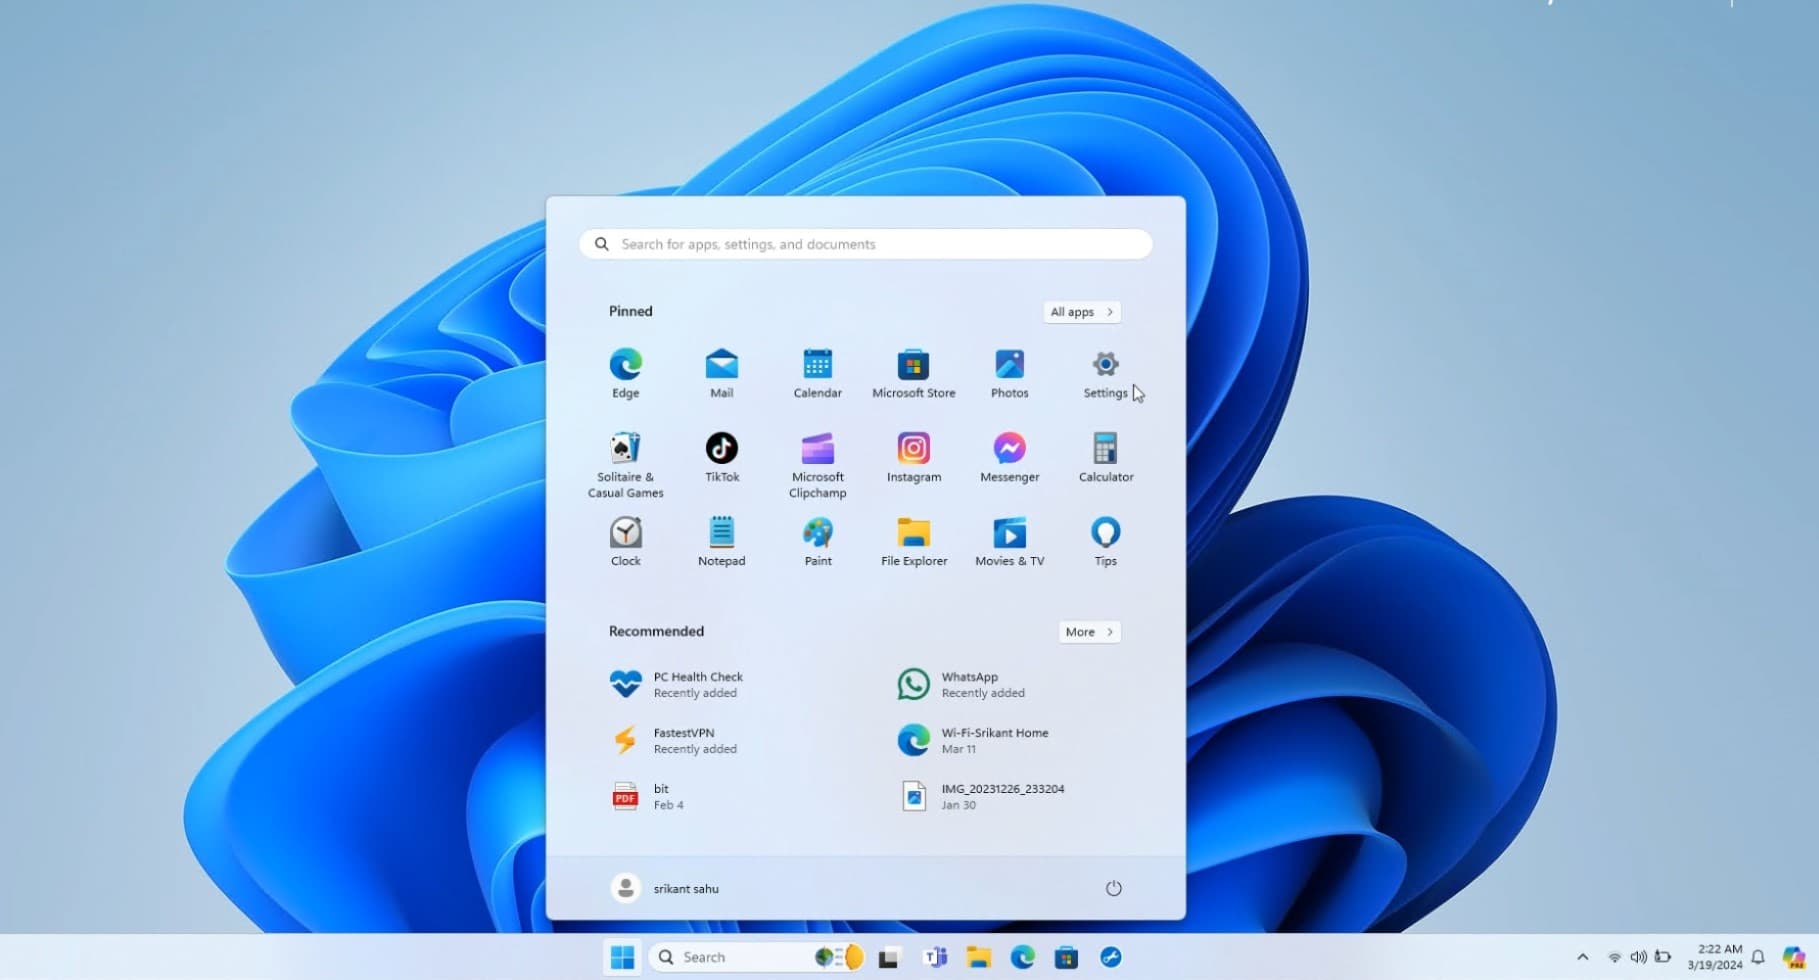
It could take up to 30 minutes or an hour based on the speed and age of your PC and your CPU. Once complete, you’ll be taken to the sign-in page, and then the Windows 11 desktop.
Download and Install Windows 11 using a USB Flash Drive
This option is useful if you want to install Windows 11 on a different PC or if you want to have more control over the installation process. You will need a USB flash drive that has at least 8 GB of space and another PC that has Windows 10 installed. Here are the steps to follow:
- First Go to the official Windows 11 download page: https://www.microsoft.com/en-us/software-download/windows11
- Click on Download now under Create Windows 11 installation media.
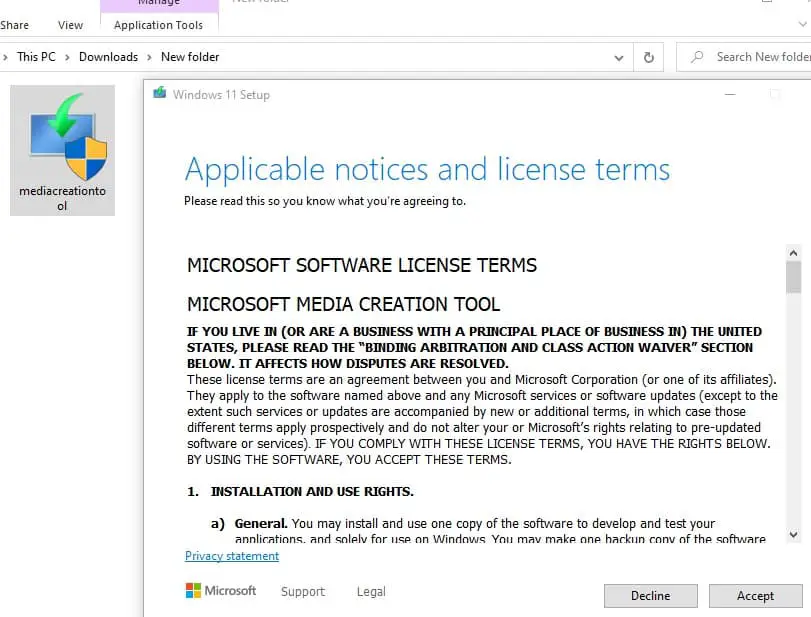
- Run the downloaded file and accept the license terms.
Select Create installation media (USB flash drive, DVD, or ISO file) for another PC and click Next.
Choose the language, edition, and architecture (64-bit) of Windows 11 that you want to install and click Next.
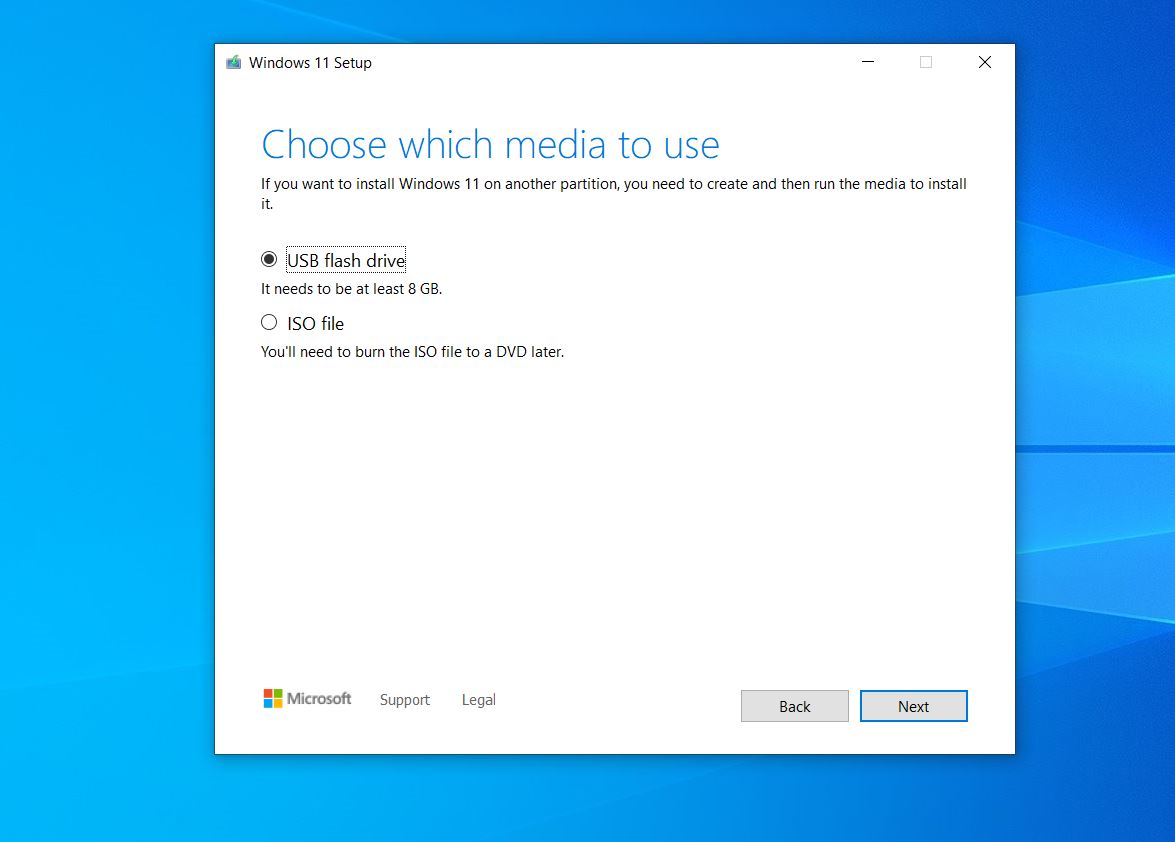
Wait for the tool to download and create the Windows 11 installation media on the USB flash drive. This may take some time, depending on your internet speed and USB drive speed.
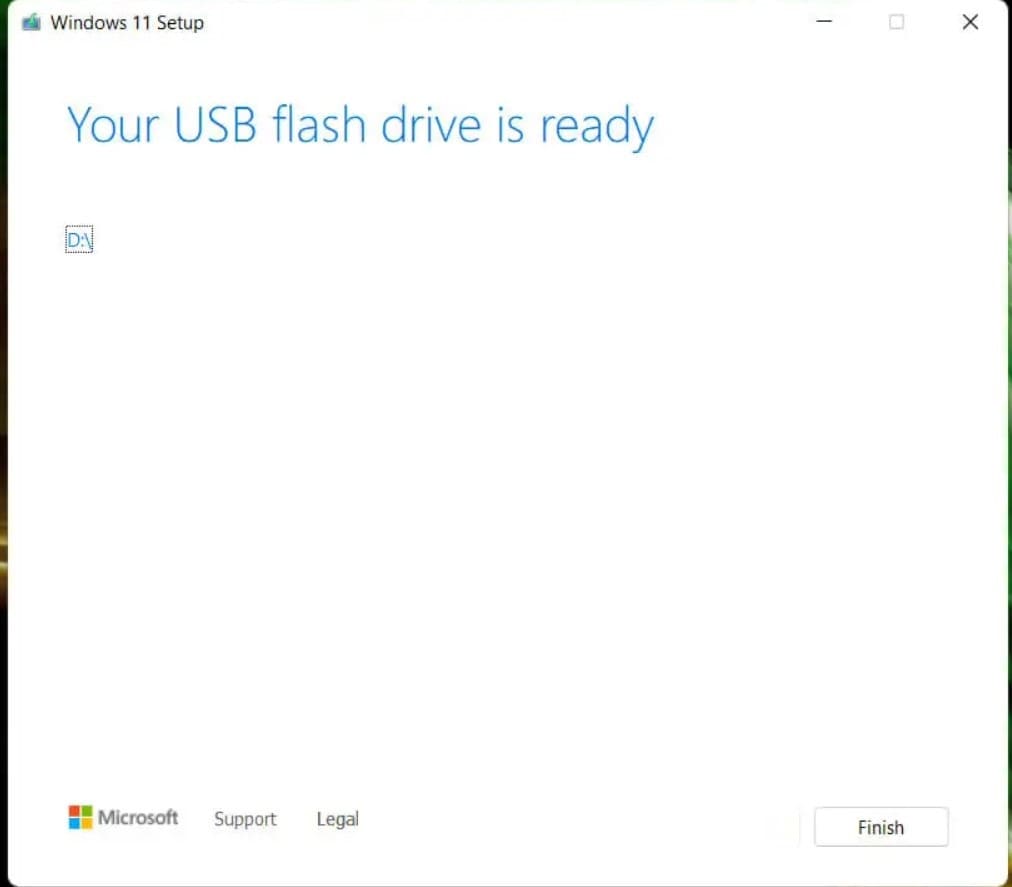
Now you can use the USB flash drive to install Windows 11 on any compatible PC. To do this, you need to boot from the USB flash drive. This may vary depending on your PC model and BIOS settings, but usually, you can press a key like F12, F10, or Esc during startup to access the boot menu and select the USB flash drive as the boot device.
Follow the on-screen instructions to install Windows 11 on your PC. You will need to enter a product key or choose to activate it later. You will also need to choose a partition where you want to install Windows 11.
If you want to replace your existing Windows version with Windows 11, you can select the partition where it is installed and click Next. This will erase all the data on that partition, so make sure you back up any important files before proceeding.
If you want to keep your existing Windows version and install Windows 11 alongside it, you can create a new partition or shrink an existing one and select it as the destination for Windows 11. This will create a dual-boot system where you can choose which version of Windows to use each time you start your PC.
After the installation is finished, you will be greeted by the new Windows 11 setup screen. Here you can customize your settings, sign in with your Microsoft account, and enjoy the new features of Windows 11.
Also read:
 Once the download is complete, you will be prompted to restart your PC to begin the installation process.